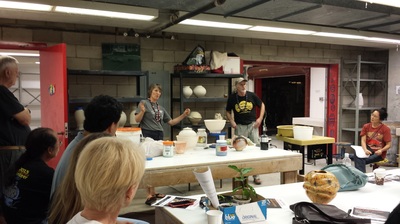
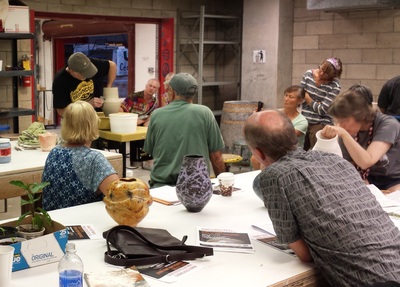
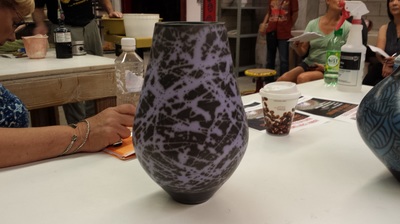
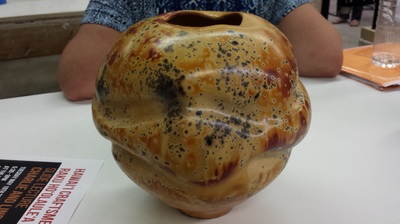
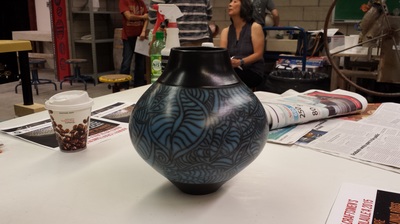
What I will share is stuff they said in the course of their presentation that I thought was interesting. First, Charlie apparently likes to use as white a clay body as he can such as BMix with Grog, but he likes to put terra sig on everything whether he's pit firing or doing raku. According to him, the terra sig absorbs carbon and color better. If I understood him correctly, when he uses a groggy clay like Soldate 60, he'll spray a porcelain slip on the pot before putting on terra sig to make the pot smoother. Second, Charlie uses XX Saggar ball clay or OM 4 ball clay when making terra sig. He said that Tennessee or Kentucky ball clay can be used if you want a whiter terra sig, but he likes using XX Saggar or OM 4 since it results in a warmer linen color. Third, he uses a Mayco #8 fan brush to apply terra sig to pots since it's the best thing he's found so far. Fourth, he uses a microfiber cloth to buff the terra sig because it's the best thing he's used to get a nice sheen on the pot. Fifth, if you add a colorant to terra sig like a Mason stain, it's important to pass the sig and colorant through a 100 mesh screen. Better yet, put it through a ball mill before using since the stain is so much coarser than the sig. Sixth, he made some interesting observations about using steel wool in saggar and pit firings. For instance, he suggests using medium coarse steel wool and not the finest grade but didn't say why. He also said that with steel wool, "less is more." In other words, don't use too much. Seventh, he uses two large bisqued bowls of the same size as saggars. Inside he puts stuff like sawdust, copper carbonate, salt, and any other colorant he wants to use. He puts a piece of kiln shelf on the bottom so the pot doesn't touch things like the salt and copper carbonate. He doesn't keep the saggar tightly sealed, however, or the pot would turn out totally black. Instead you uses very thin pieces of bisqued clay (pieces that fall off from naked raku are perfect) or small wads of steel wool to make a very thin opening on one side of the bowls. This allows some oxidation to take place within the saggar. If the saggar didn't oxidize a little, the pot would emerge totally black. There must be some oxidation in the saggar for carbon to burn off and for color to become visible. He makes a small slit on one side only to add some variety to the surface effects. Eighth, Charlie demonstrated how he bellies out a pot. He uses a torch to dry out the surface of the clay a little so it doesn't collapse as he stretches it out. He mentioned that he uses masonite bats when using this technique since a plastic bat would warp slightly if he was using a torch near the bottom of the pot. He also mentioned that he uses wood ribs rather than plastic to stretch and shape the clay since there is less surface tension with wood than with plastic and less chance the rib will stick to the clay. Finally, he showed us how he uses a rib to make undulating marks on the middle of a pot once he's stretched it out. He said that first the wall of the pot has to be thin enough for him to use this technique. After it's stretched out, he dries it pretty well with a torch or lets it sit for awhile. Then he uses the rounded end of a wooden rib to press in the clay while the pot slowly revolves on the wheel. Afterward he uses a very thin sponge like the ones made by Mudtool in order to push out those areas that are standing in relief. He doesn't use just his fingers since he feels they're too thin and put unwanted marks in the clay.
Well, that's most of what I got in my notes. If the Riggs are coming to your area, I highly recommend taking a workshop with them. They're very knowledgeable, very personable, and lots of fun.
 RSS Feed