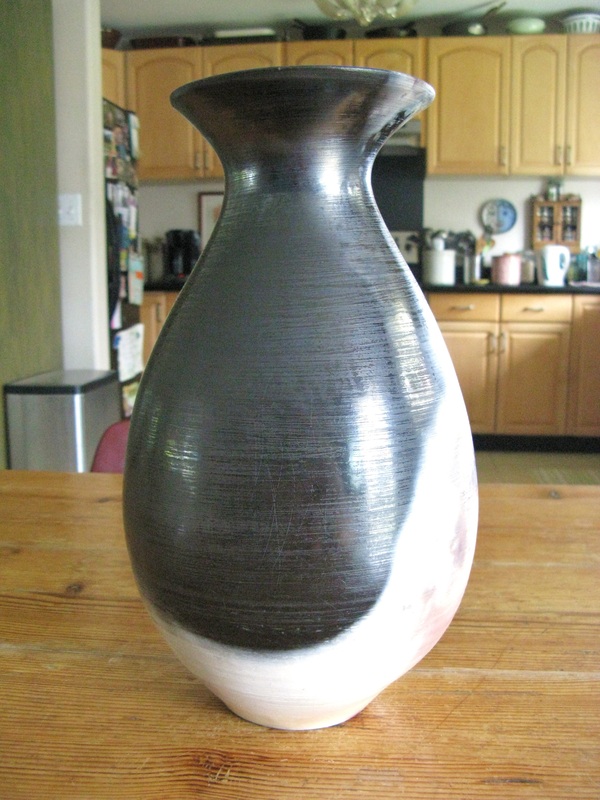
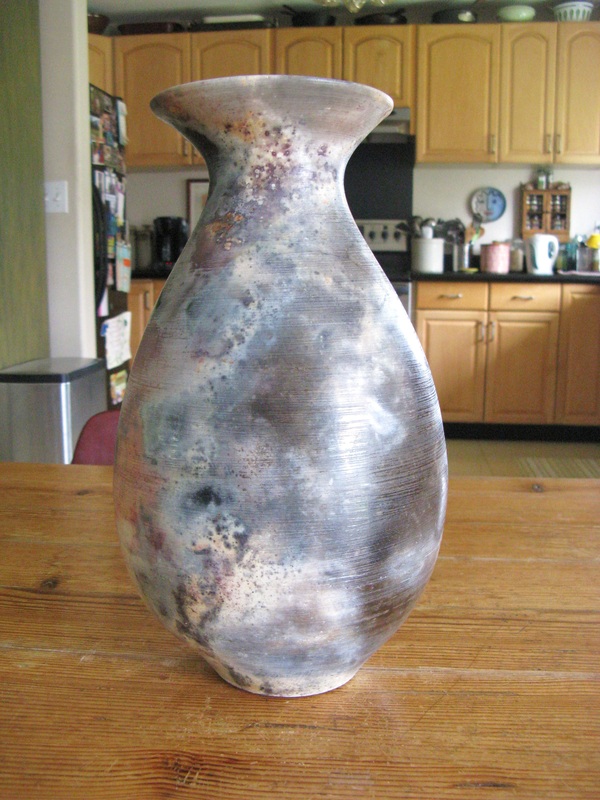
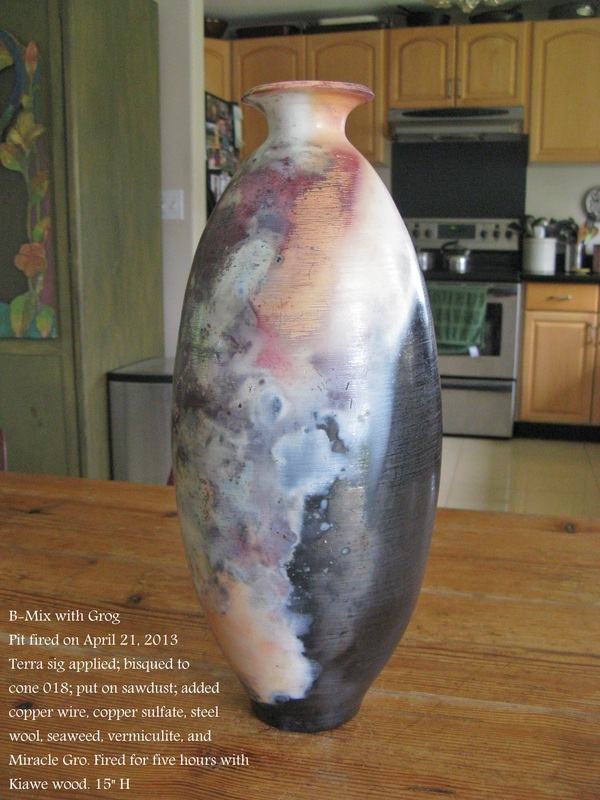
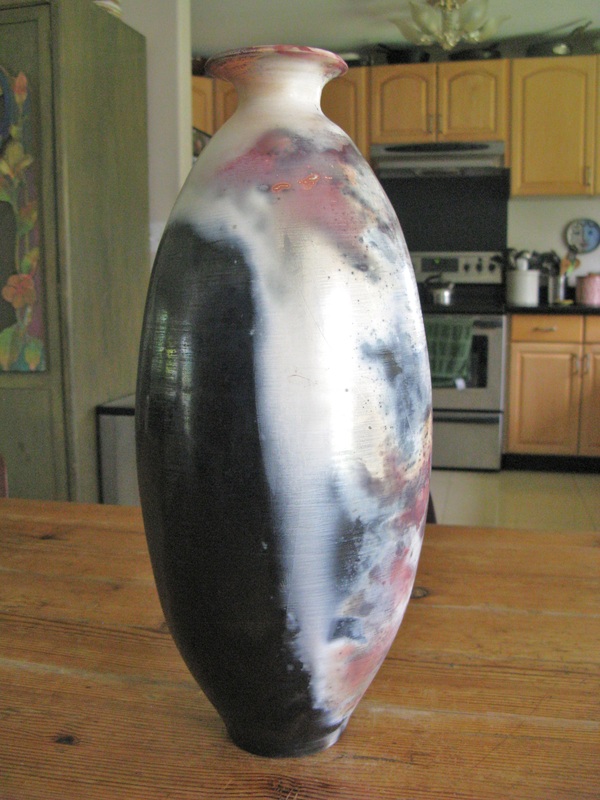
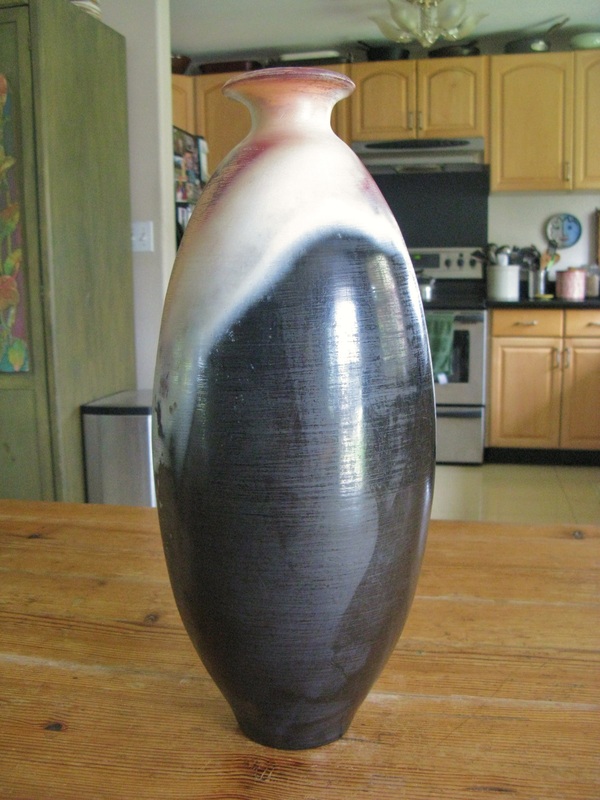
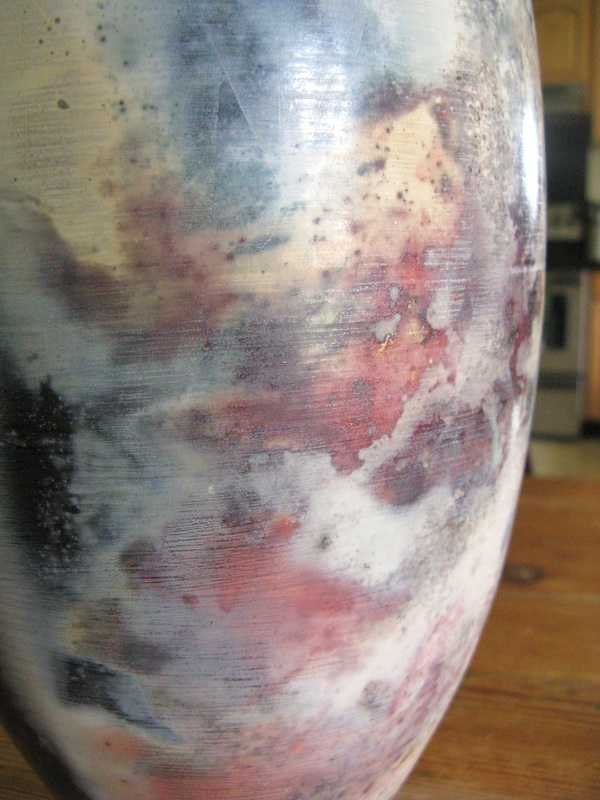
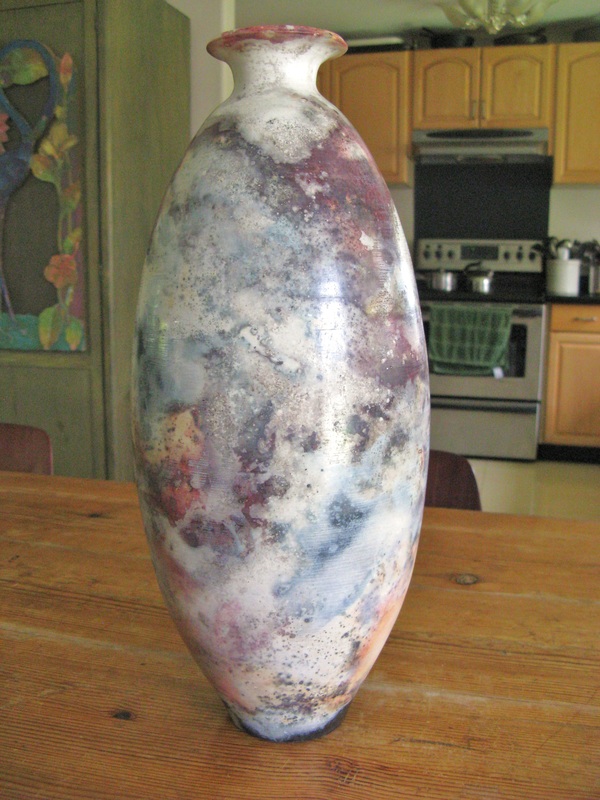
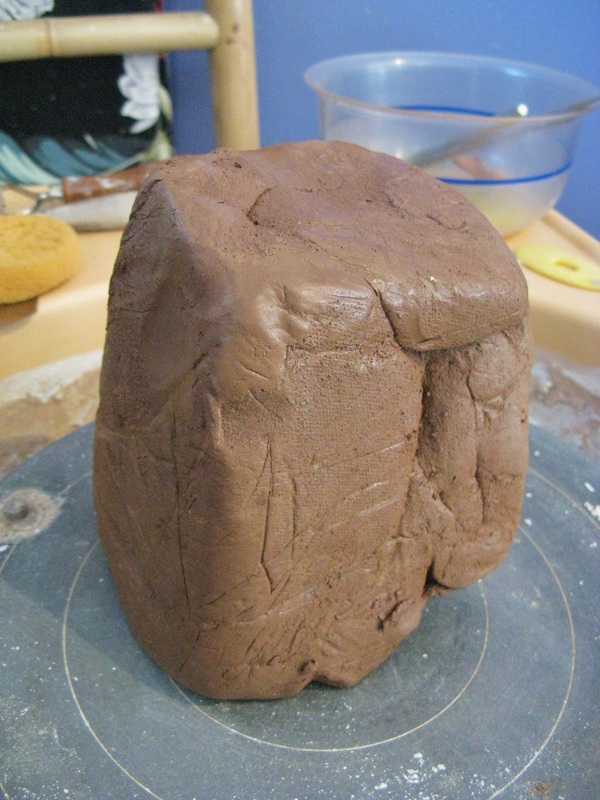
A group from the Hawaii Potters Guild had a pit firing and raku firing on Sunday, April 21 deep in the woods of Kaneohe. It was the first time I'd pit fired, so I was excited to try the process. Before Sunday, I'd thrown two pots, one in B-Mix with grog and the other with a recycled white clay that was made up of porcelain and stoneware. When the clay was hard leatherhard, I put on terra sig which had been provided by Steve Martin, my ceramics instructor this session. I applied the terra sig with a Purdy paint brush, but in the end it seemed a bit streaky. Maybe I should have put on more layers. If I remember correctly, I put on 5 layers. Was nervous to add more just in case the terra sig became too thick and peeled off. Burnished the pot with my burnishing rock when the terra sig dried. Found out that Steve has a special rock he's used for burnishing for many years and has given it a name: Betty. No one is allowed to use Betty except for him. It's perfect for burnishing, from what he told us, and he's afraid of losing it if he lets anyone else borrow it. When the pot was bone dry, I did an oil burnish by rubbing a little cooking oil on a few inches and then burnishing with a plastic bag. Steve did a low fire bisque of our pots at cone 018, about 1300 degrees F. The day of the pit firing, we used a steel drum that had been cut in half, and a commercial grade cooking tub that Steve had found at a school cafeteria that was being remodeled. Both were packed with fine sawdust at the bottom and we laid our pots down on it. Those with smaller, rounder pots either placed the top or bottom into the sawdust. The longer pots were laid on their sides. Wherever the pots were submerged in sawdust, there was heavy reduction because of a lack of oxygen and that part of the pot would get black from carbon. I also found out that sawdust that I had pushed up around the sides of one of the pots would fall away in the firing, the area would oxidize and leave a halo around the black. I'll have to do that again. We placed a cornucopia of stuff around the pots: driftwood, thin copper wire, copper sulfate, vermiculite, Miracle Gro, fine steel wool, dried seaweed, eye of newt... Each of these has different salts and minerals which volatilize at different temperatures and fume part of the pots. Again, the part of the pot that's in the sawdust gets black, even metallic black, but the rest of the pot can take on the different colors of the salts and minerals which are fuming it. On top of this stew we placed smaller and then a few larger pieces of kiawe wood. We didn't put a deep layer over the pots so we didn't have a problem with any of them breaking, and we didn't add additional wood during the firing. The whole process from beginning to end took about 5 hours. We took the pots out when they were still pretty hot and placed them in an area that was protected from the wind. Within 30 minutes they were cool enough to handle and clean. I've included photos below. Some of the potters were also doing raku firing, but I wasn't doing that so I didn't include photos of it. Mahalo to Bridget Hangsleben for the photos. Bridget is a professional photographer and if you'd like to contact her, email her at [email protected]. Hope you can join us next time we pit fire!
Alan Goto and I getting ready to put pots in the pit.
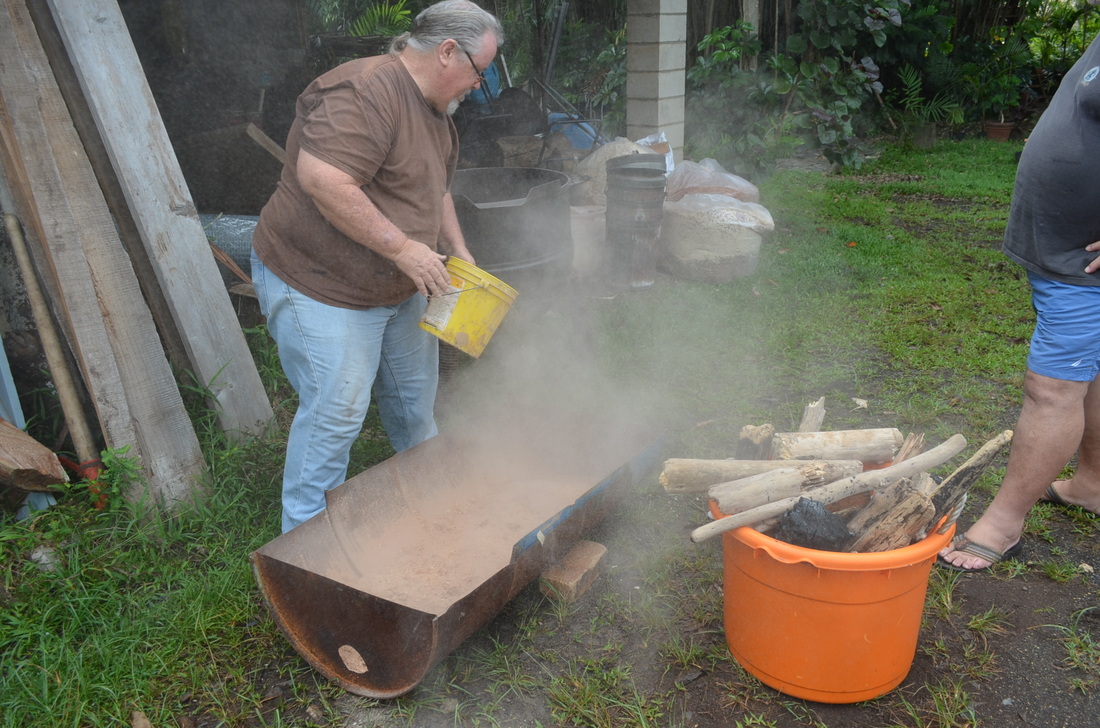
Steve Martin laying down a bed of fine sawdust.
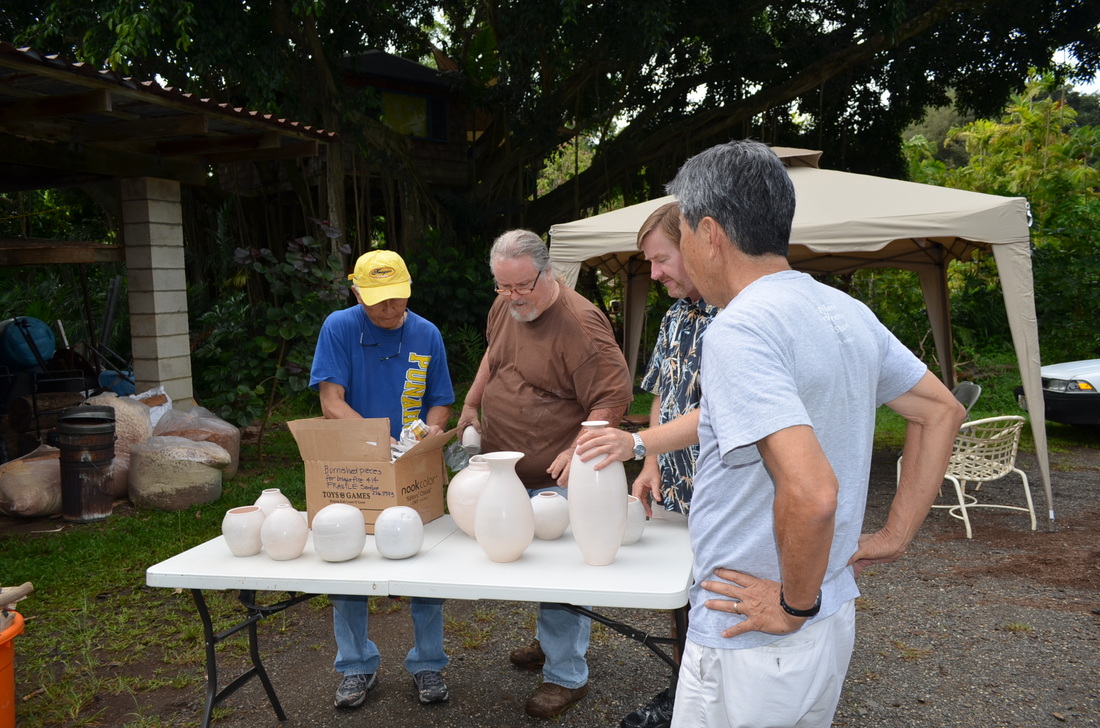
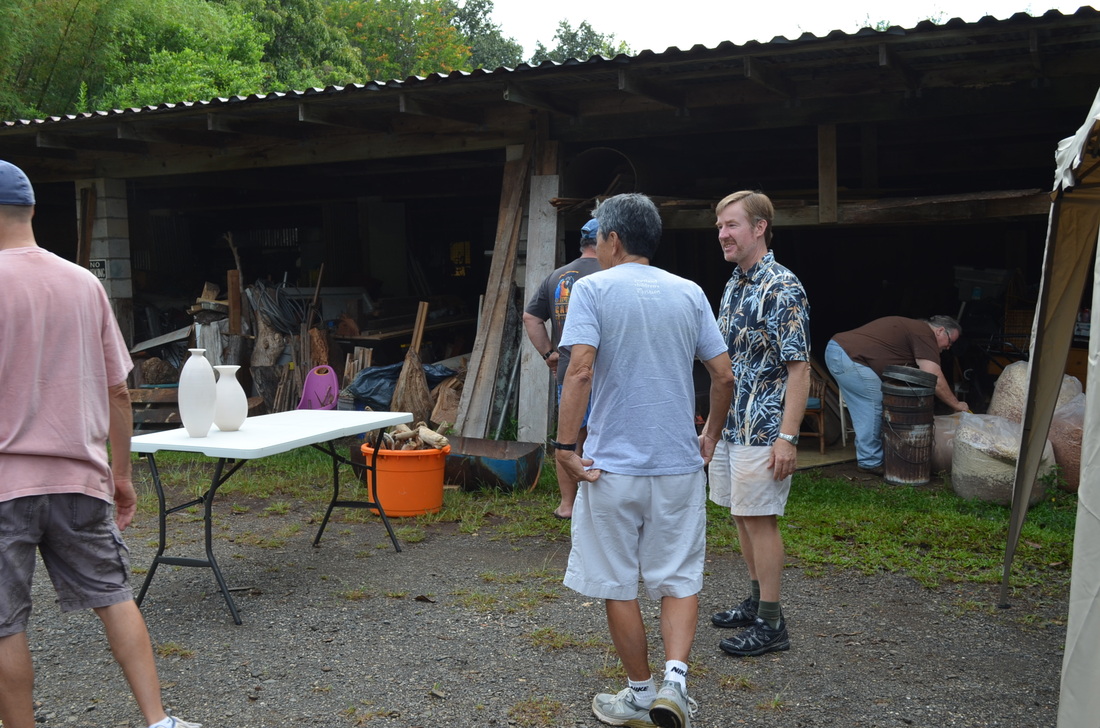
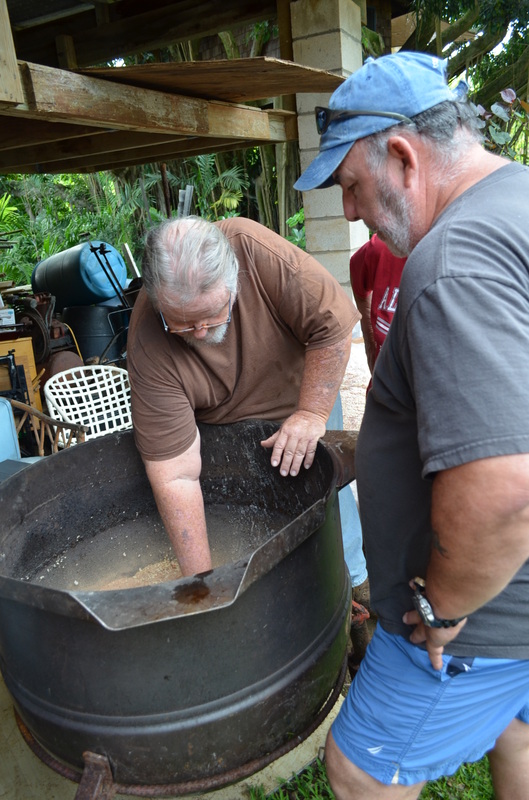
Sanford, Steve, Alan, and I deciding which pots to sacrifice to the gods of fire.
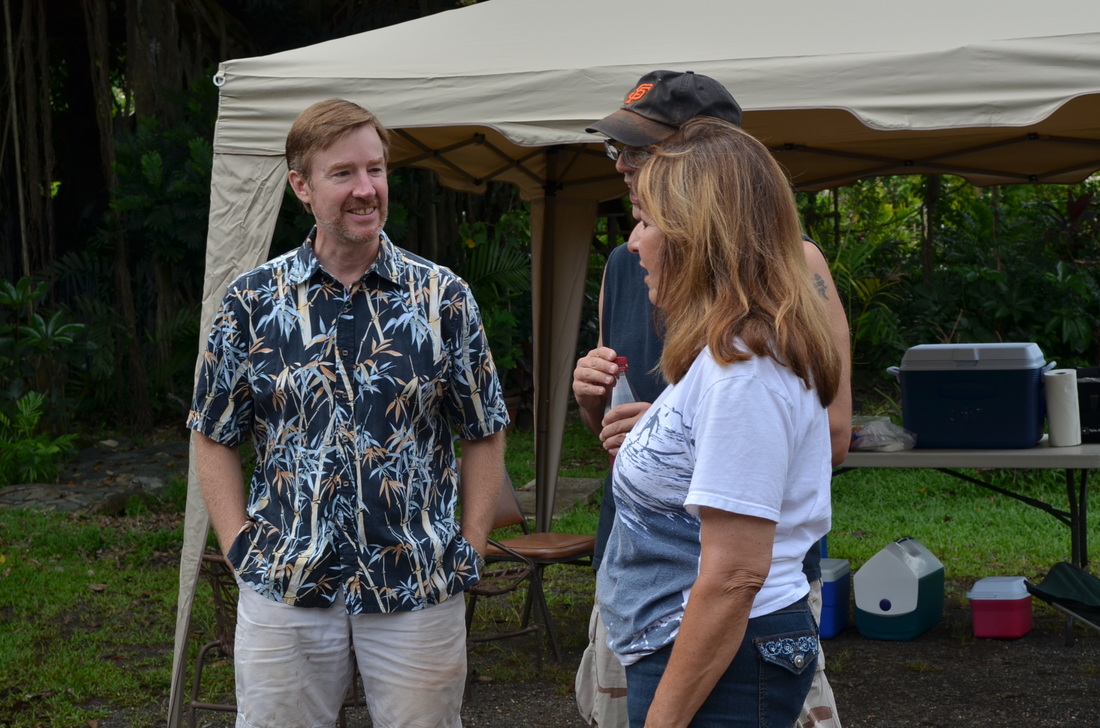
Shooting the breeze with Eloisa and her husband Mark while everyone else is working.
Steve and Hank Hangsleben (owner of Keana Pottery in Kaneohe) laying the pots down in the sawdust.
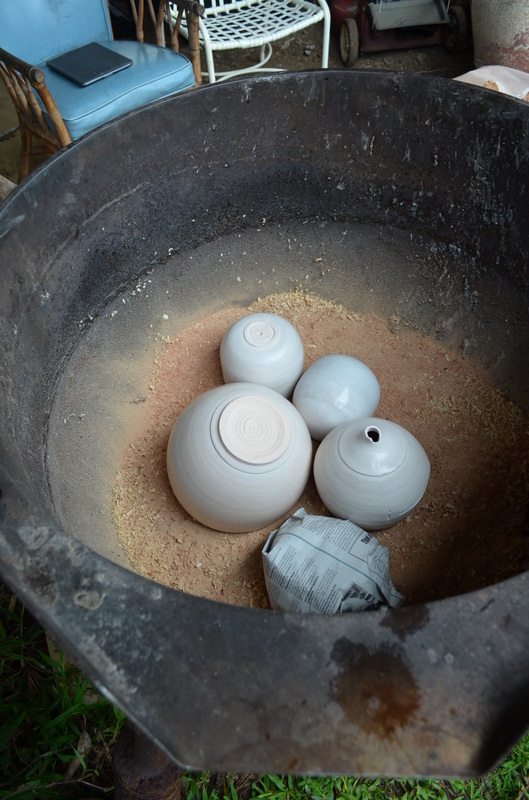
These pots have no idea what's about to happen to them.
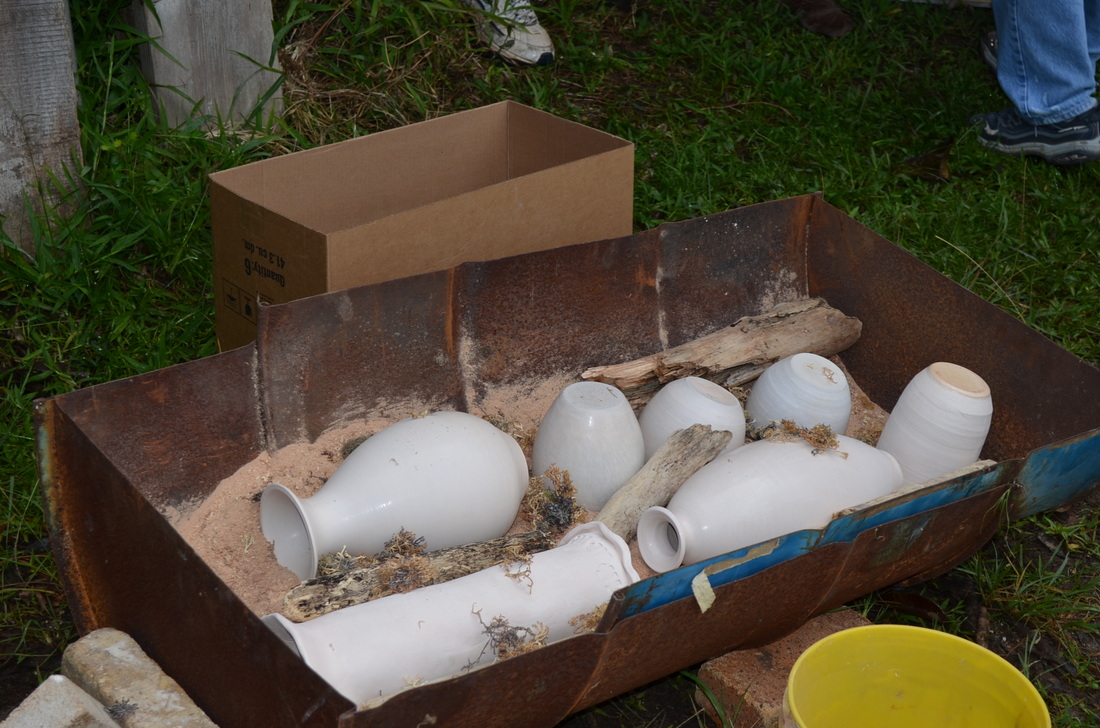
Nor do these.
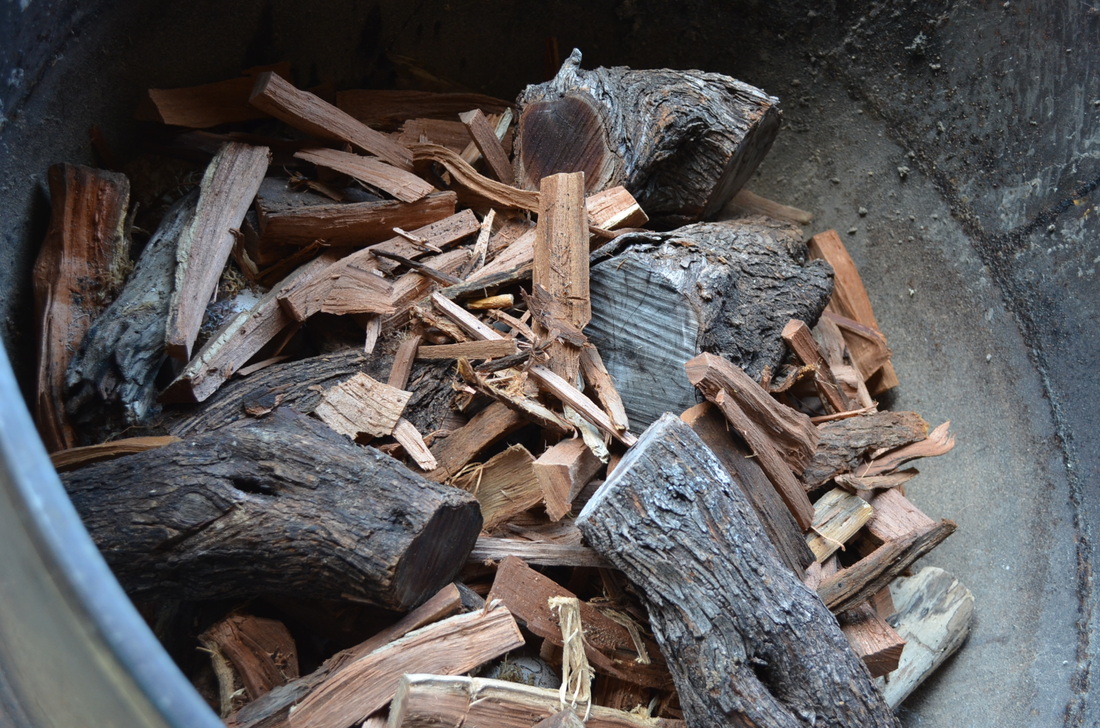
Covered in kiawe.
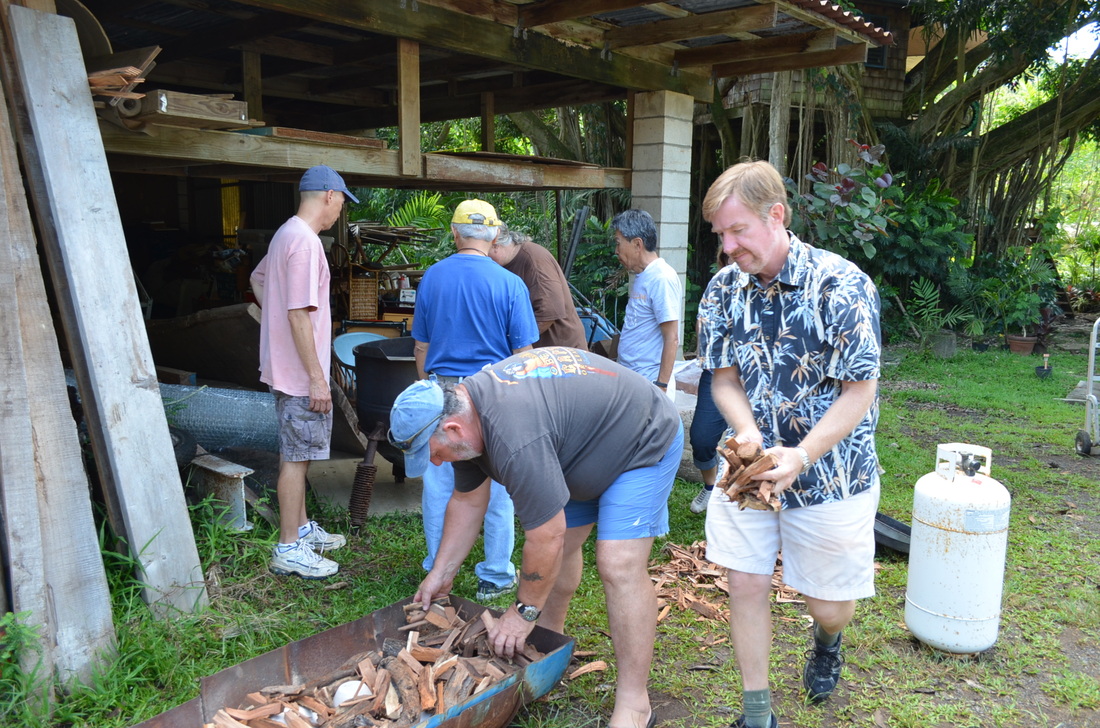
Okay, time to stop talking and help a little.
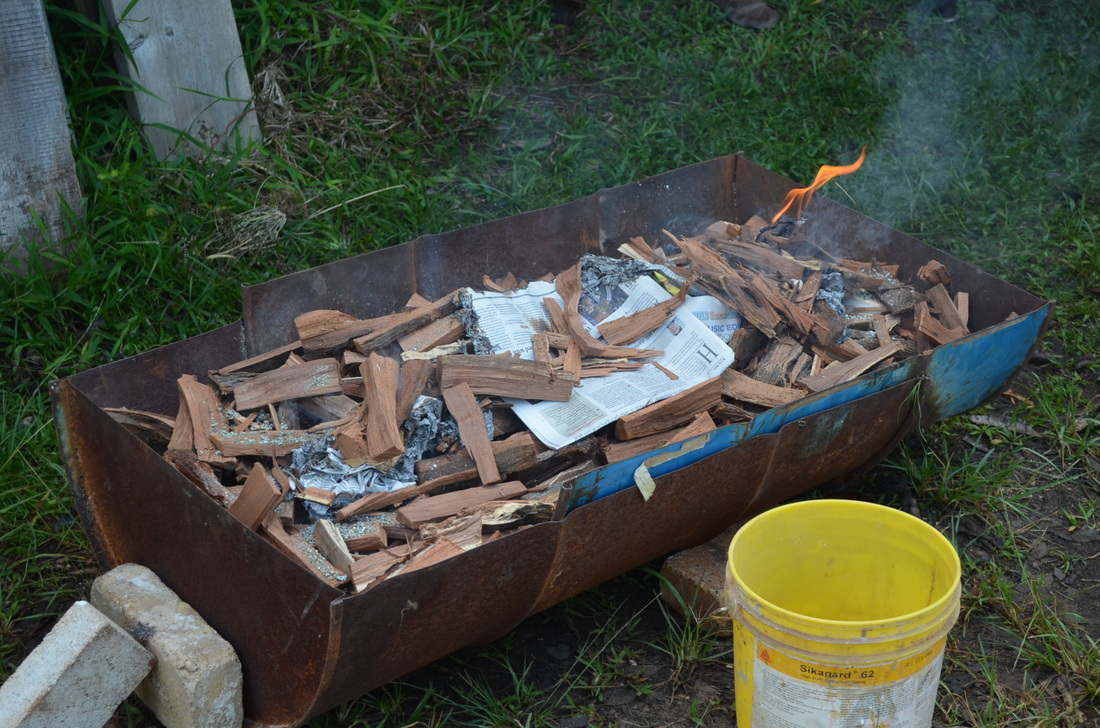
And so it begins with a single flame...
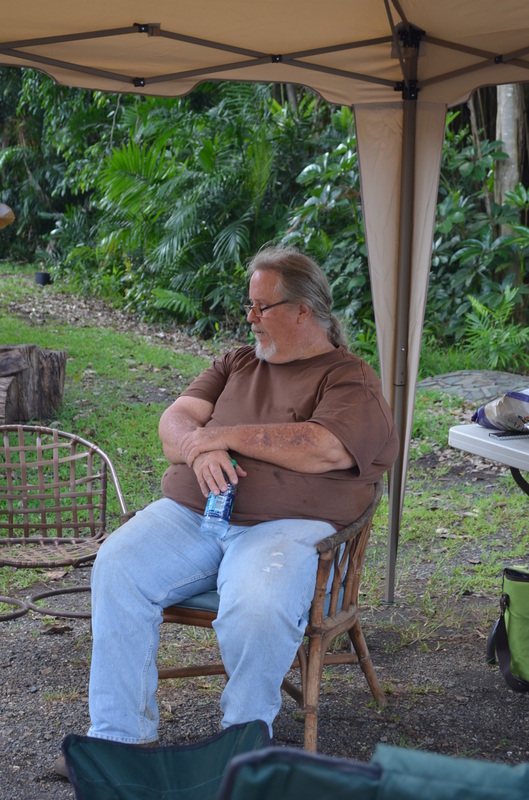
Supervising
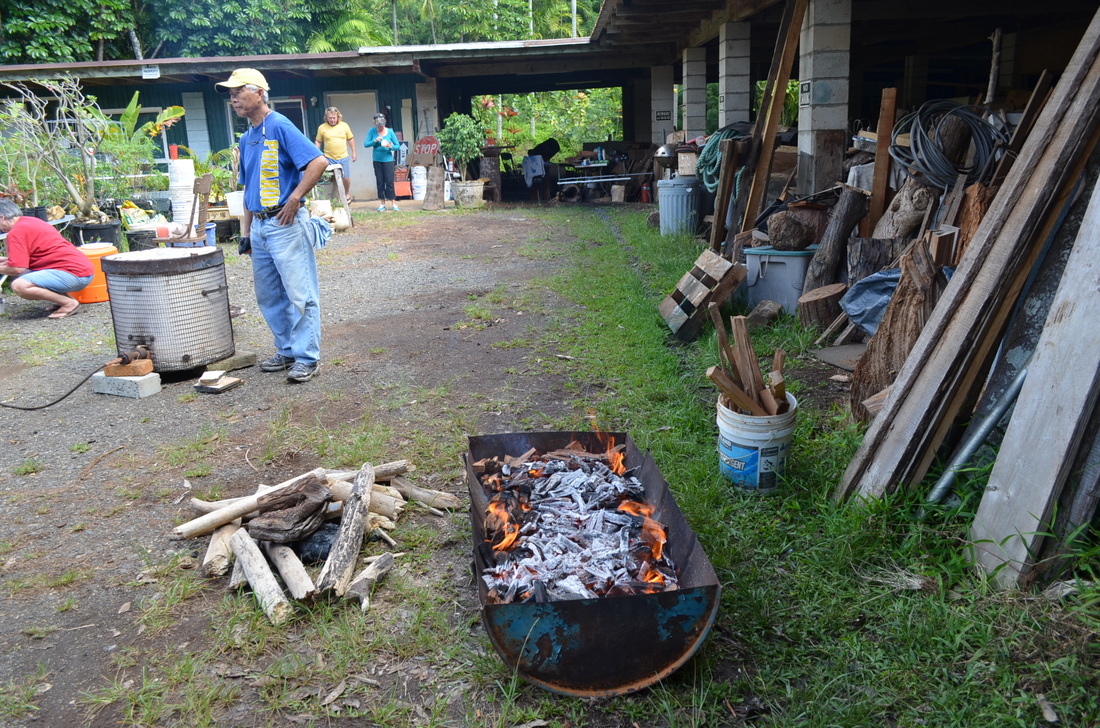
The kiln gods at work.
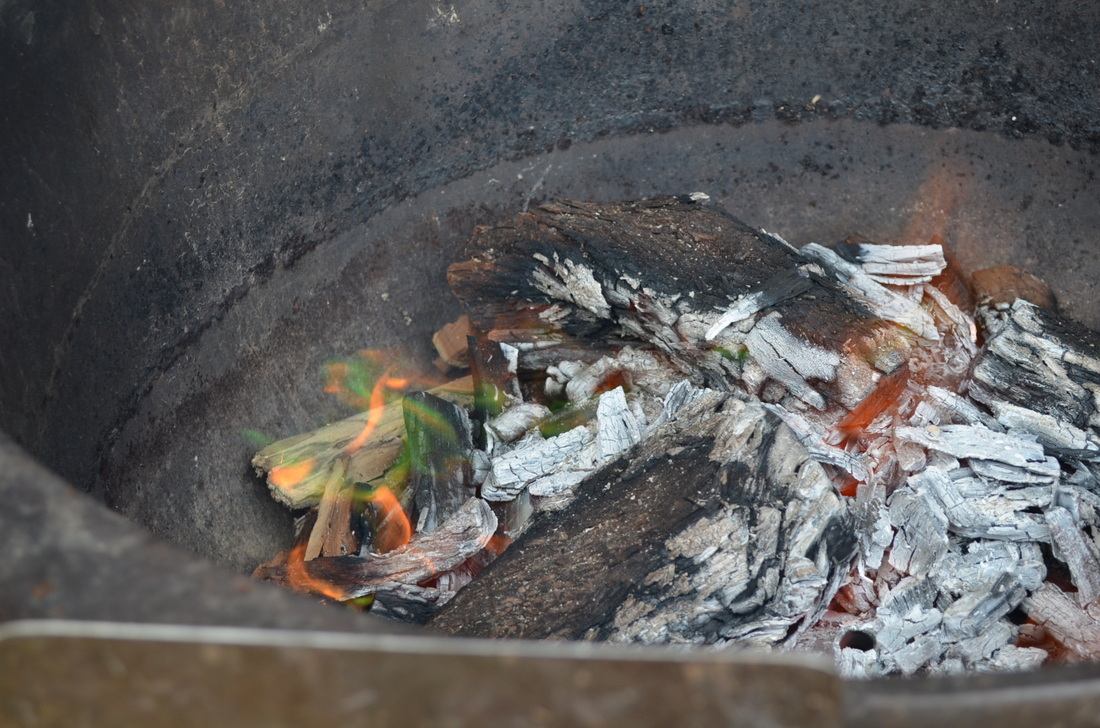
Green flames mean the pots are being fumed. It also means "Don't breath in this smoke," and "Don't even think about roasting hot dogs or making s'mores!"
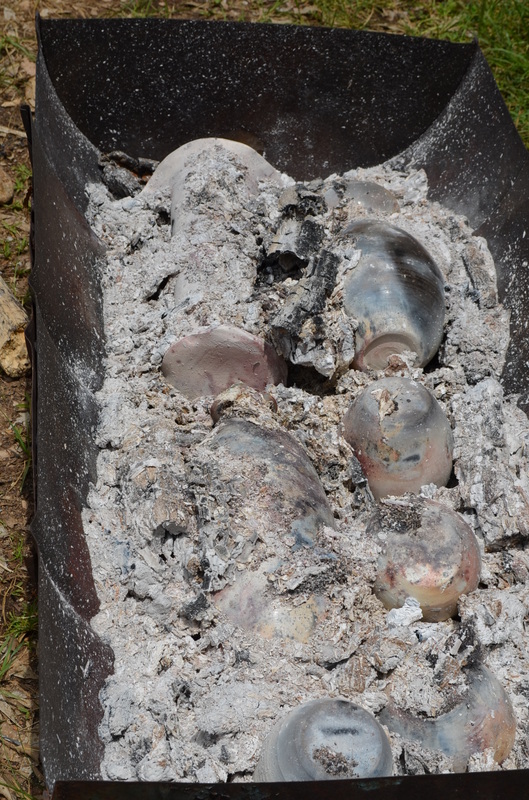
Shyly the pots poke up through the ashes.
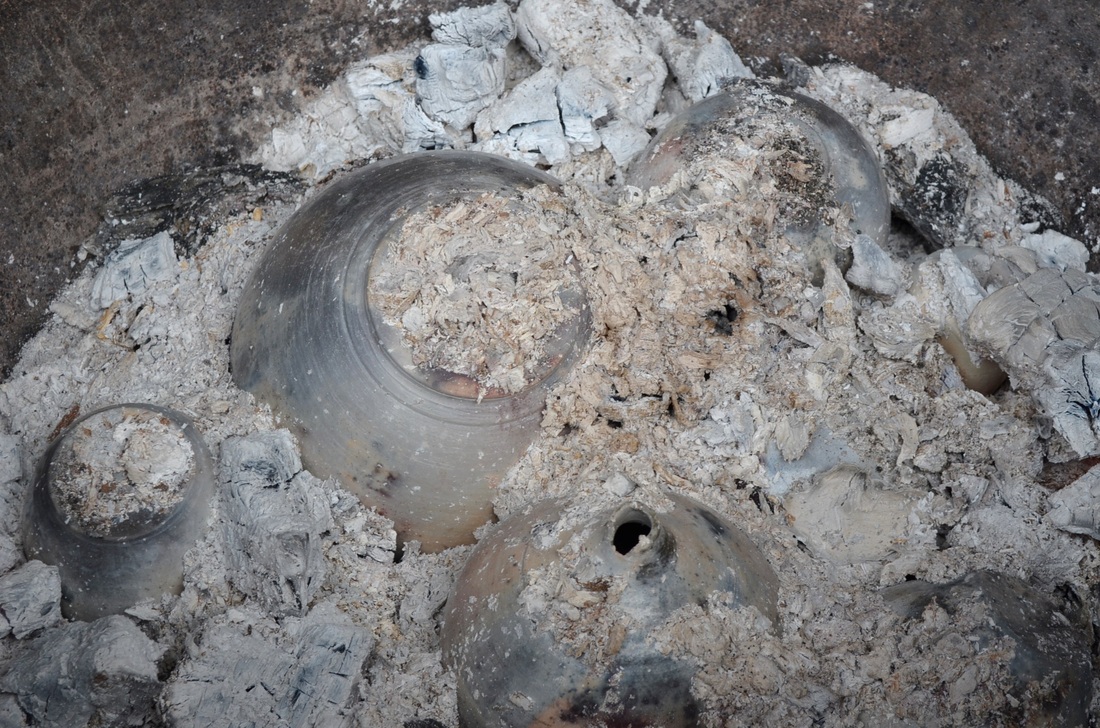
We begin to see the colors the flames have painted.
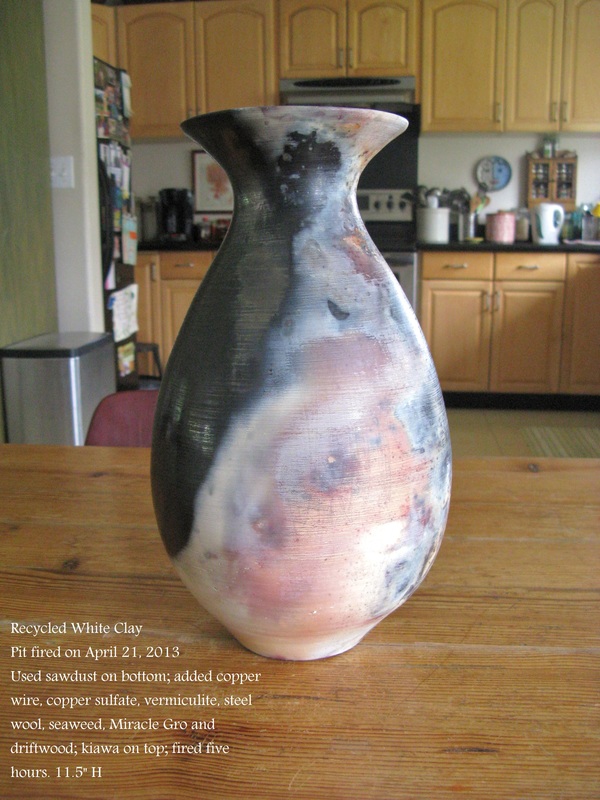
And here are the results, at least the two pots I had in the fire. I like what I see and I want to do it again.
 RSS Feed