I started throwing lots of smaller bowls beginning in September. My goal was to make at least 100 bowls and I reached that goal by December, but it was harder to get to than I realized it would be. My first small bowls were all thrown the same way I throw large bowls with thin walls that stretched out wide. These tended to warp quite a bit and I threw a bunch away. I also put too much glaze on lots of them (especially too much Turquoise Blue Matt), and I must have thrown away at least 10 to 15 of them that ran onto the shelf. I also tried several glazes and combinations of glazes that I didn't care for and many of these I donated or threw away. For instance, I glazed five bowls with Aka's Blue and hated every one of them. I donated them to Empty Bowl and said good riddance. Some firings were especially bad such as the one where I donated or threw away all four of the large bowls that were in the firing along with 15 cups and bowls that didn't turn out well. Always a long drive home after a firing like that, even if the drive only takes 7 minutes. And I was the one who did the firing!
At first I was making small bowls using the same technique I used for large bowls. With large bowls, I use two ribs to stretch the clay out as far as I can. With small bowls, this technique made the walls of the bowls too thin, too unstable, and they warped too much. Now I use my hands more on smaller bowls and use ribs only at the very end to give the bowl its final shape. I don't try to stretch the walls out too thinly and the form is more compact and the walls more vertical. I've had fewer problems with warping and the bowls don't tip over as easily. In my large bowls, the feet aren't usually well defined but simply curve down to the floor. Now on most of my small bowls I'm trimming a distinct foot and I think it usually looks better. The feet are also proportionately larger on my small bowls and I've made the feet as level as possible on the bottom to make them more stable.
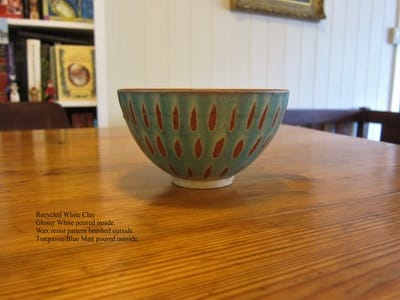
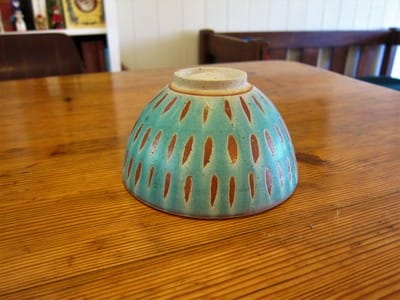
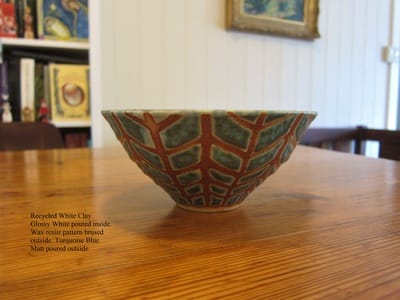
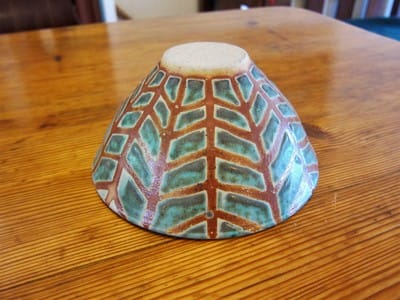
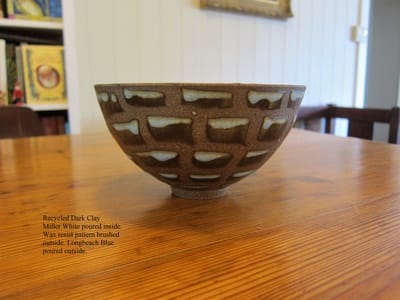
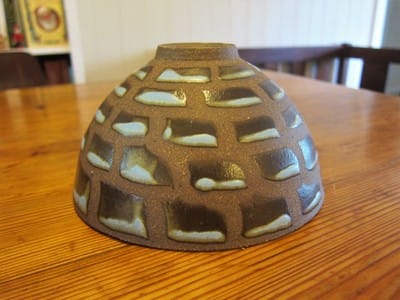
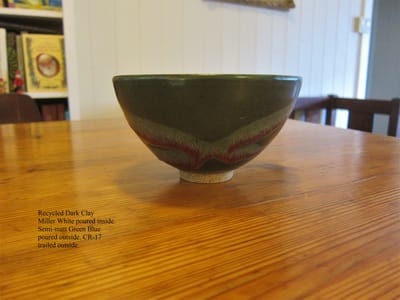
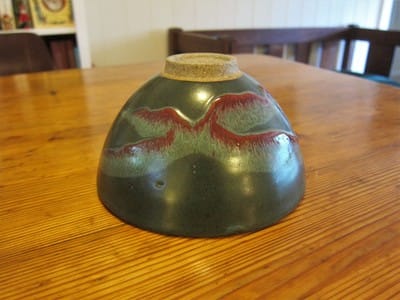
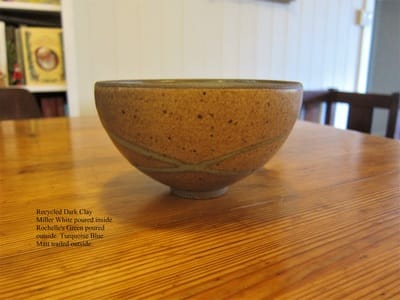
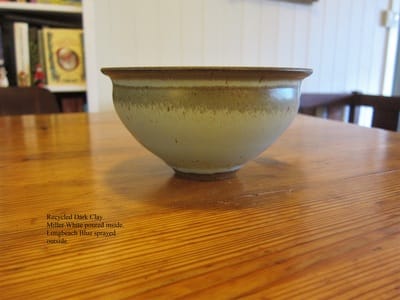
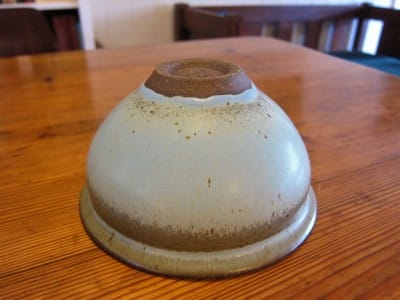
I've tried different decorative schemes with these bowls and some have become favorites. One is a wax resist pattern on white clay that's either a simple vertical slash with the brush or an abstract tree and branches. The Turquoise Blue Matt that I pour on it has copper that fumes these waxed spaces and gives the raw clay a thin orange glaze. I also like brushing a wax resist pattern on dark clay and then pouring Longbeach Blue over it. Because the bowl is upside down when I'm pouring, the glaze pools at the bottom of each glazed spot and looks like it's thicker at the top when turned right side up. I also decided it was a good idea to wax the bottom of bowls if I was going to pour the glaze but it wasn't a good idea to wax the bottom if I'm going to spray. When I sprayed, the glaze would shed off the wax and leave thick globs of glaze on the edge of the wax. It was impossible to thin these out and make them blend in. It might take a little longer to clean off the foot if it's not waxed before spraying, but the glaze will be the same thickness all the way to the foot.
I also found it much easier to wax the outside of a bowl or cup if I'd just glazed the inside. If the bisqued clay is completely dry, it's tacky and absorbs water quickly. This can make it hard to brush wax on fluently. After glazing the inside of a bowl or cup, however, the wax brushes on more easily since the clay is saturated with water and is not as tacky.
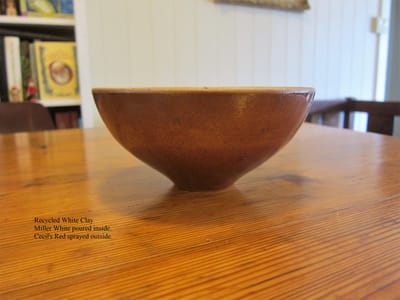
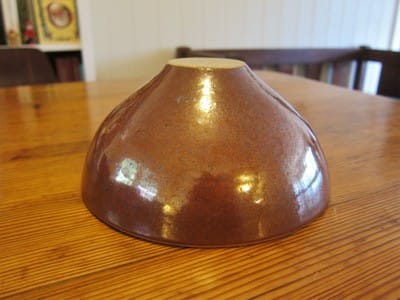
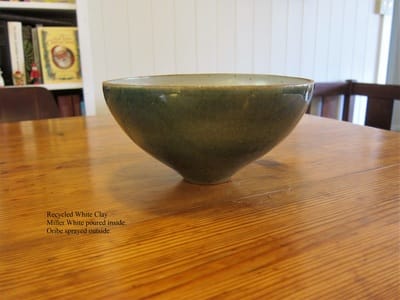
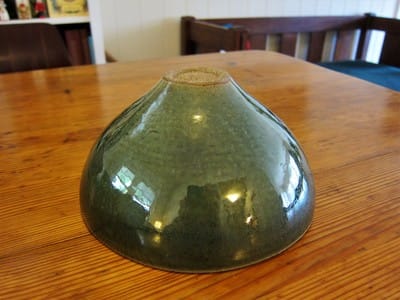
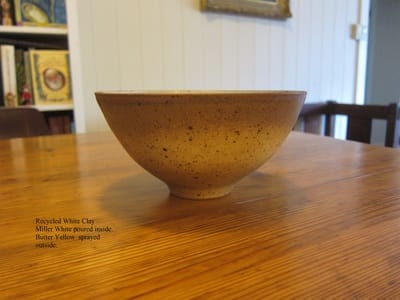
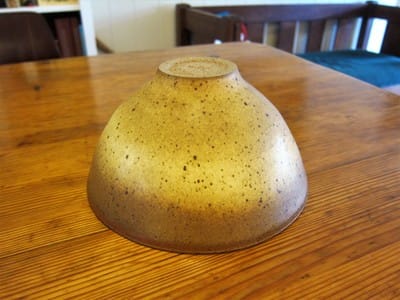
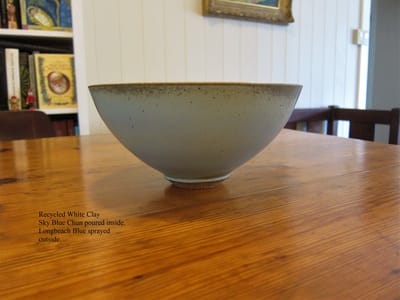
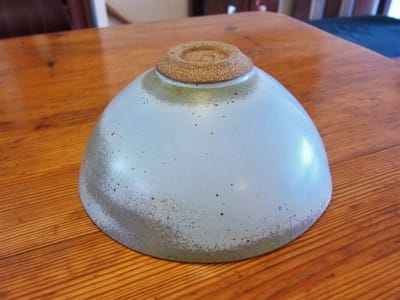
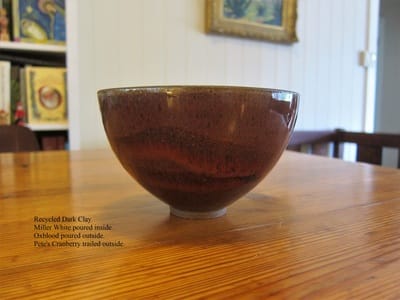
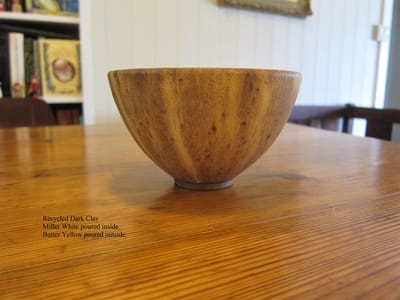
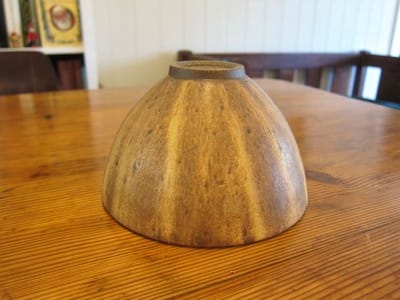
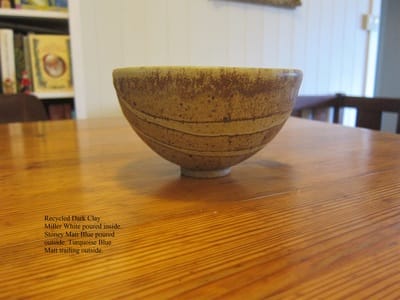
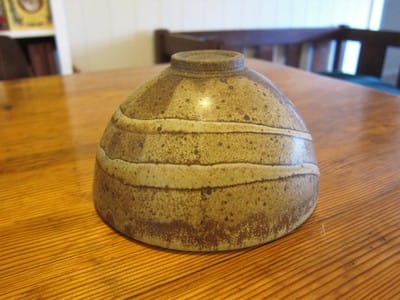
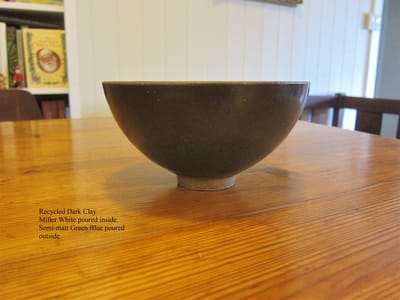
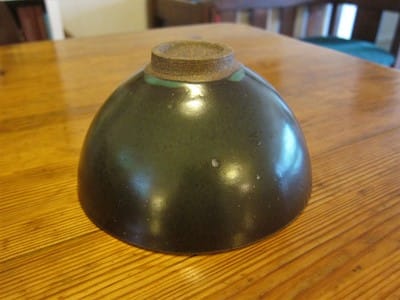
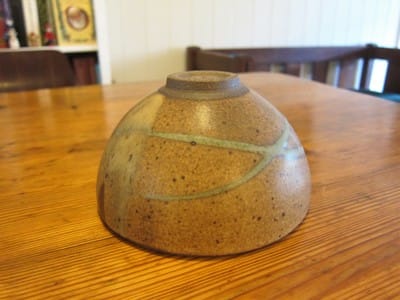
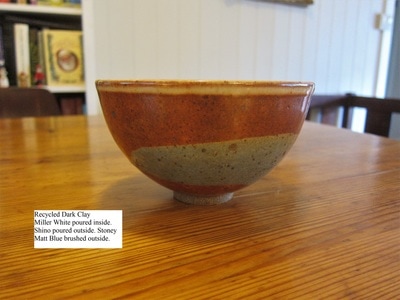
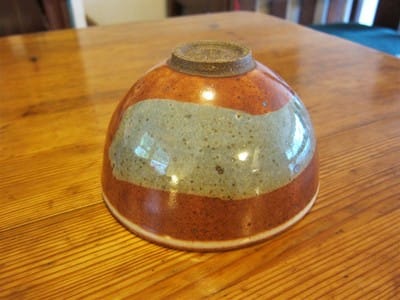
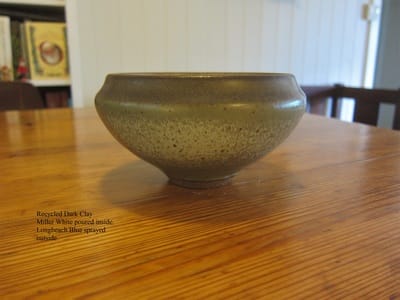
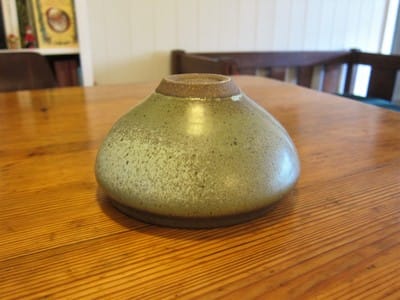
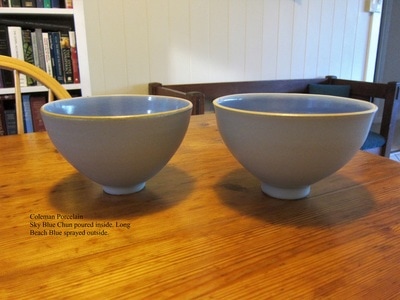
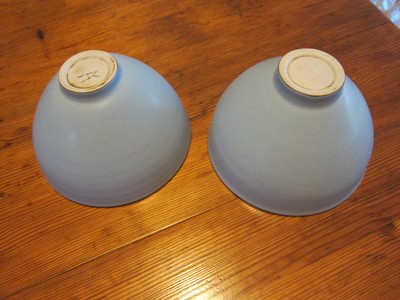
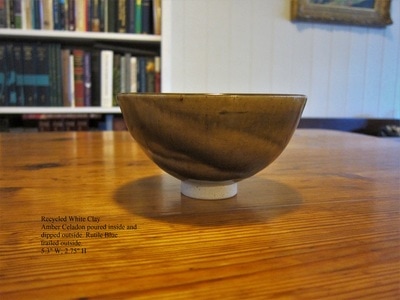
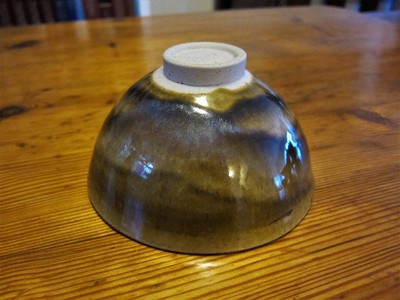
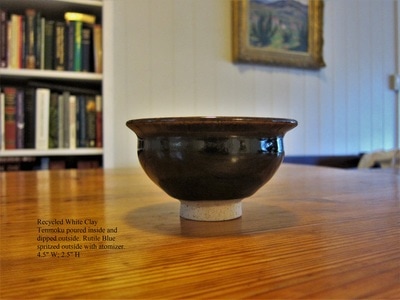
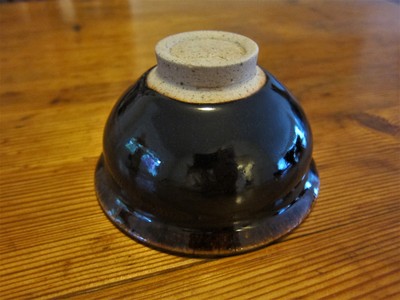
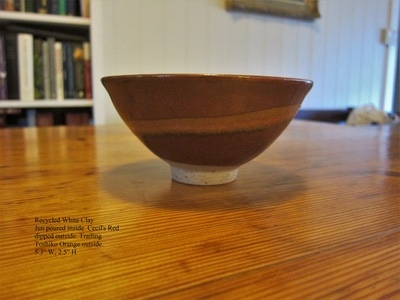
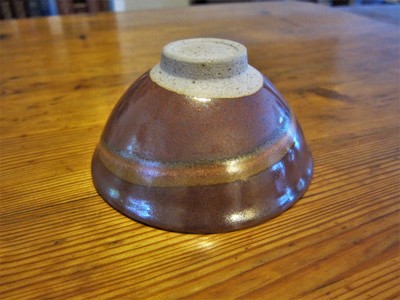
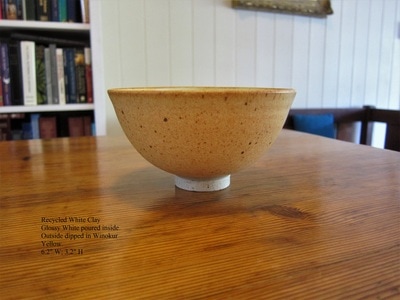
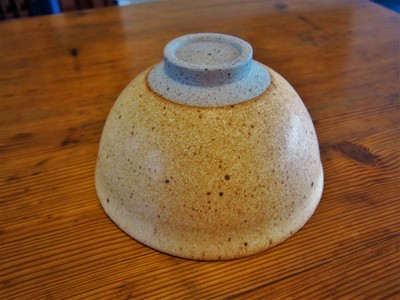
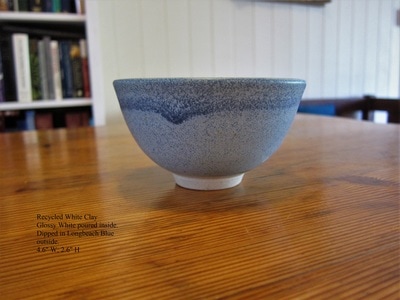
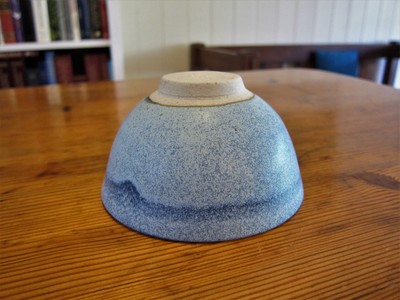
Below are photos of most of the different types of bowls I've made since September. I'm showing them upside down as well since it's hard to see what the colors look like when they're right side up.

 RSS Feed