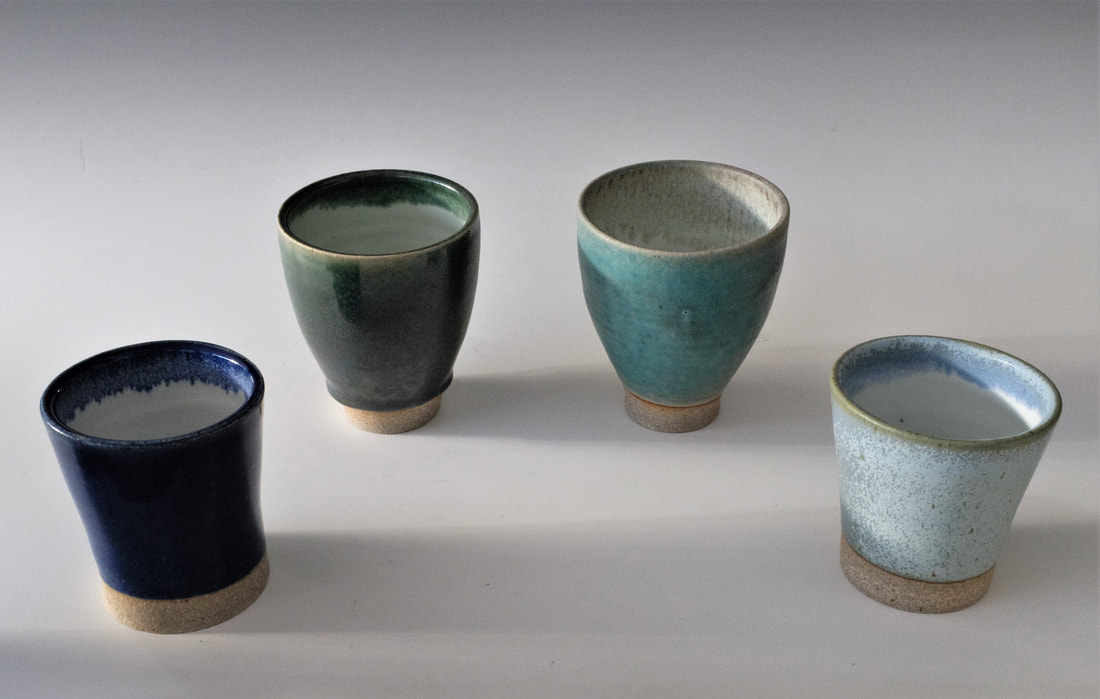
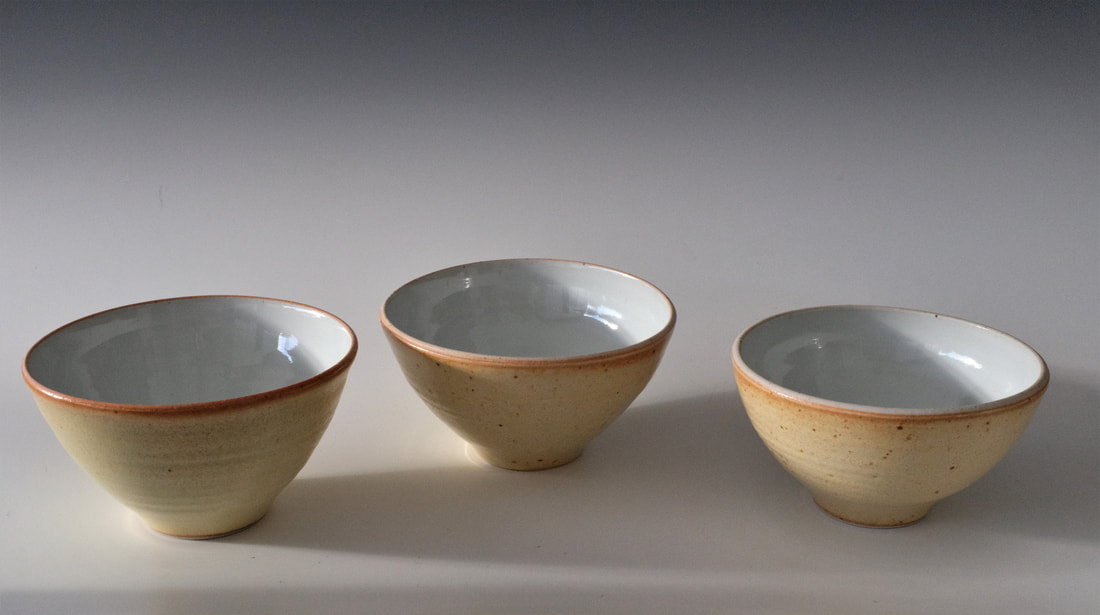
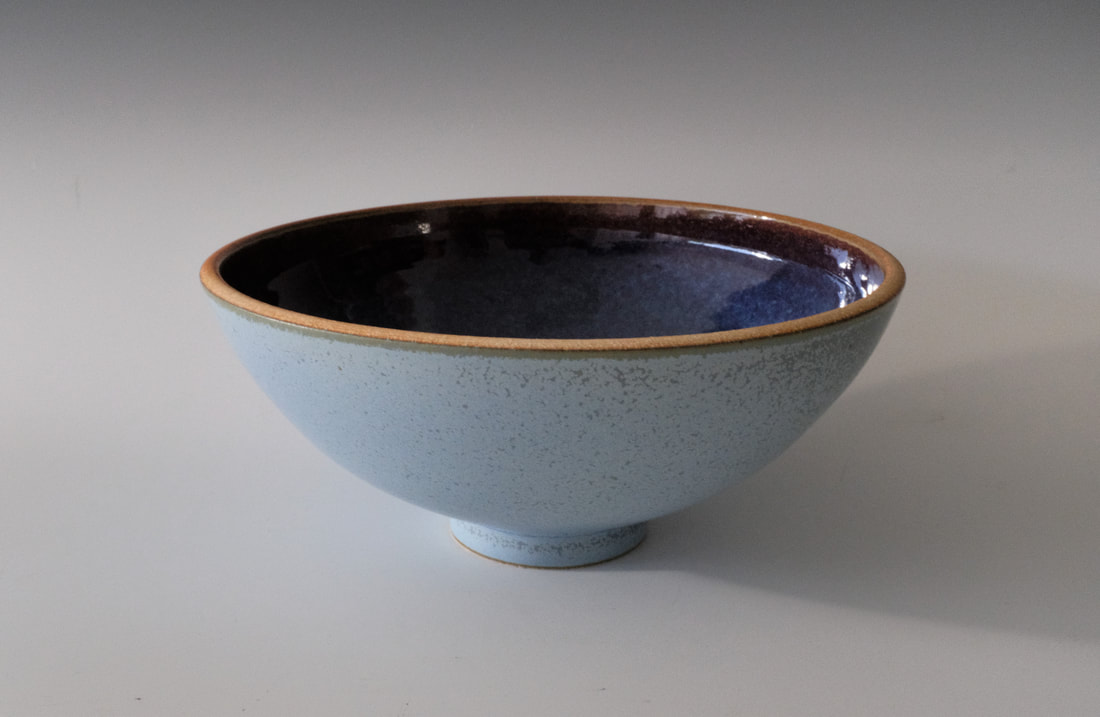
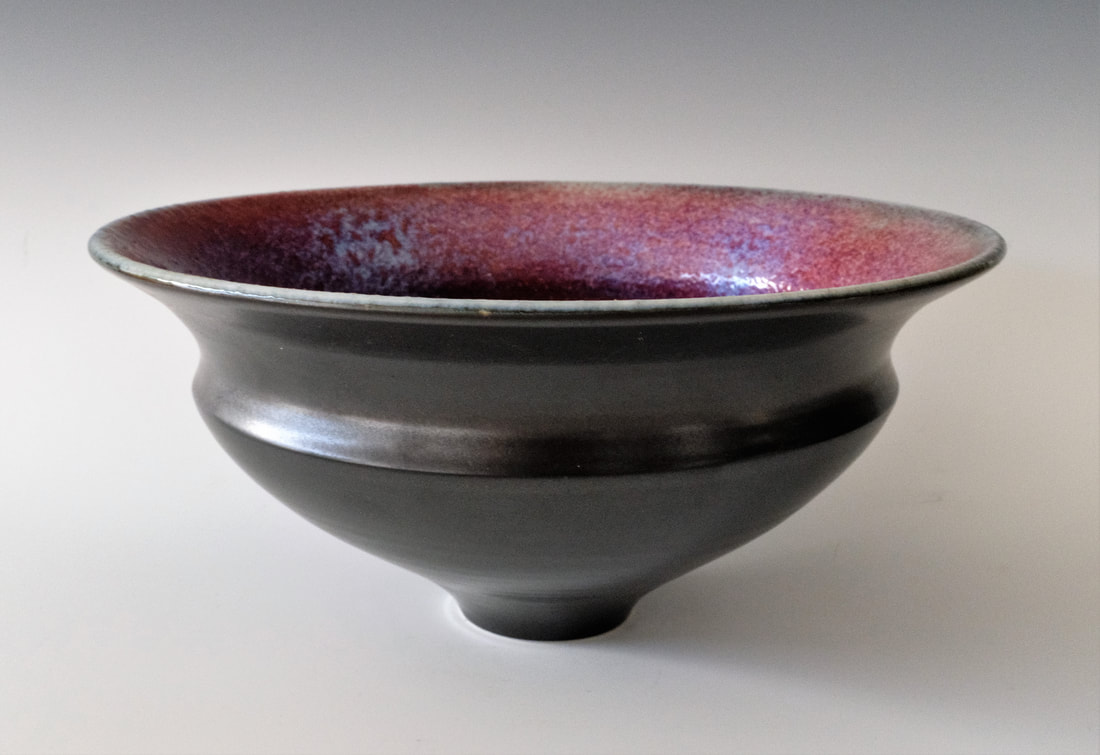
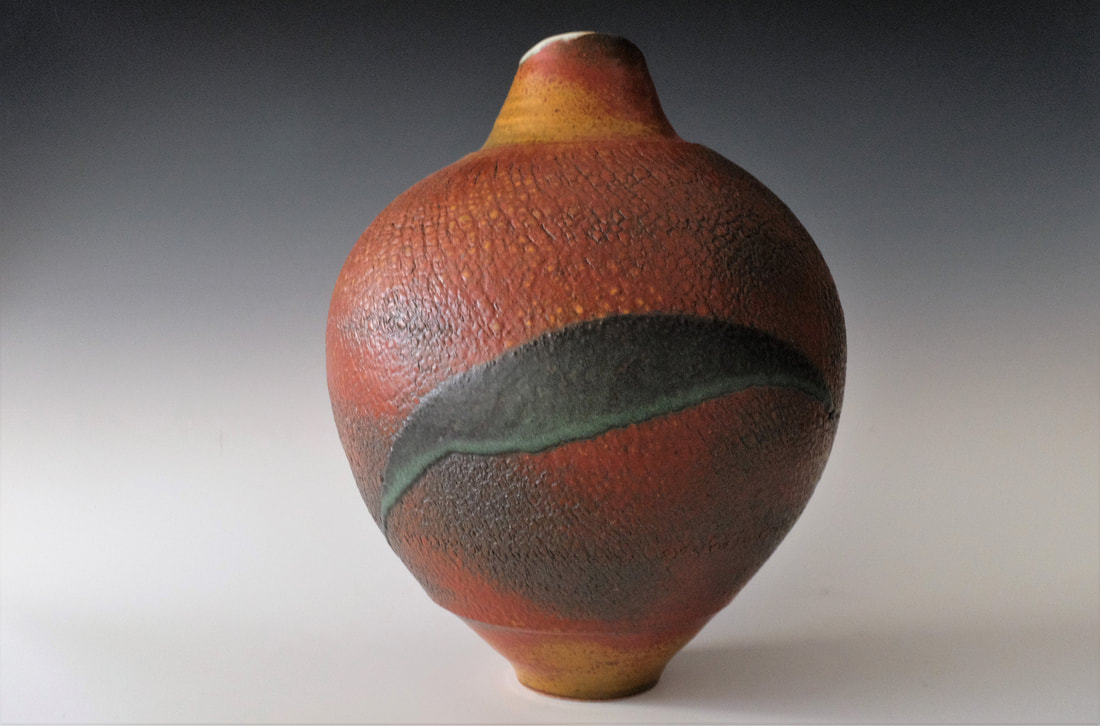
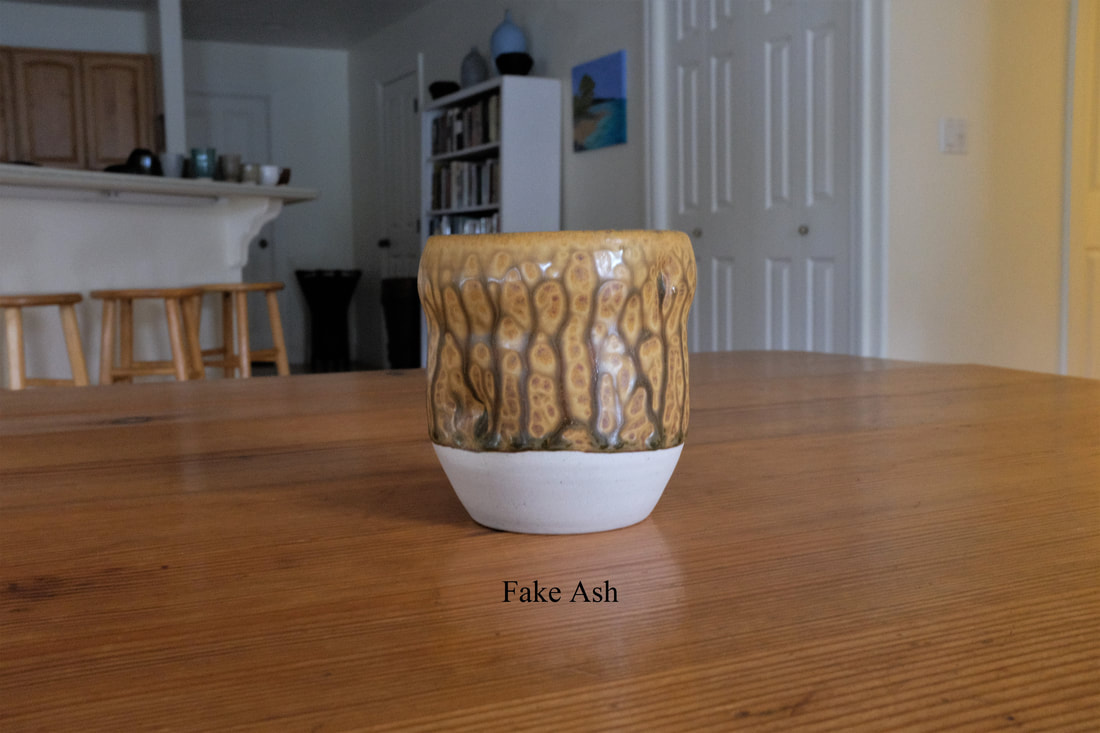
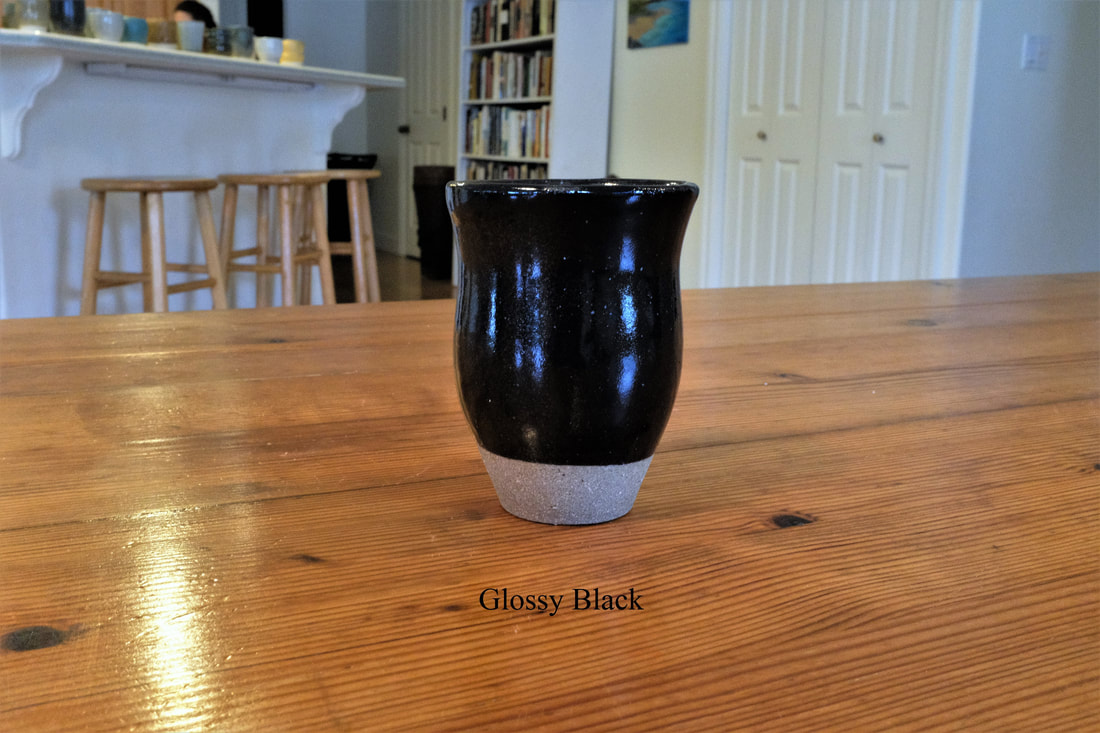
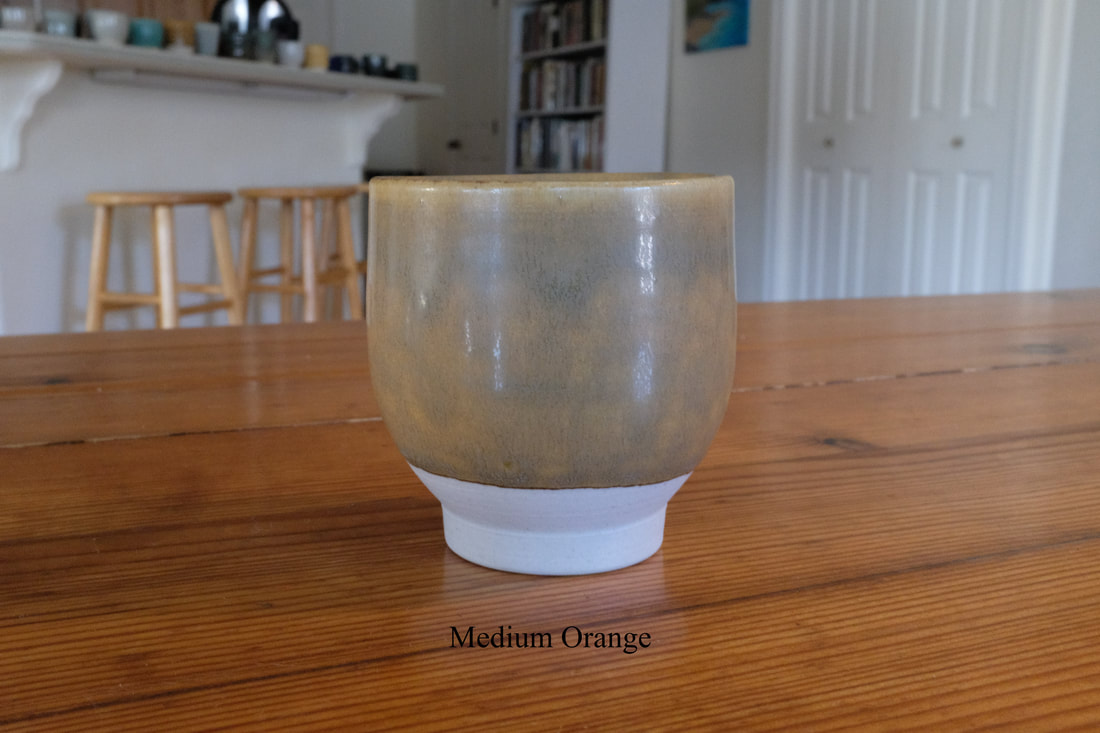
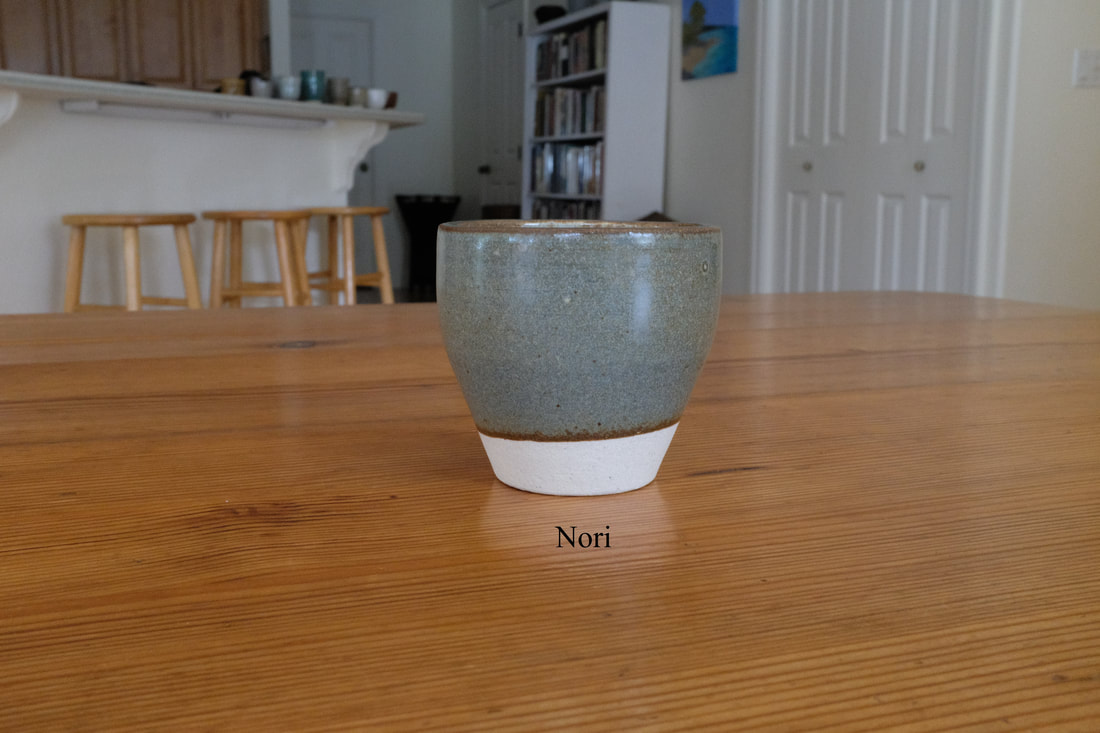
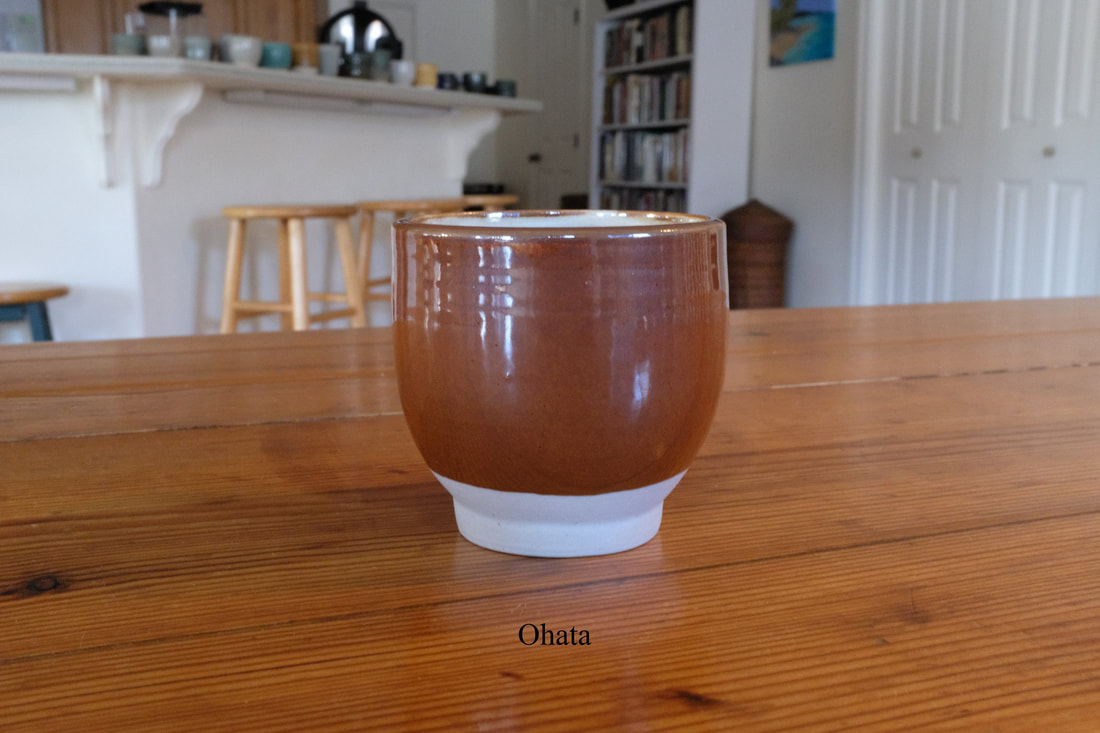
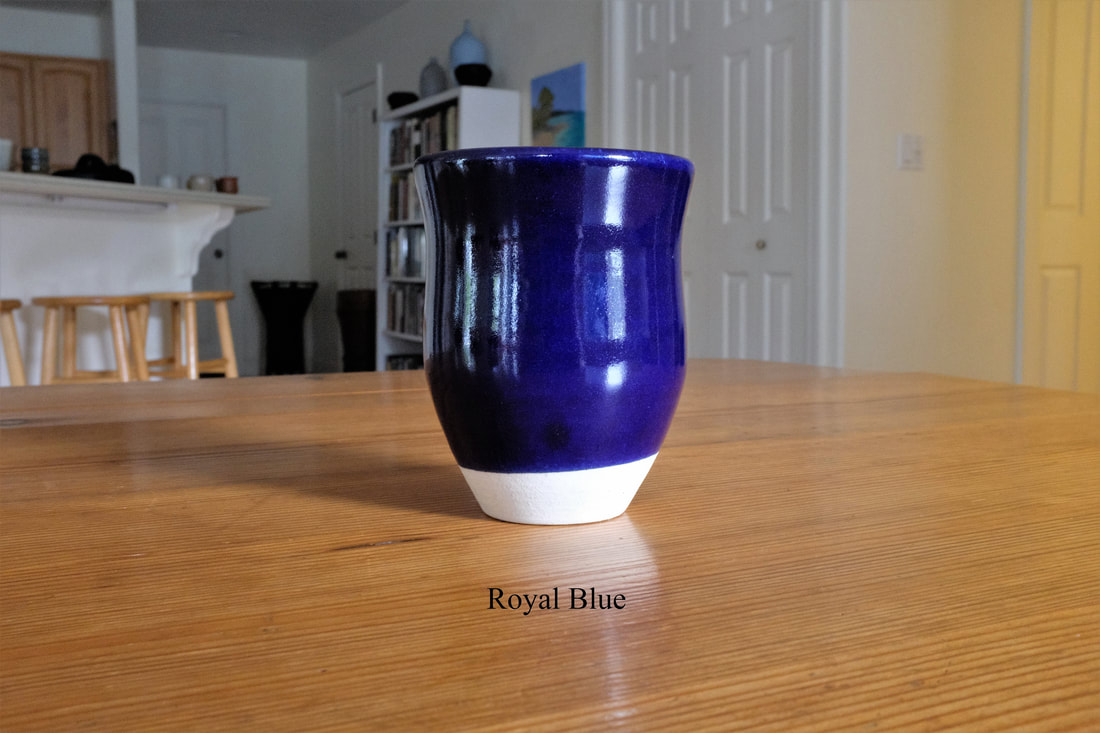
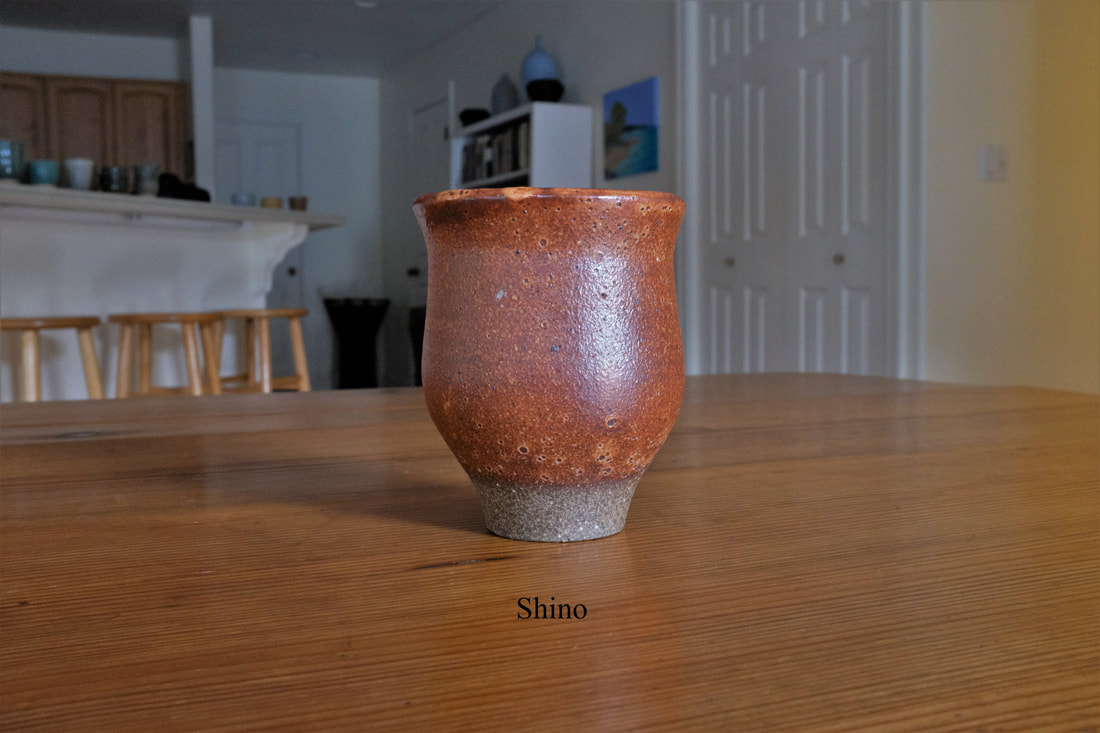
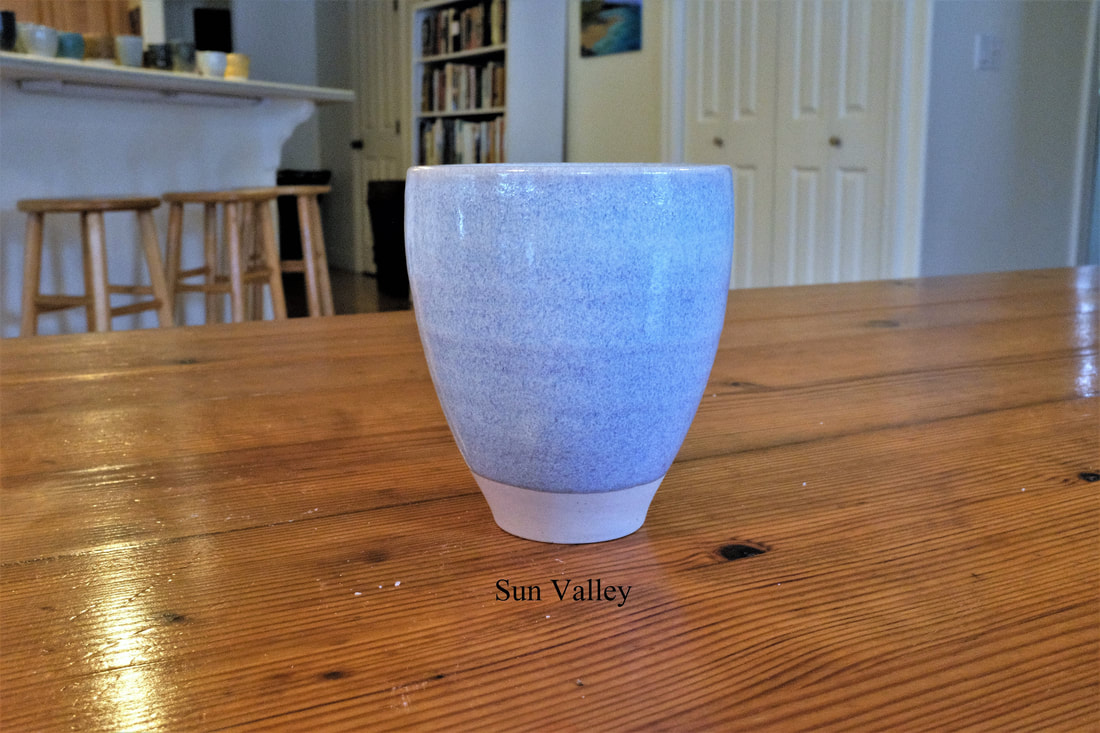
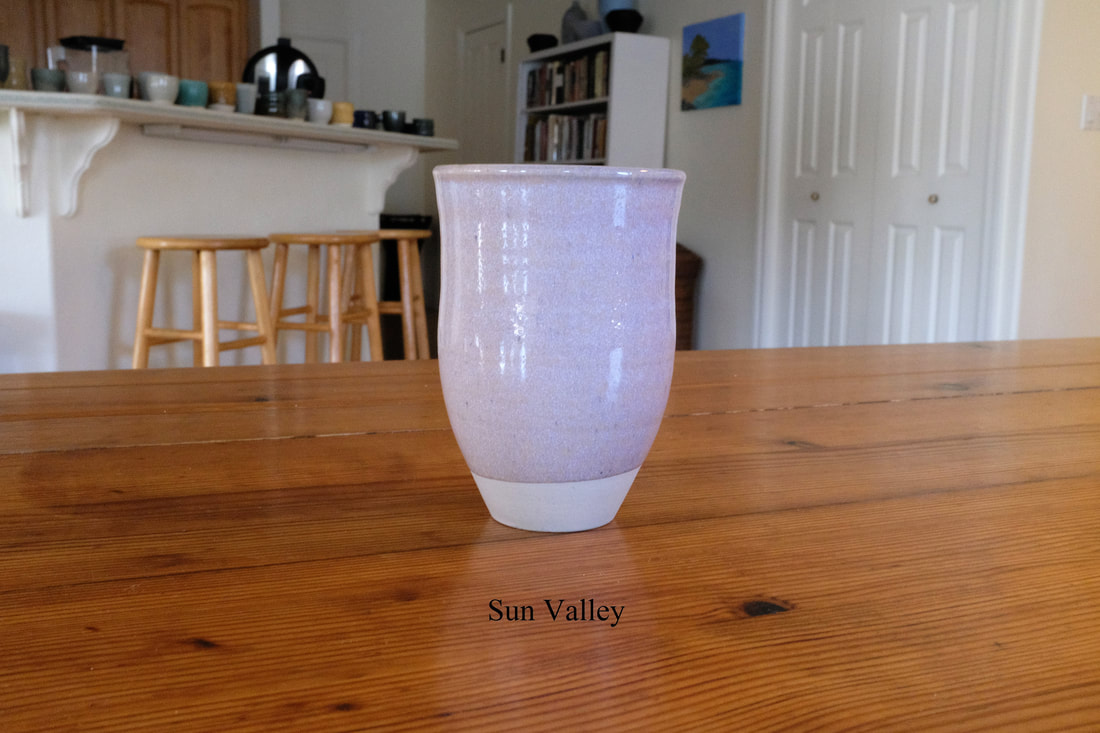
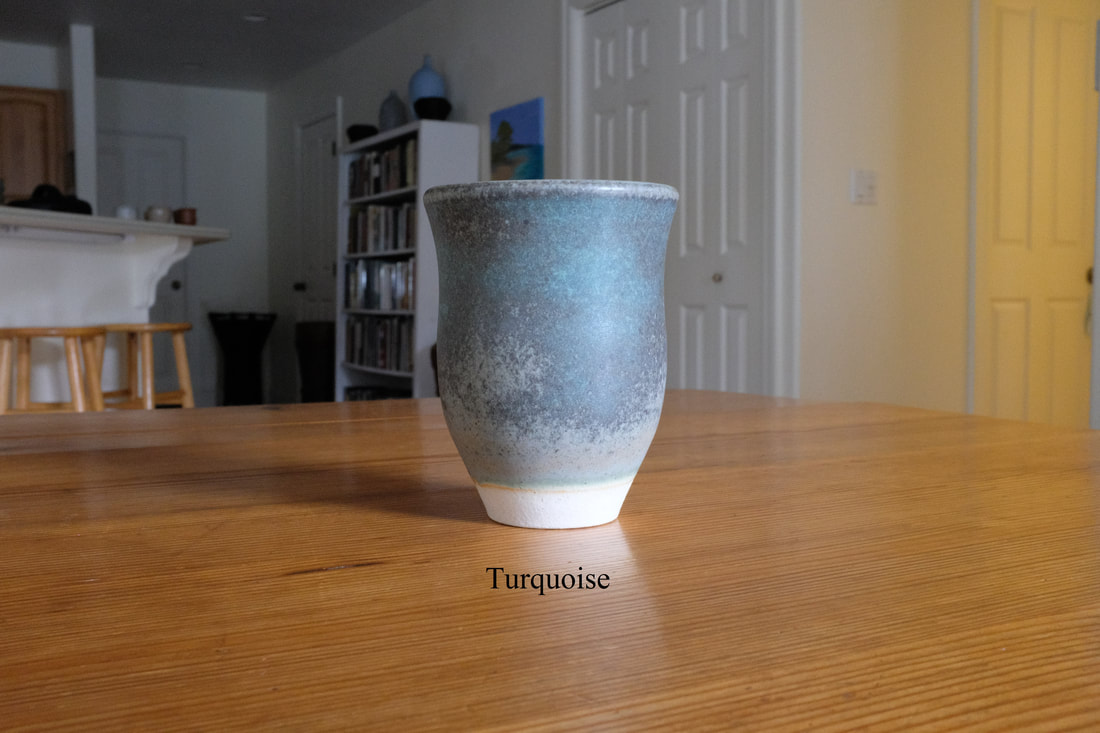
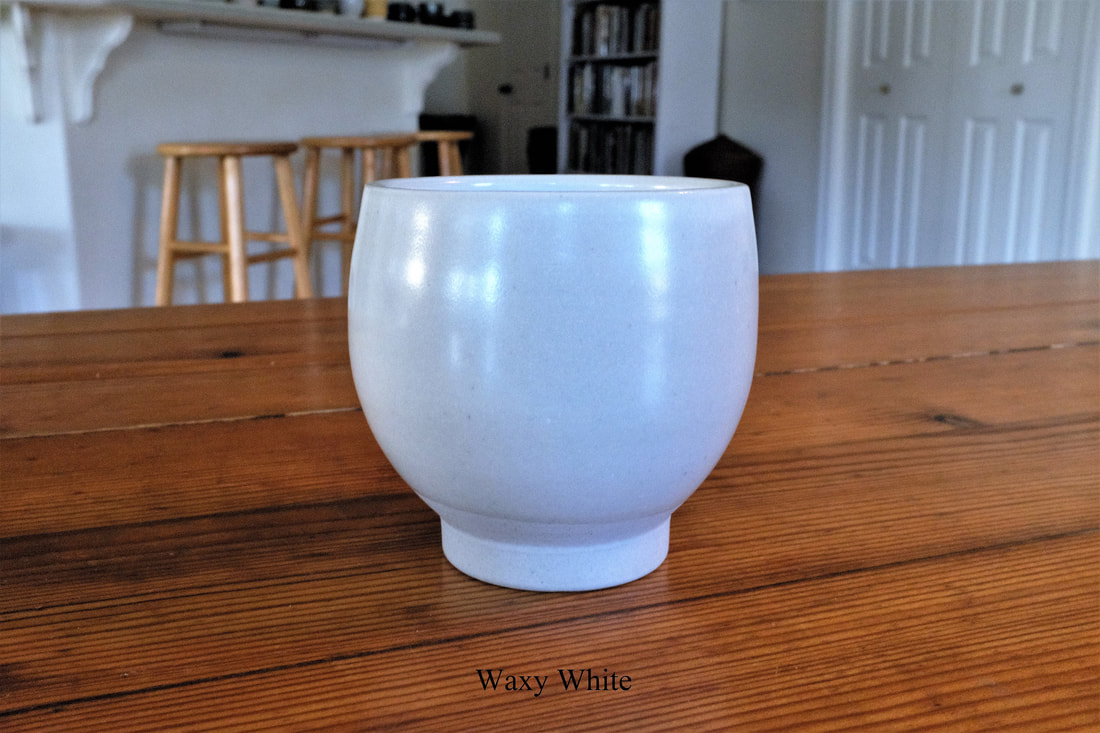
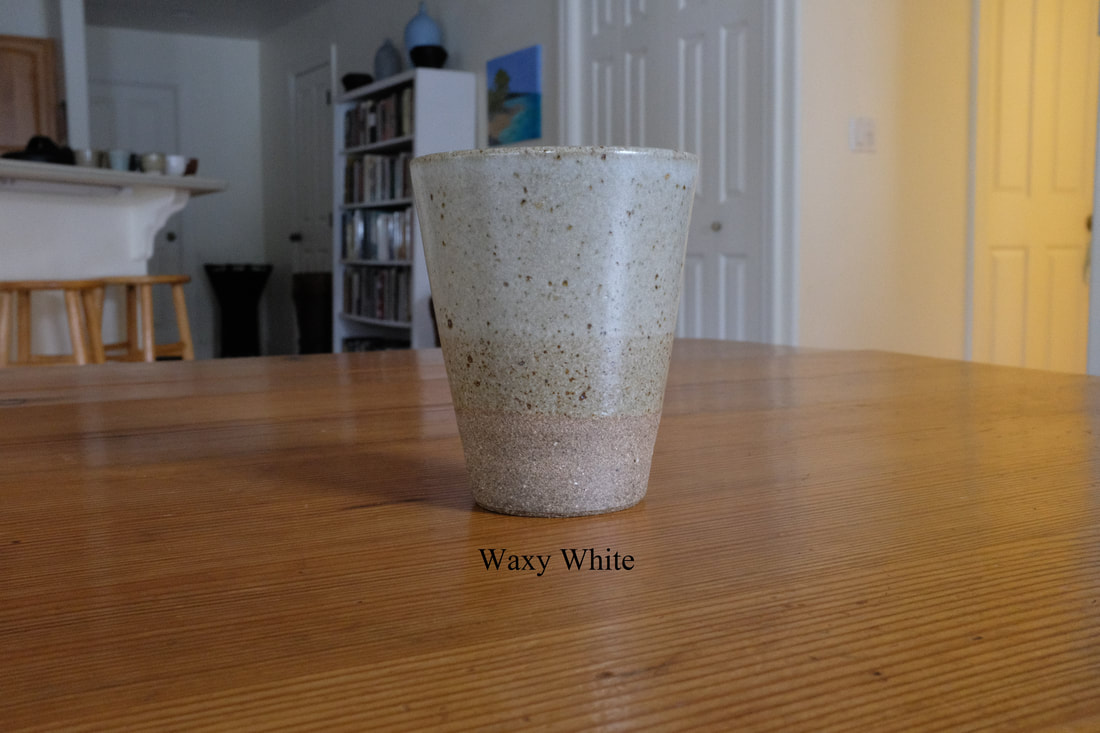
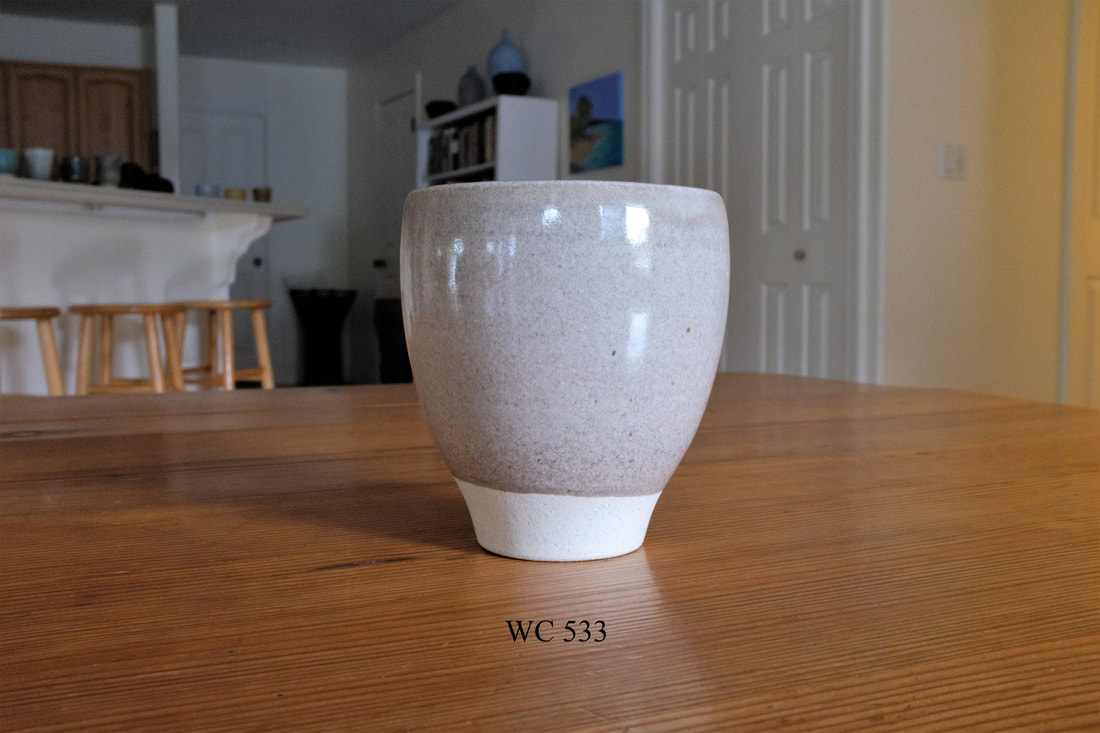
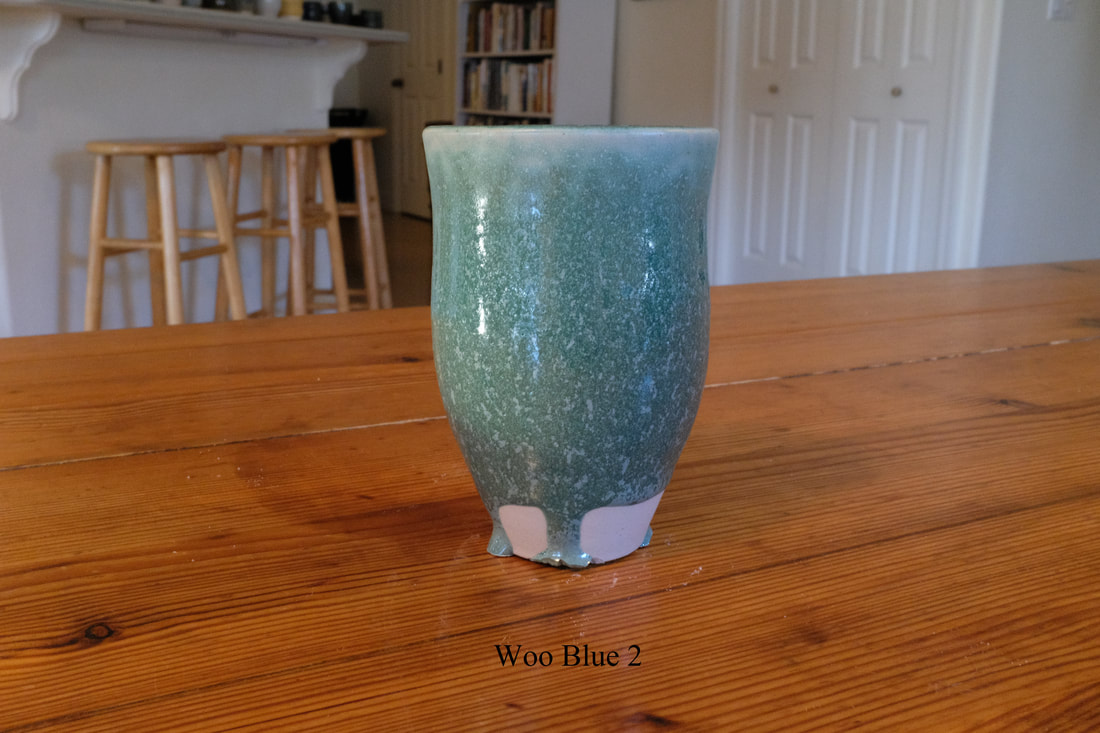
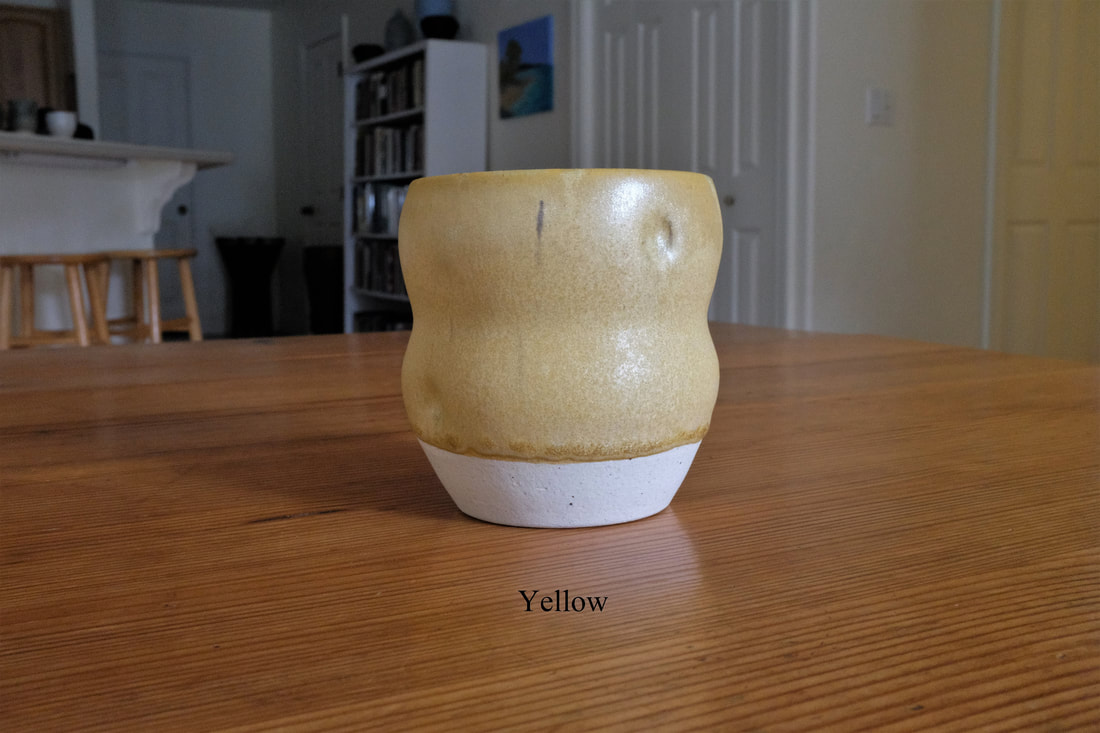
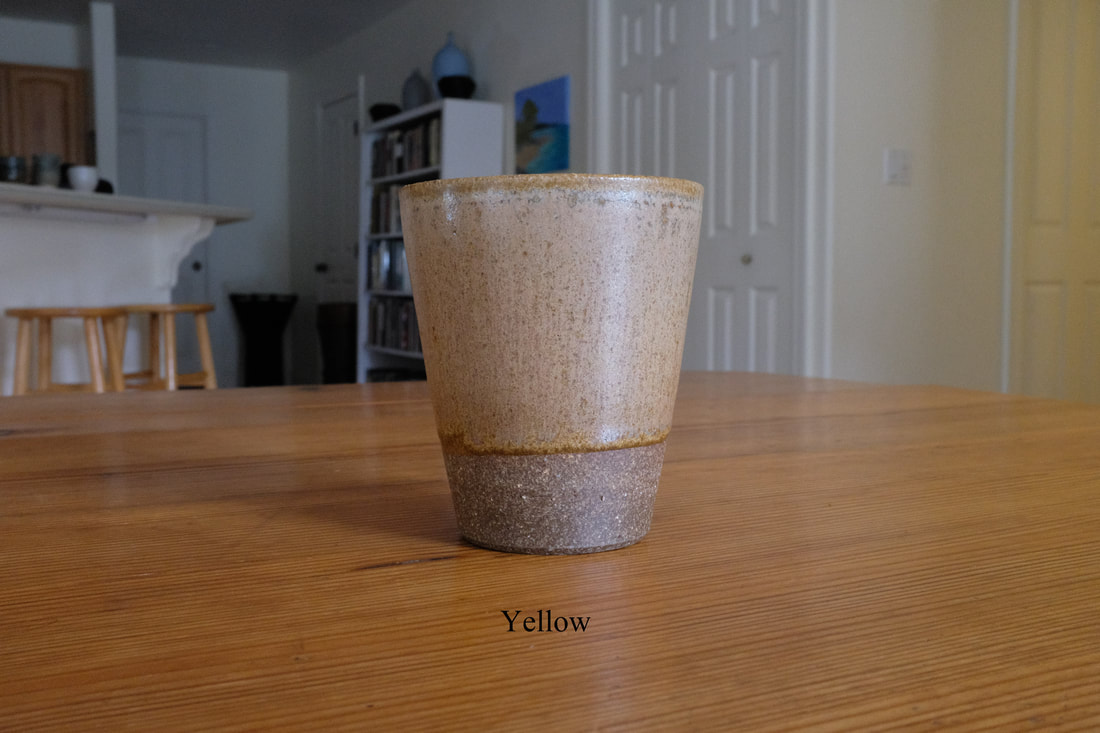
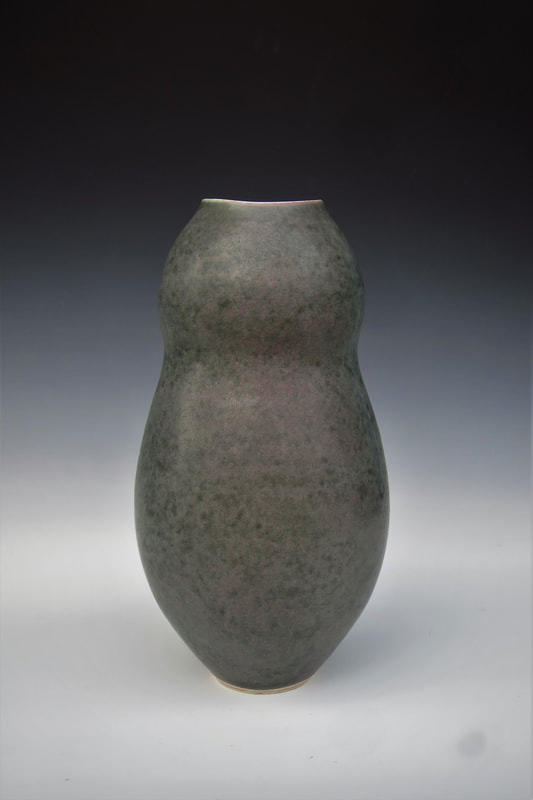
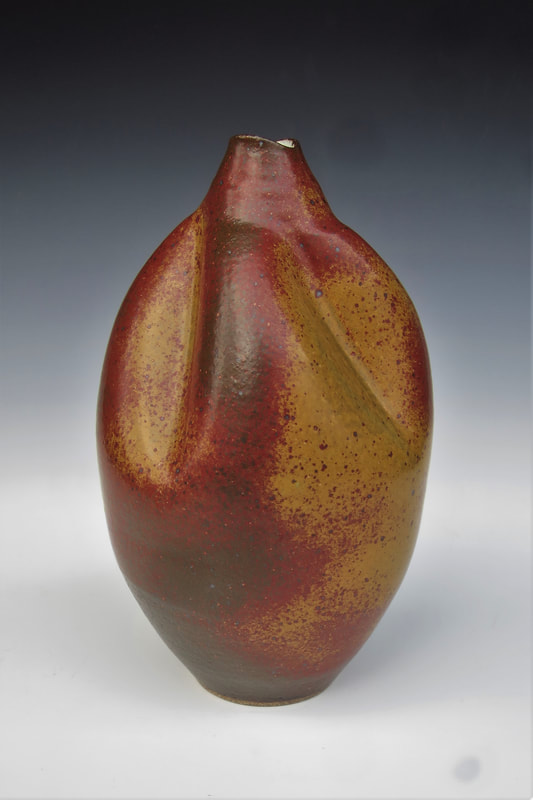
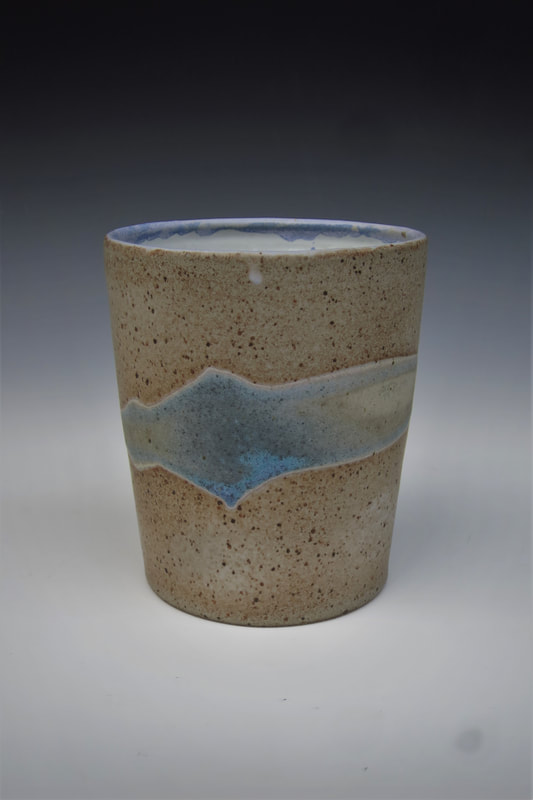
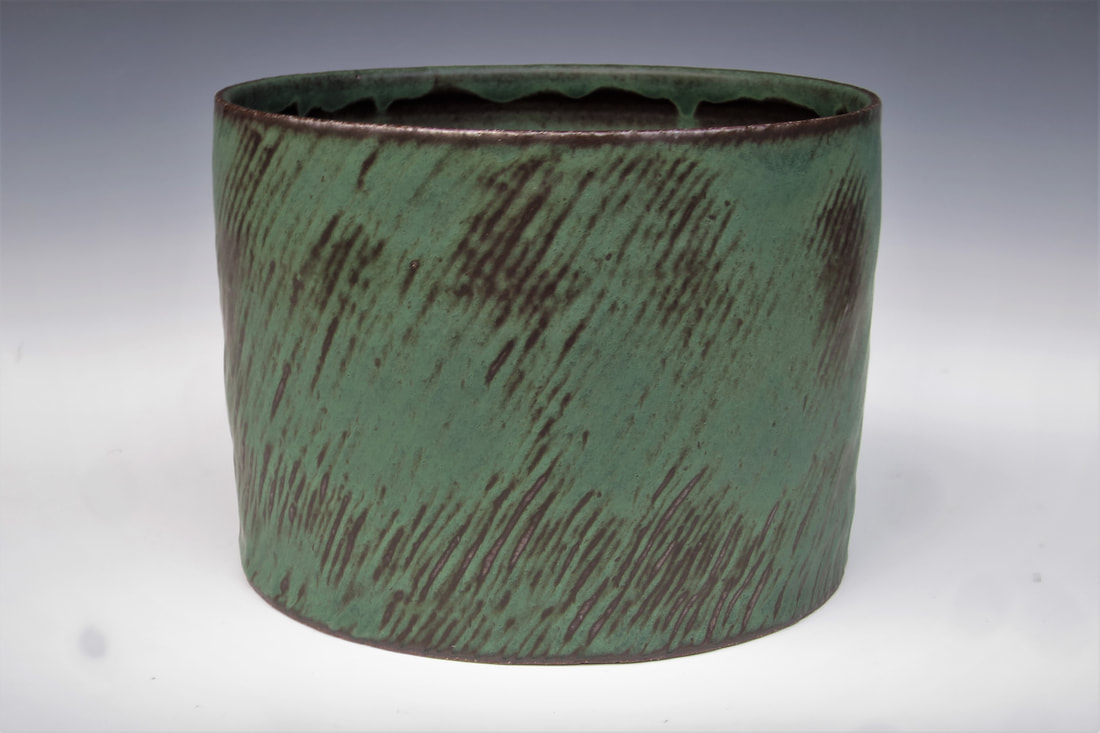
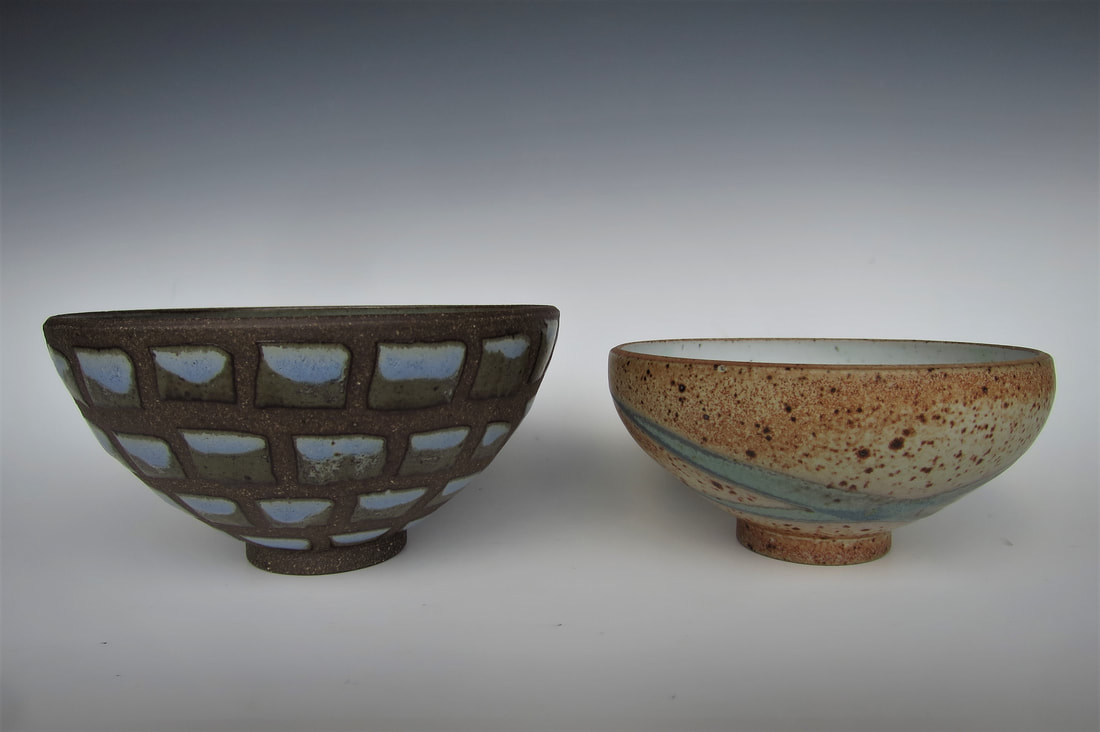
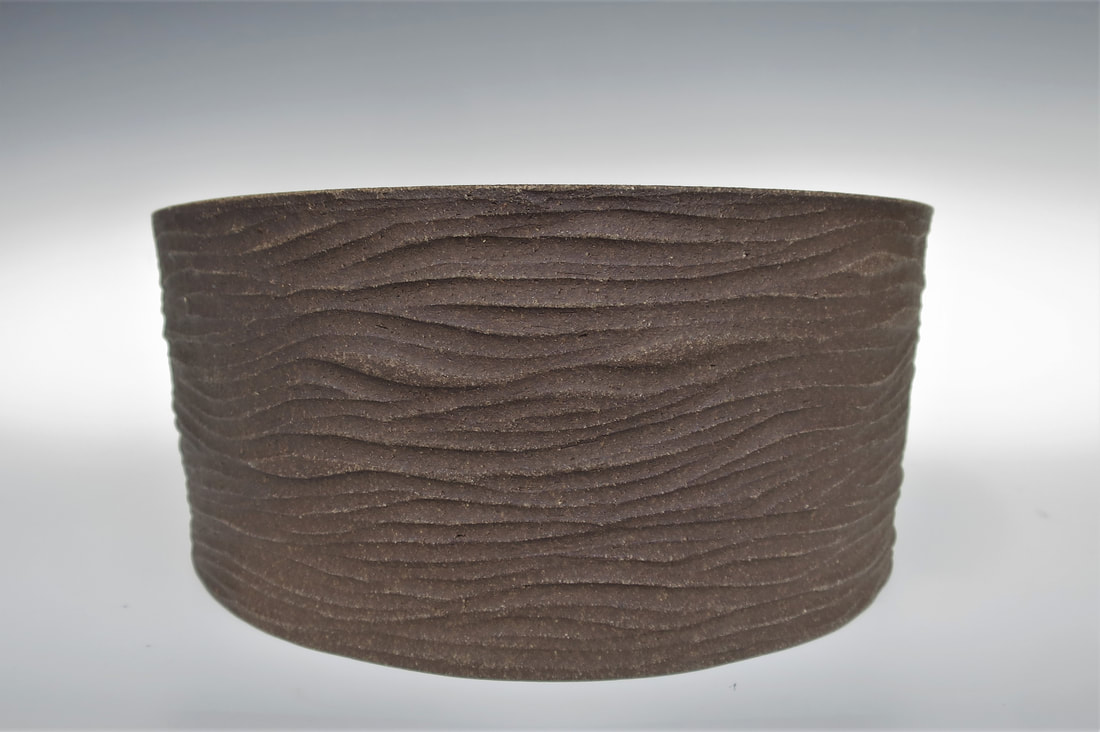
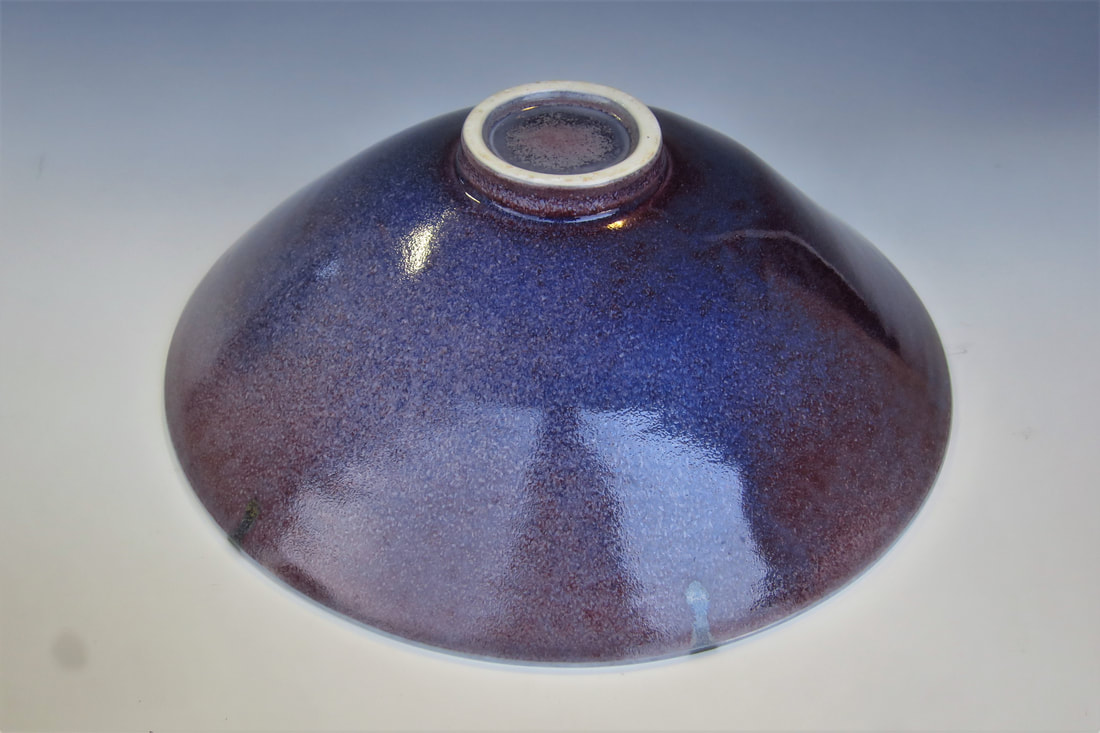
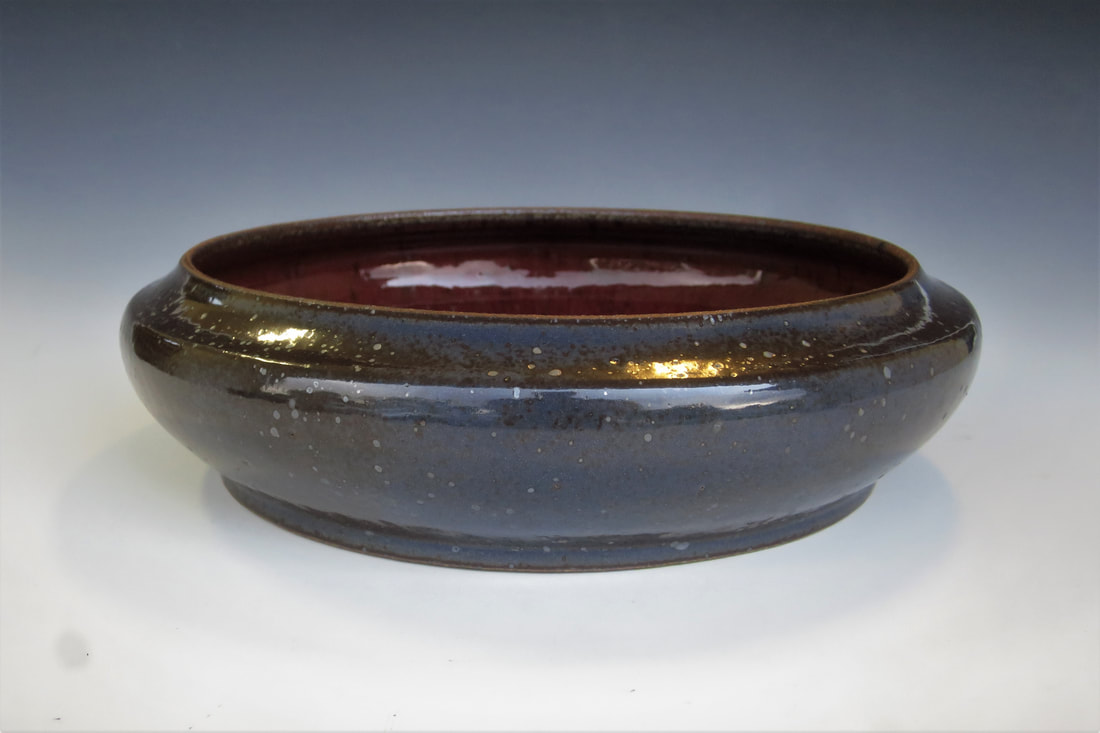
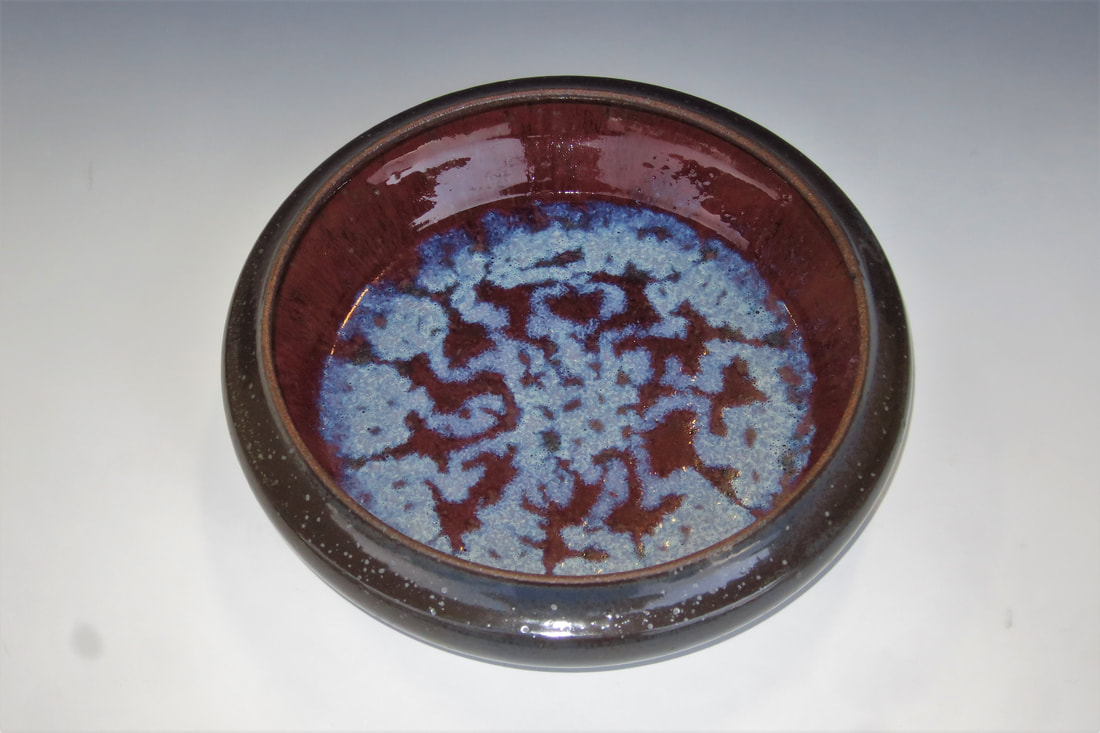
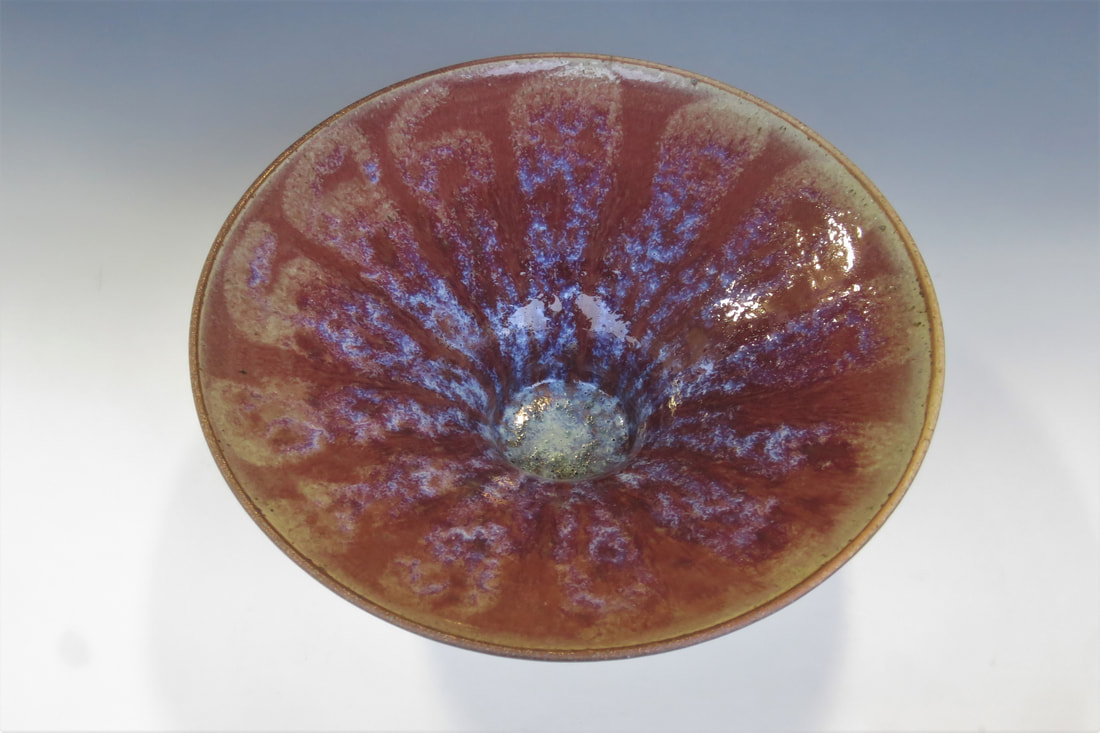
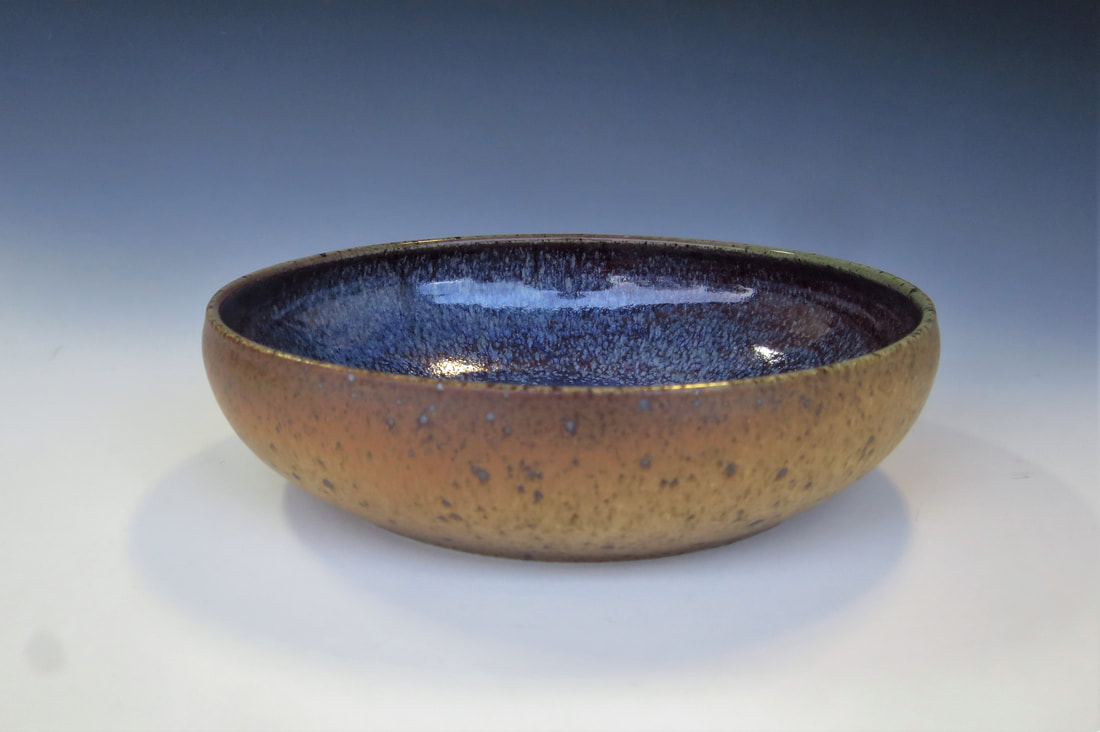
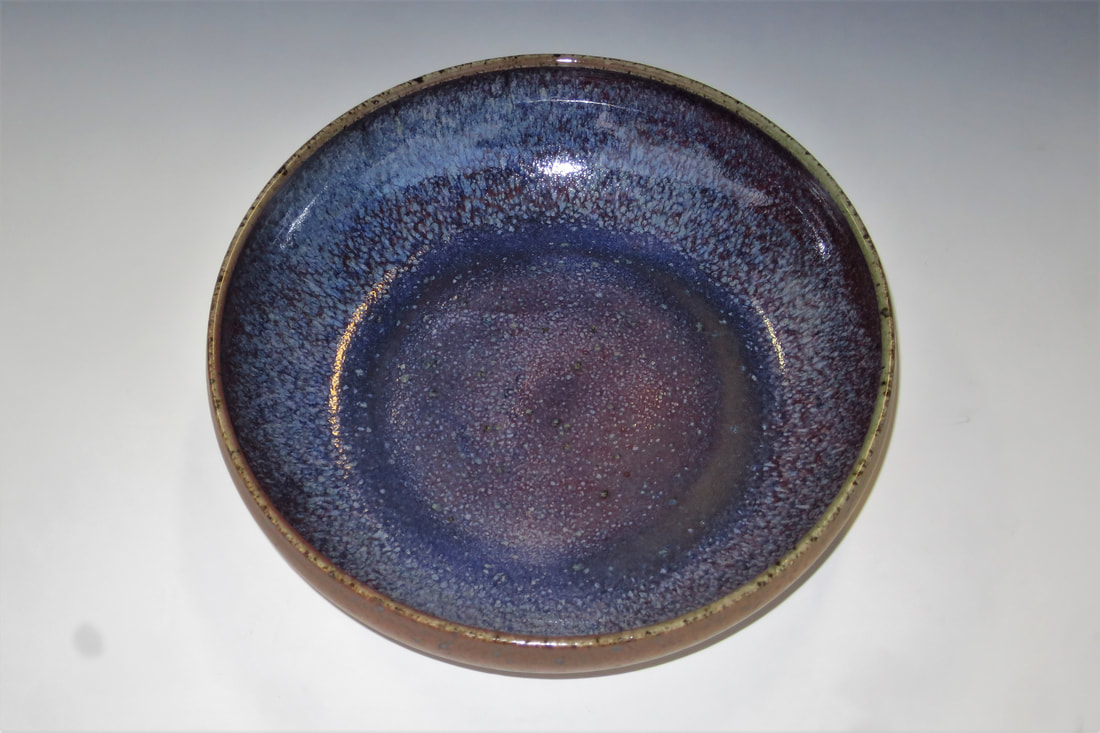
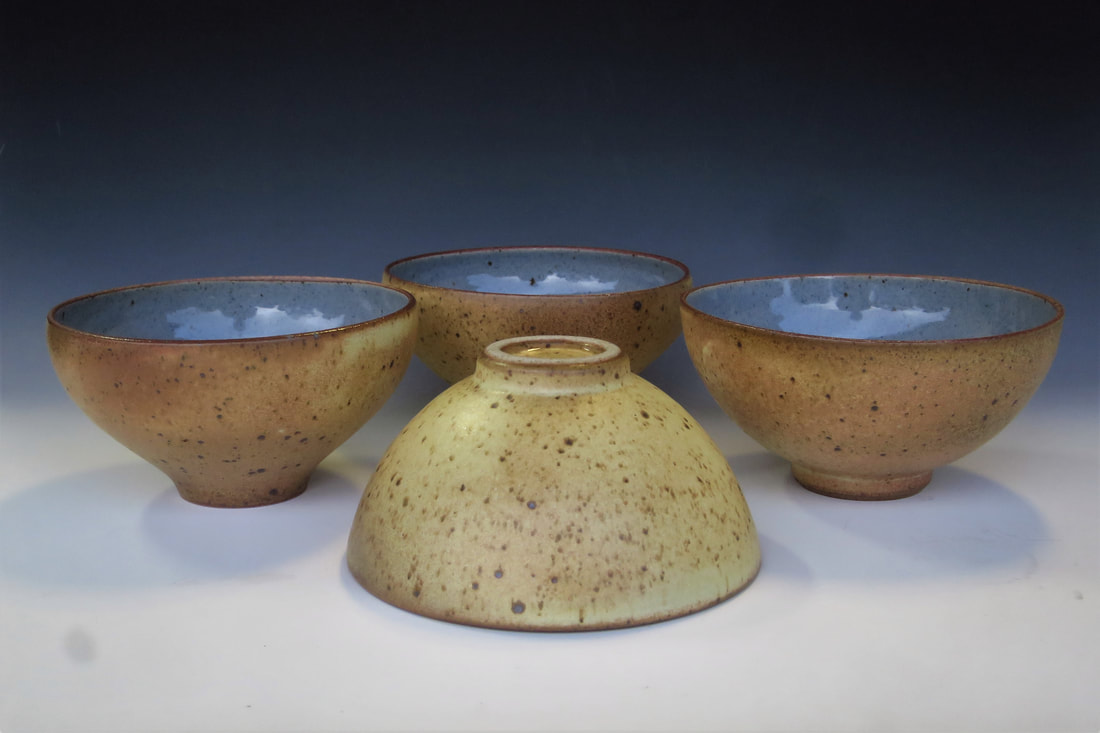
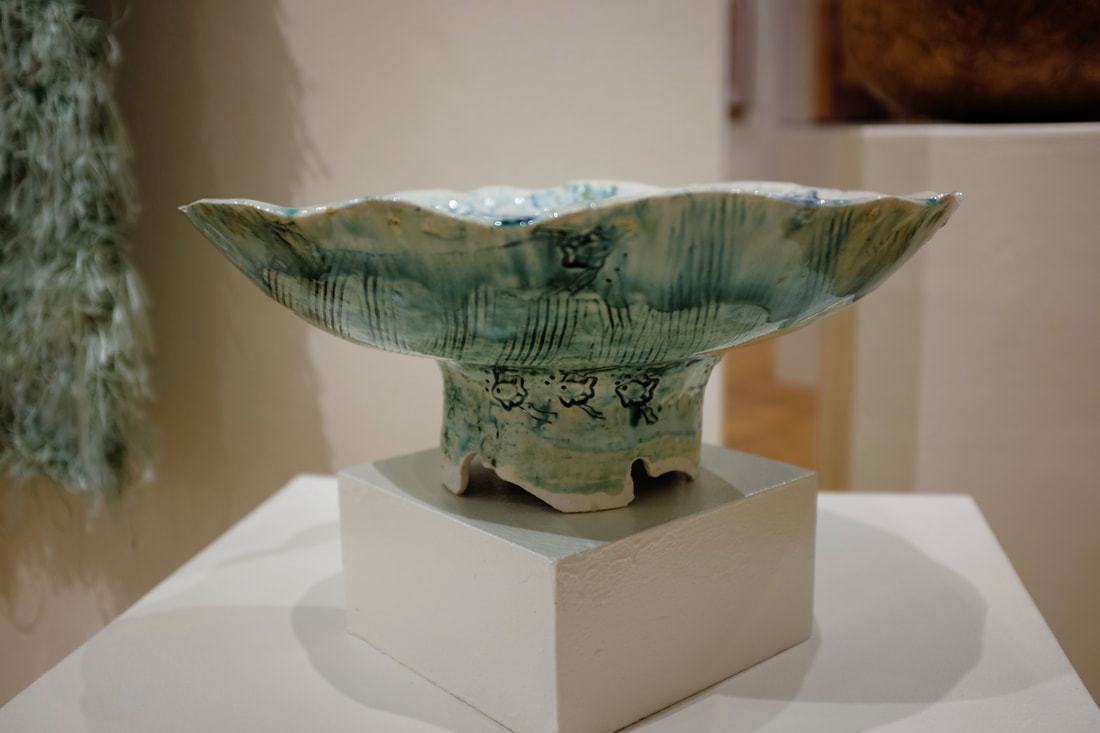
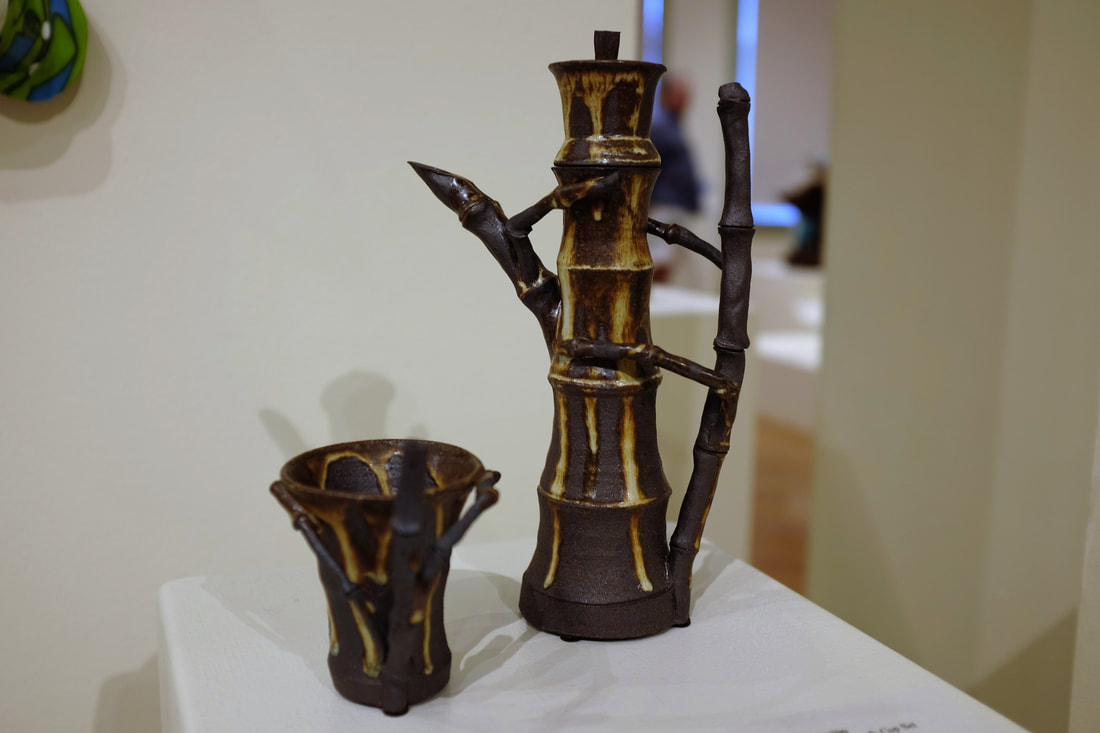
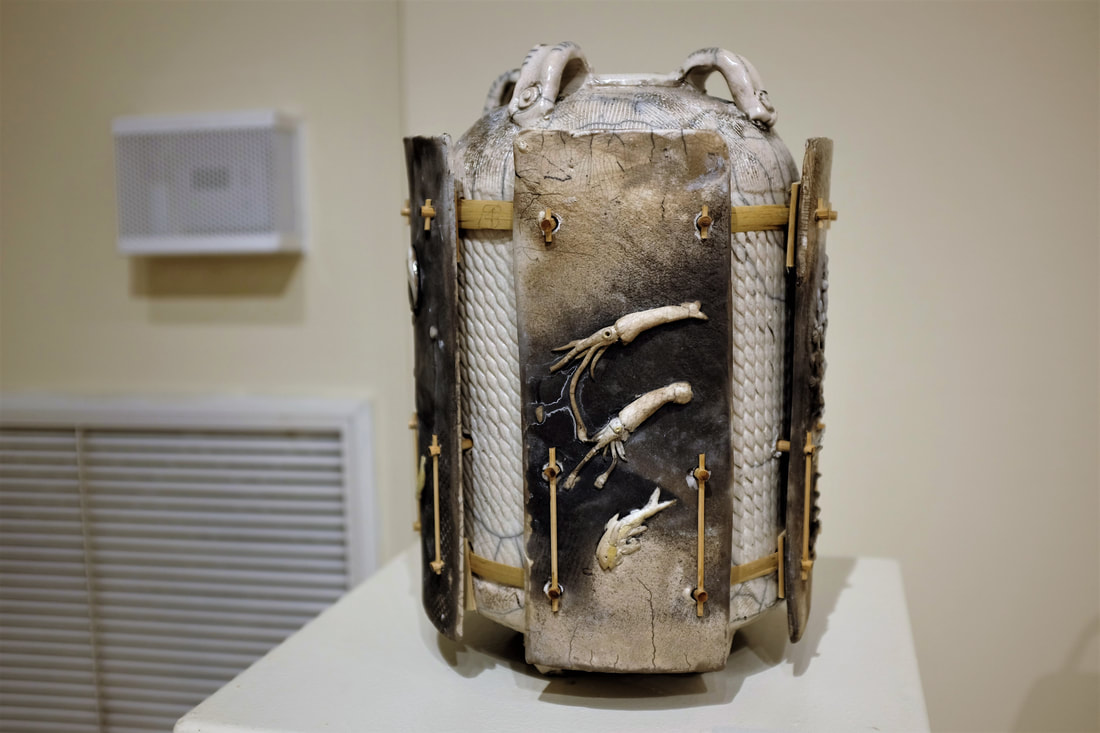
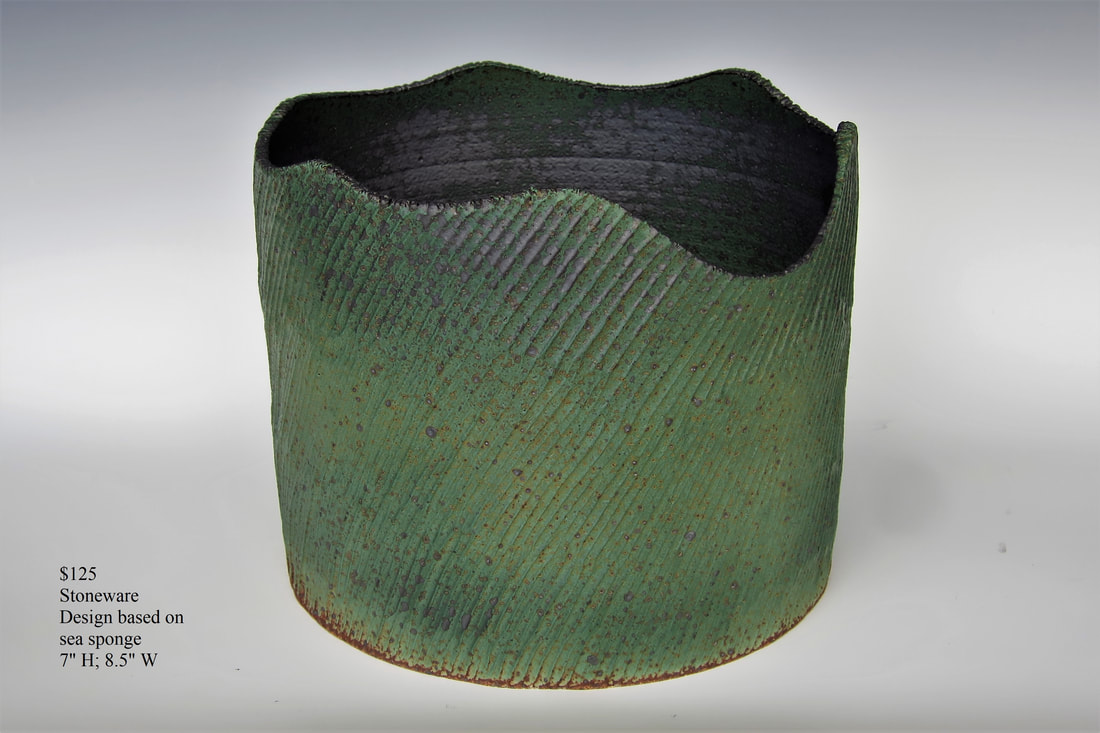
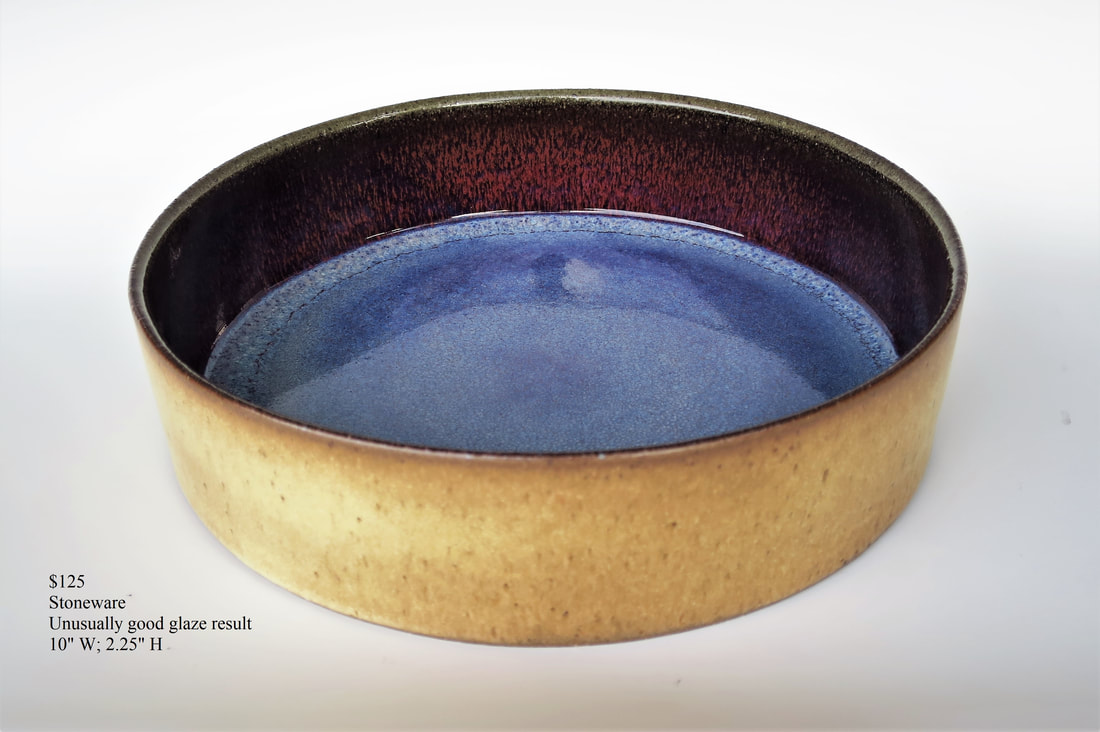
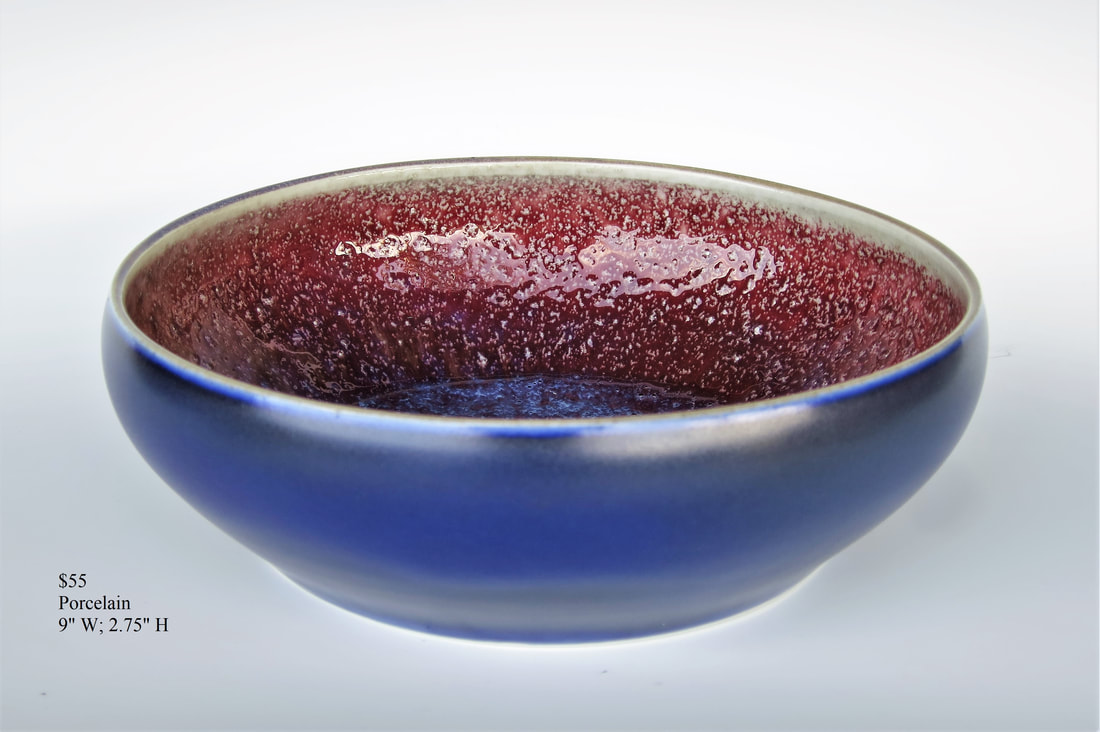
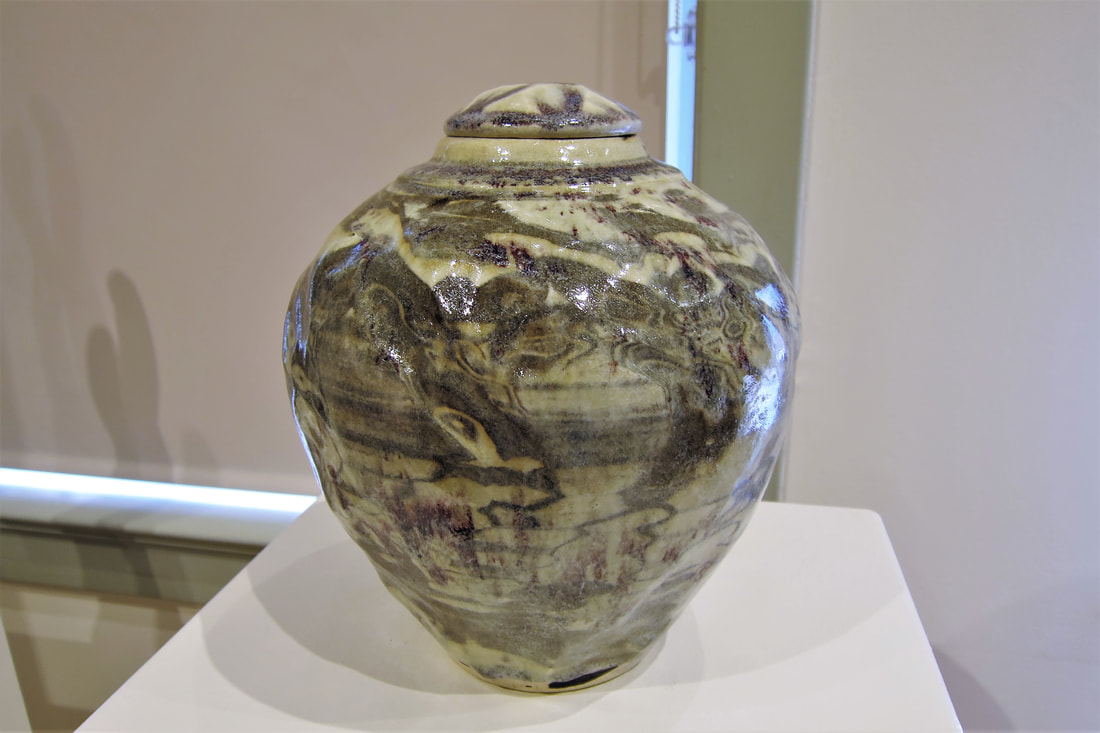
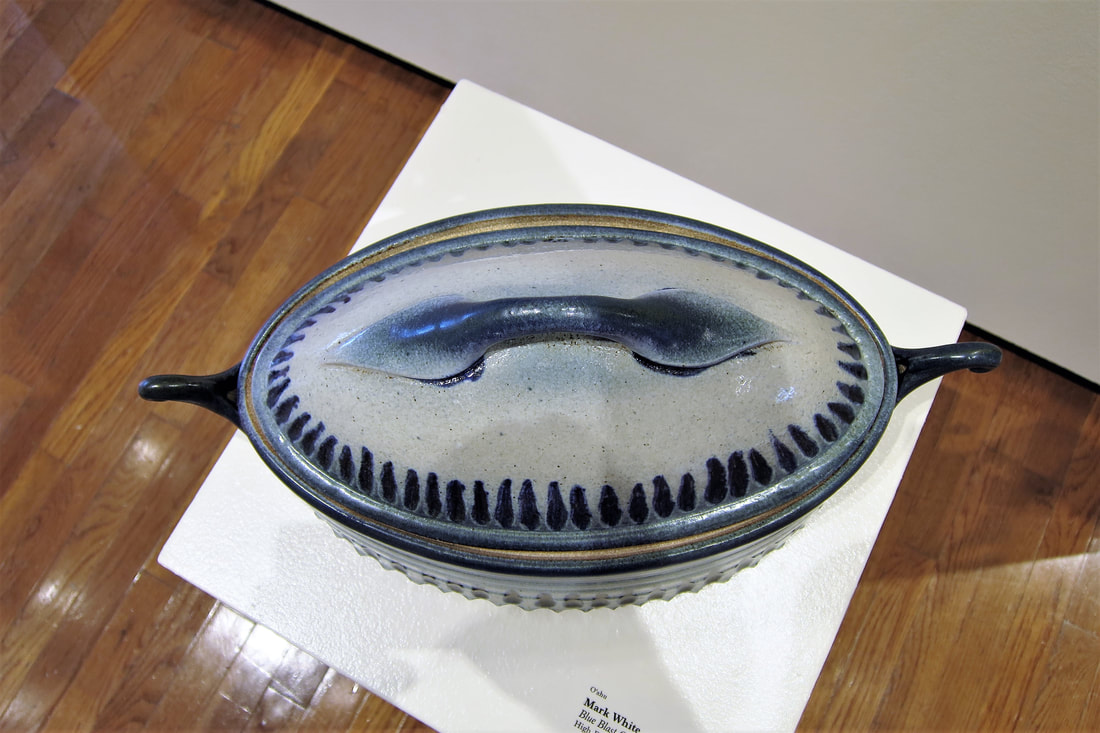
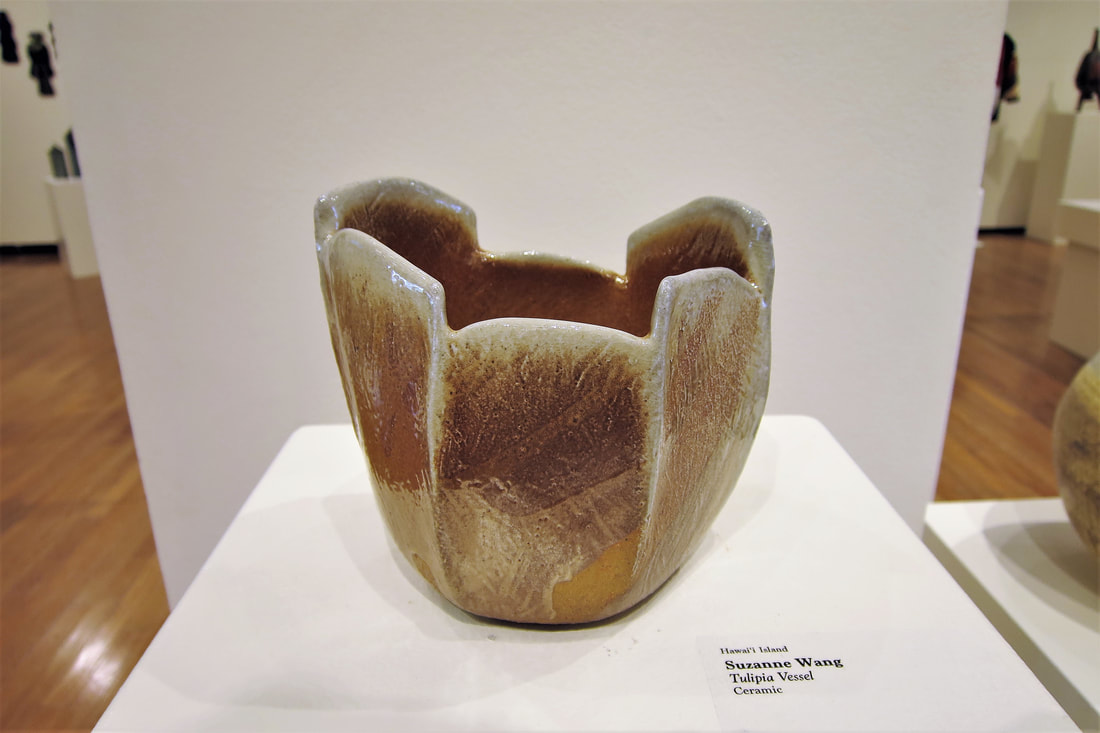
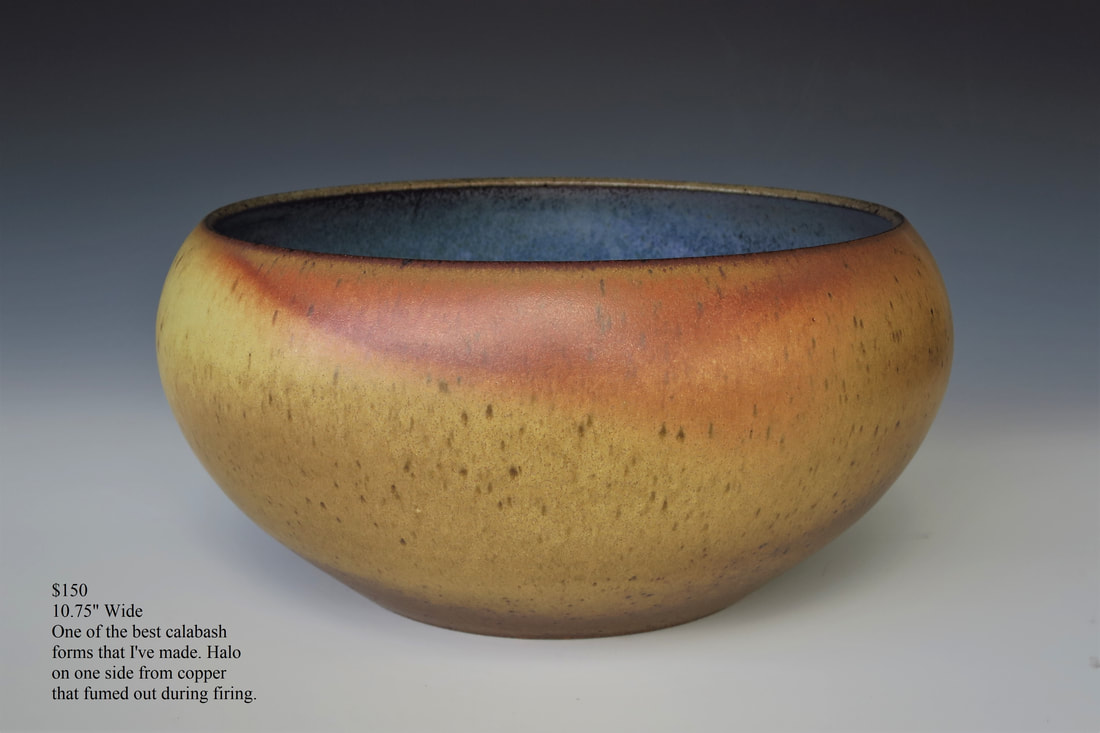
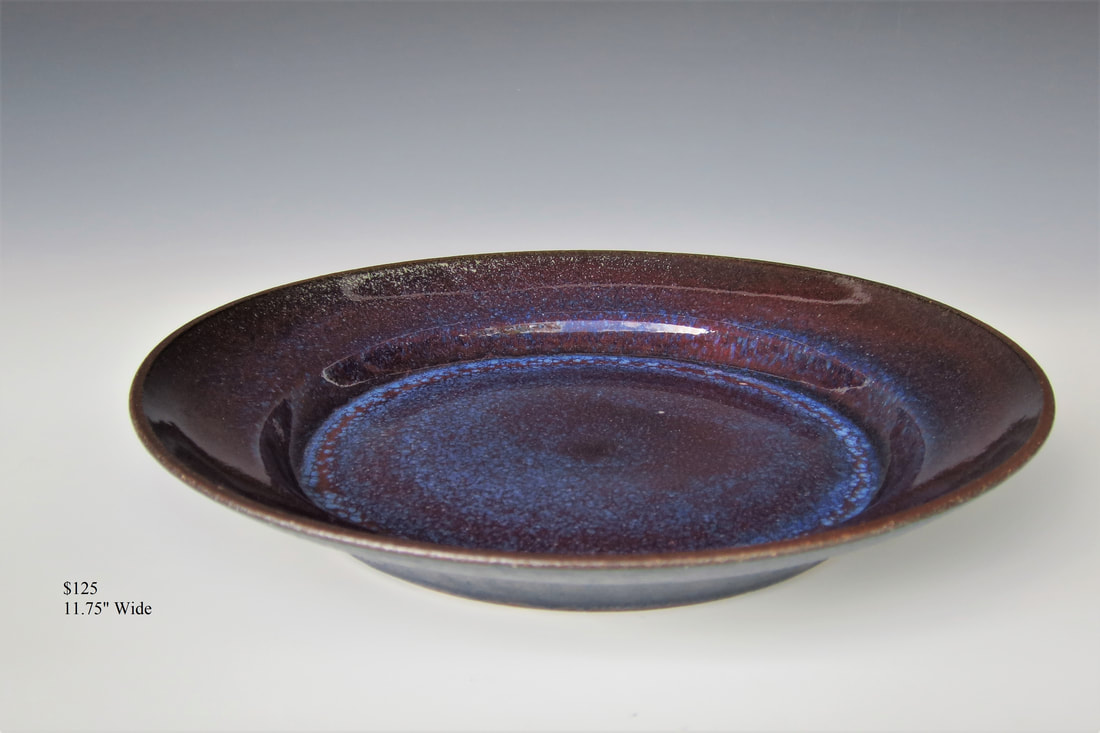
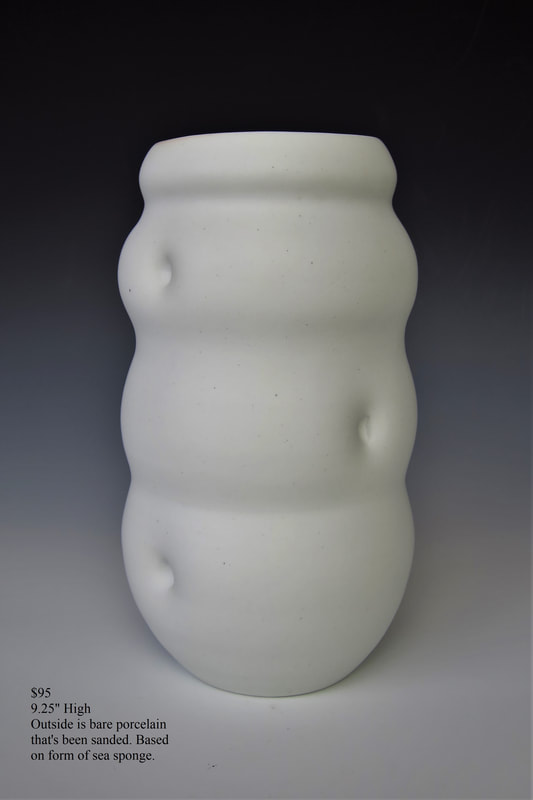
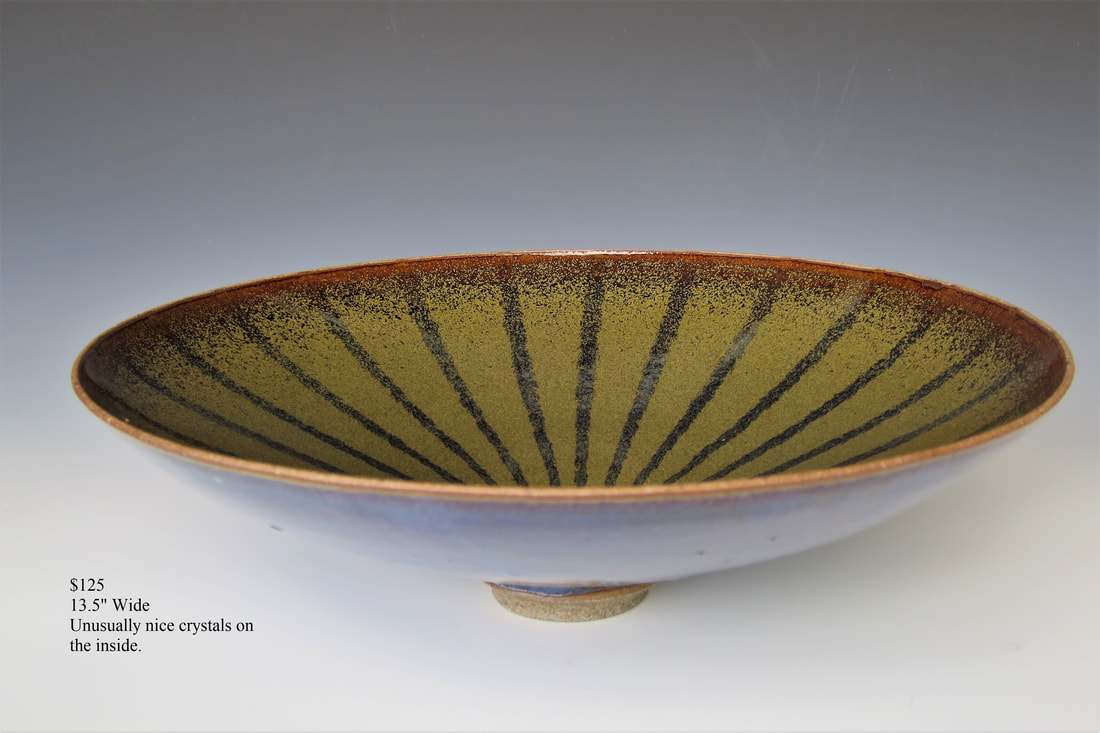
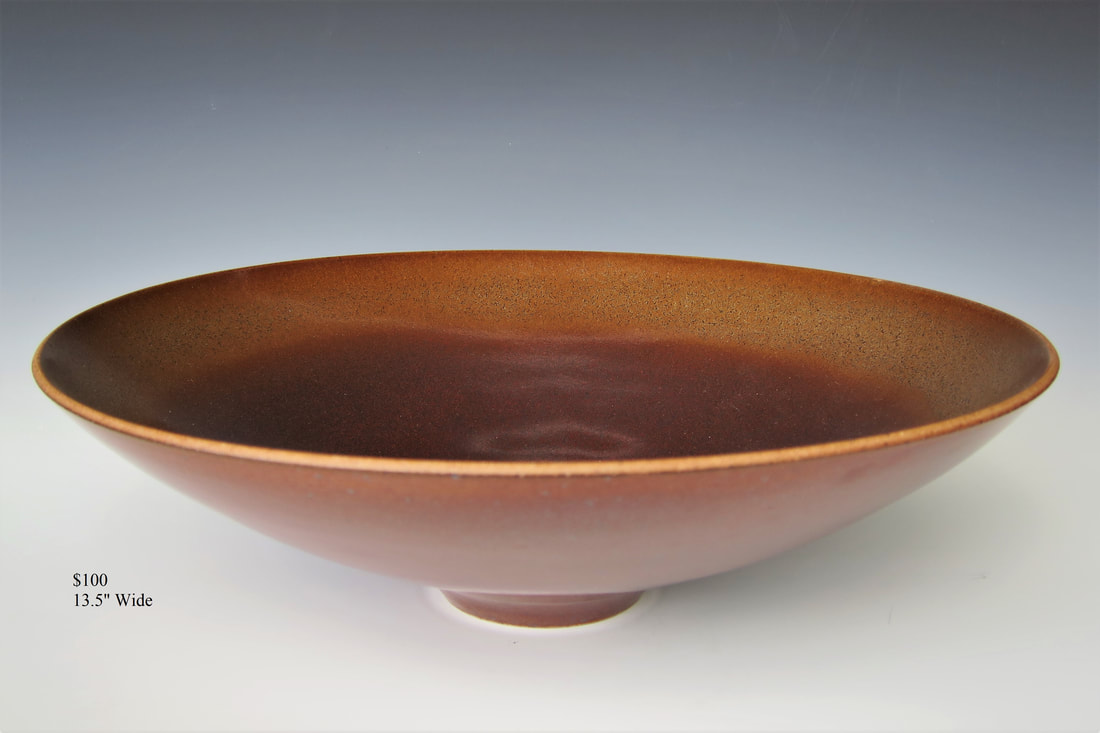
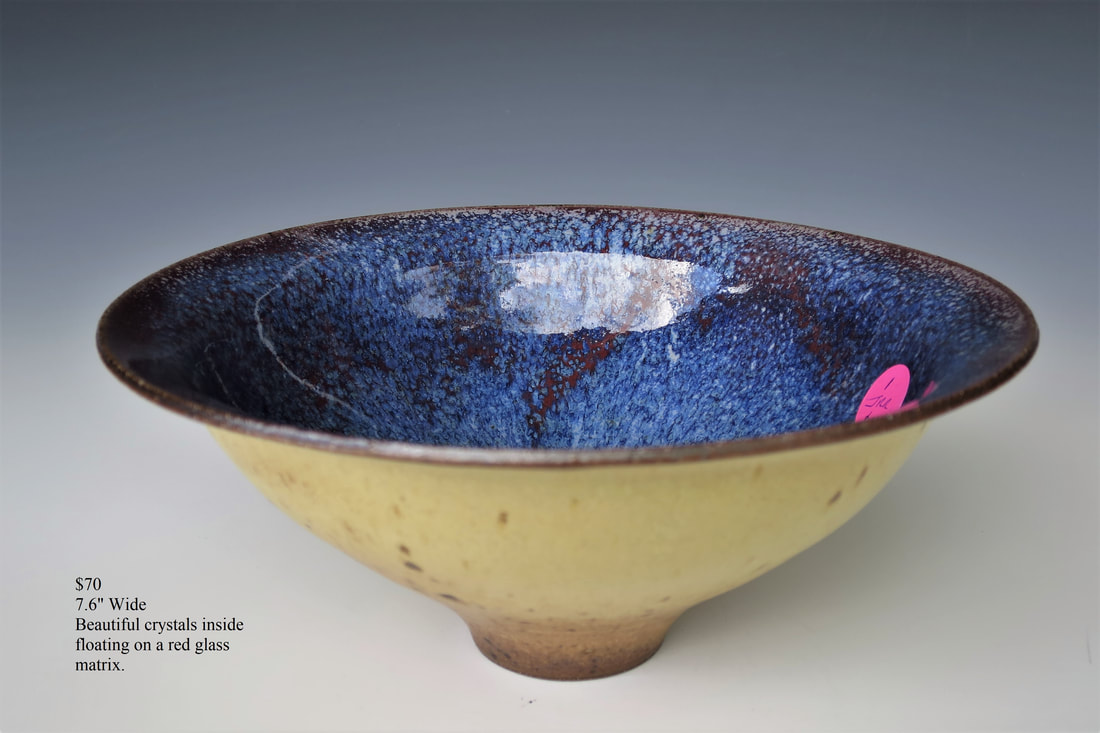
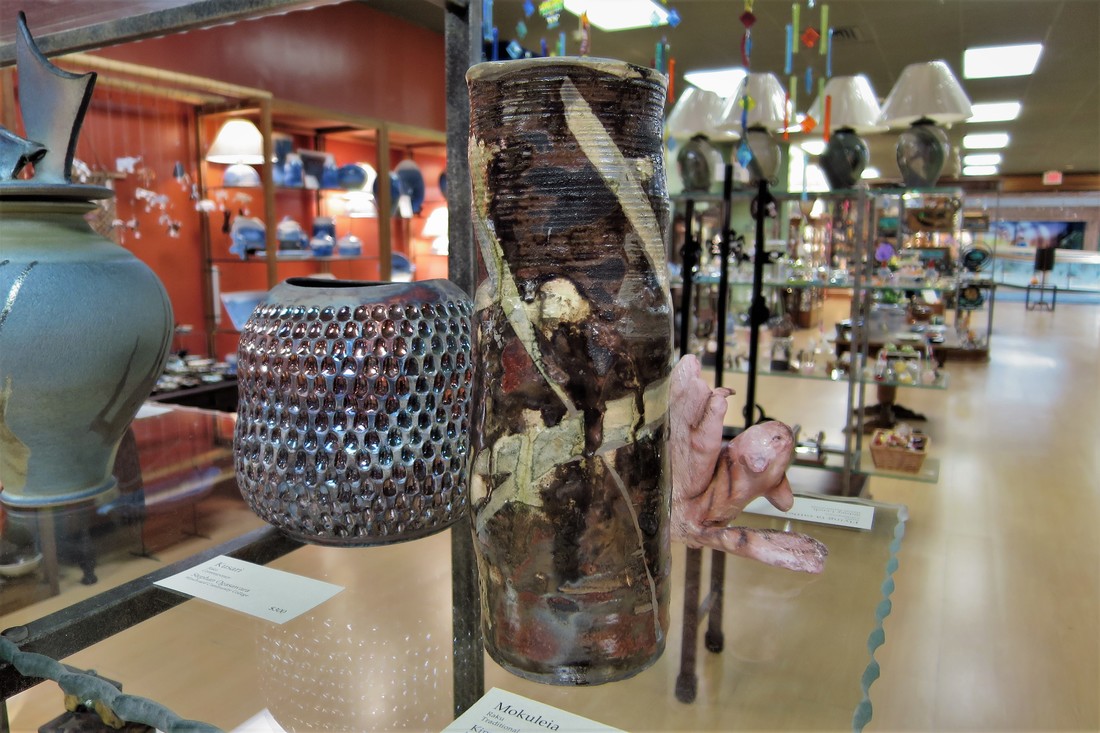
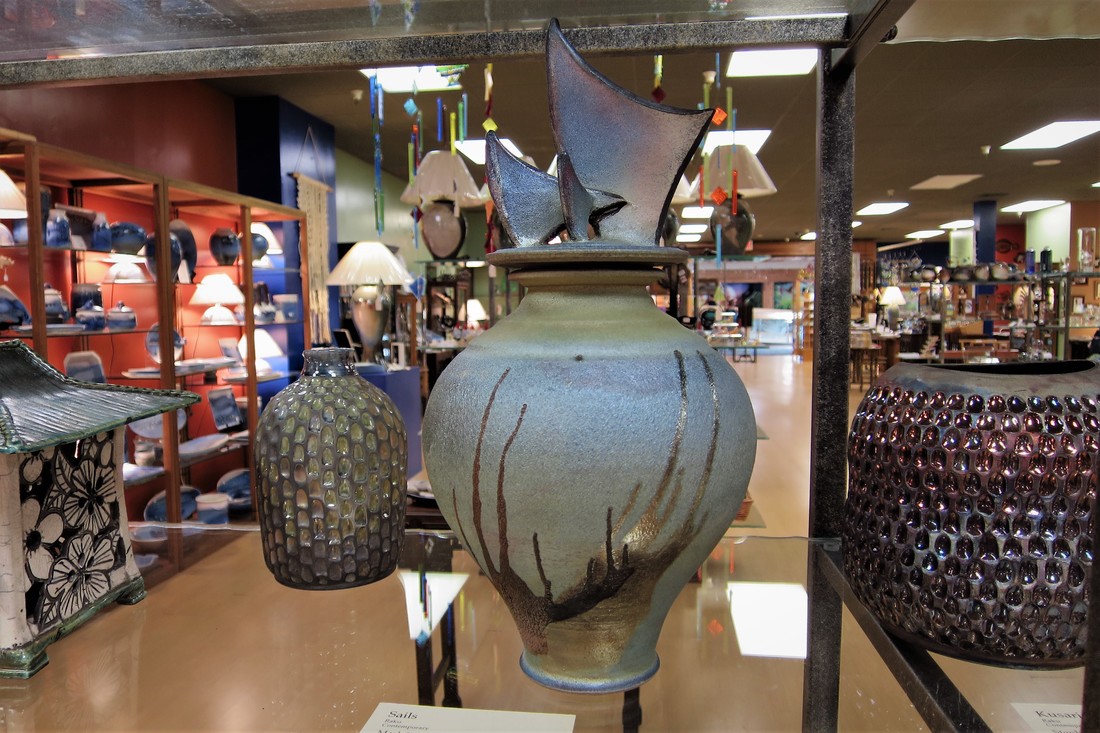
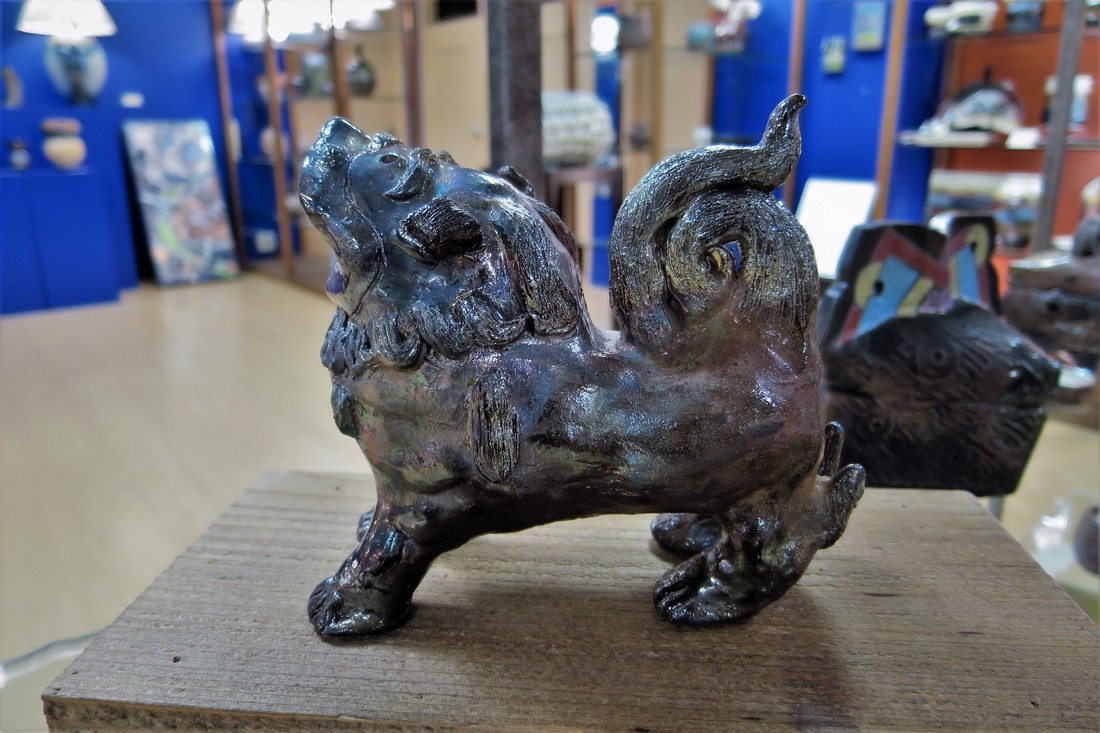
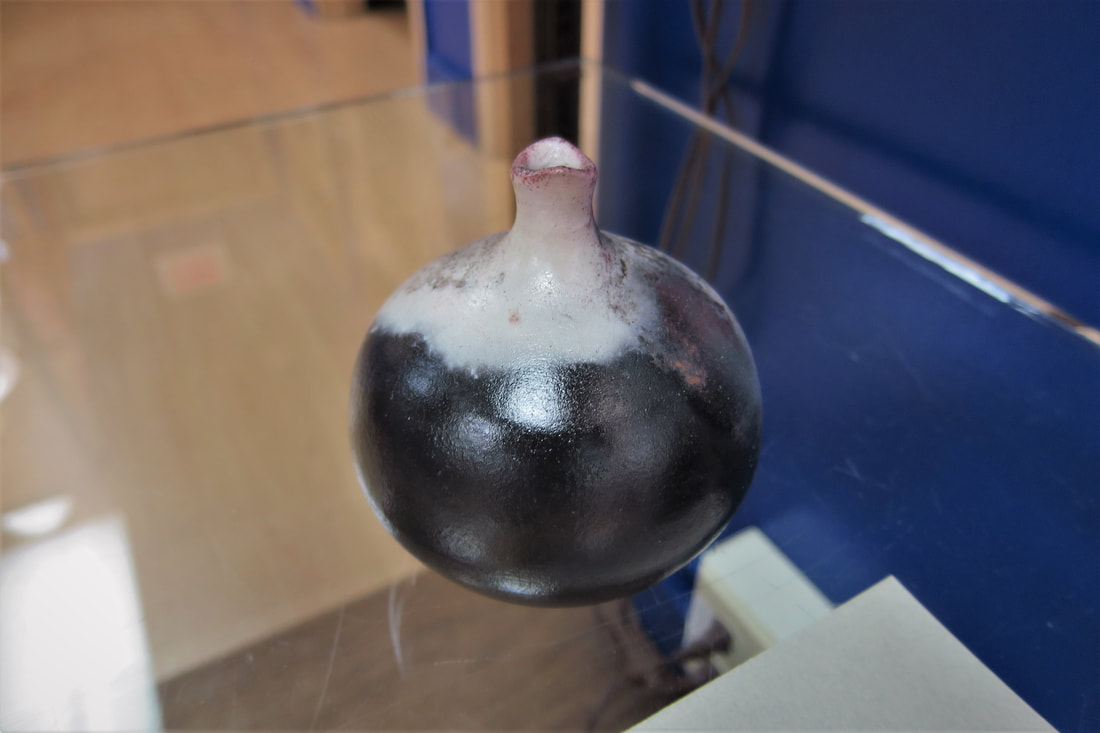
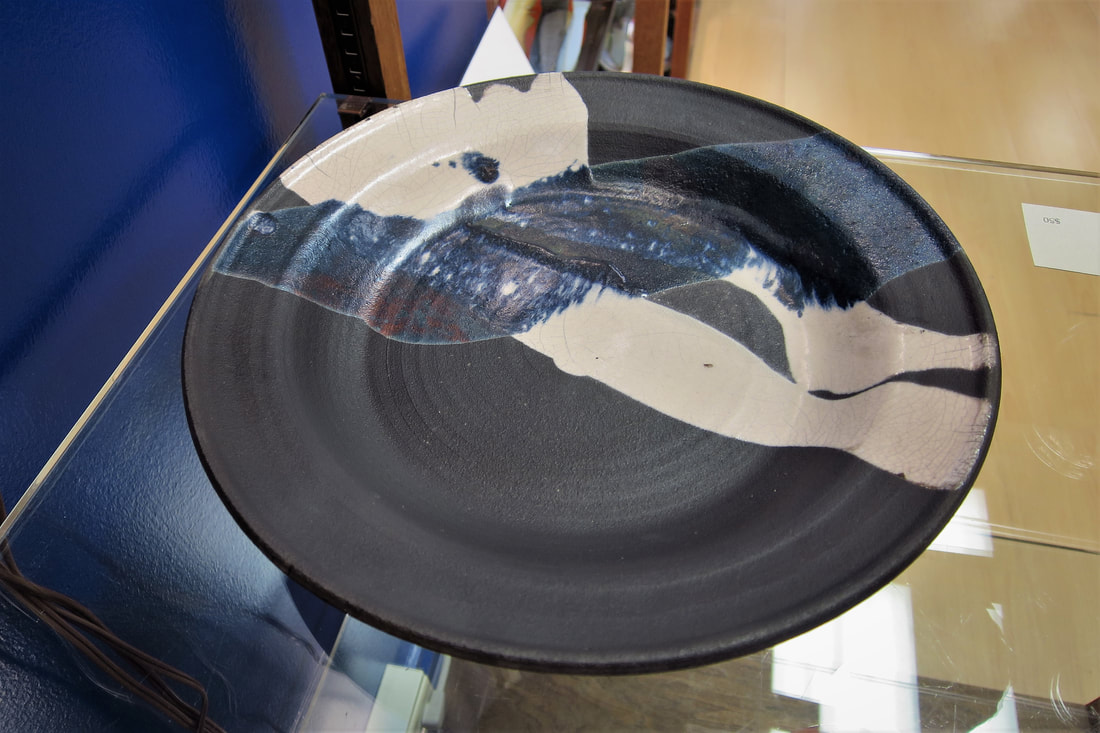
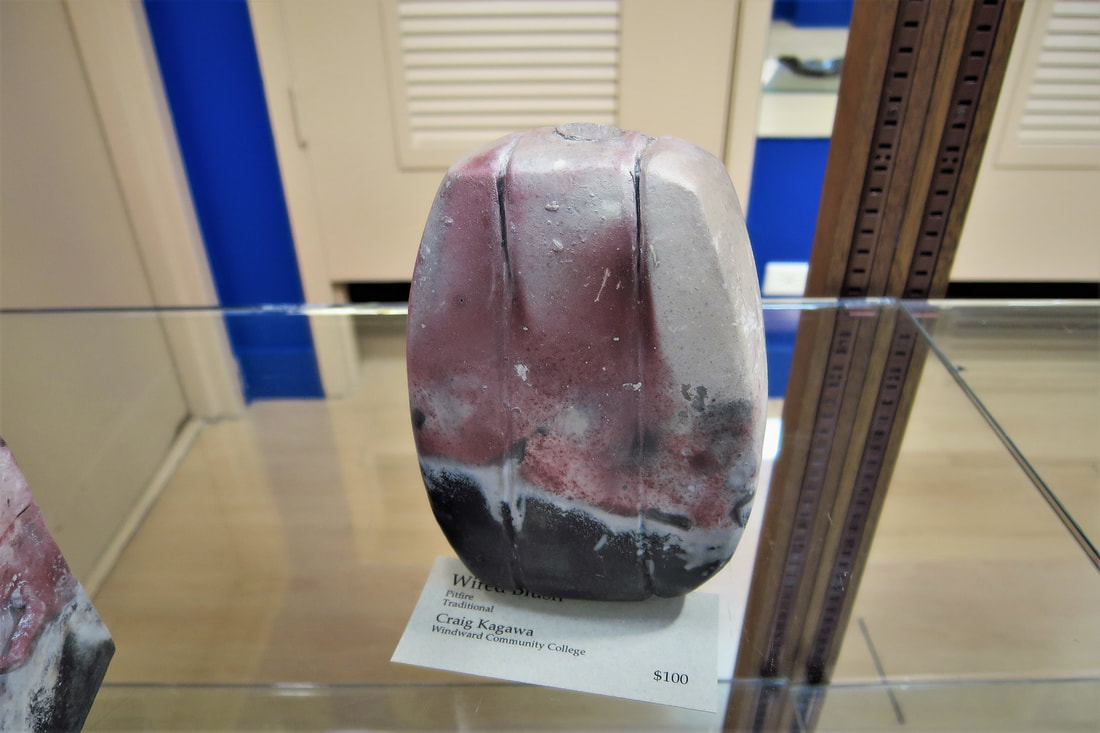
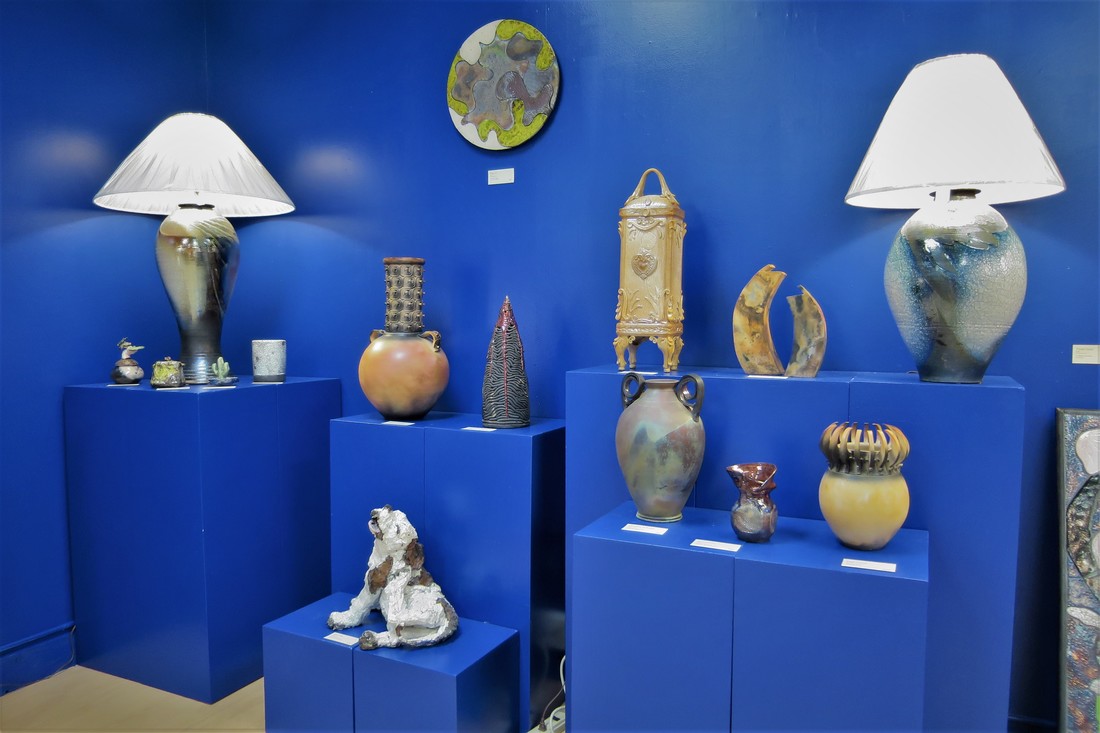
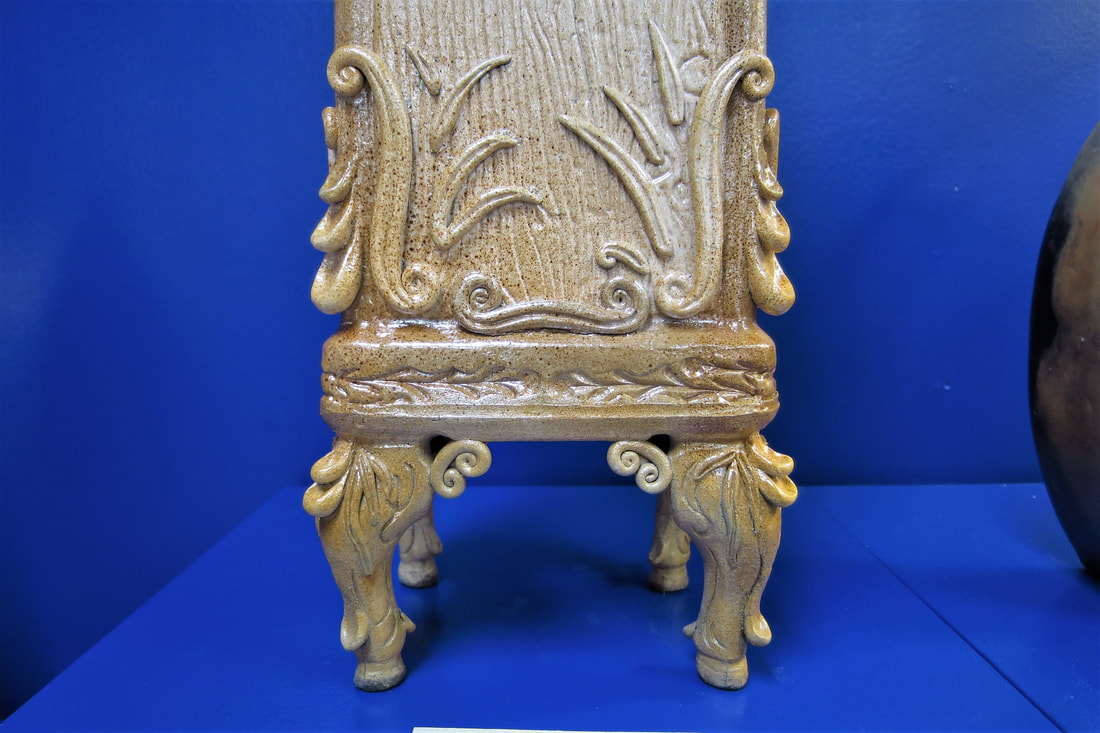
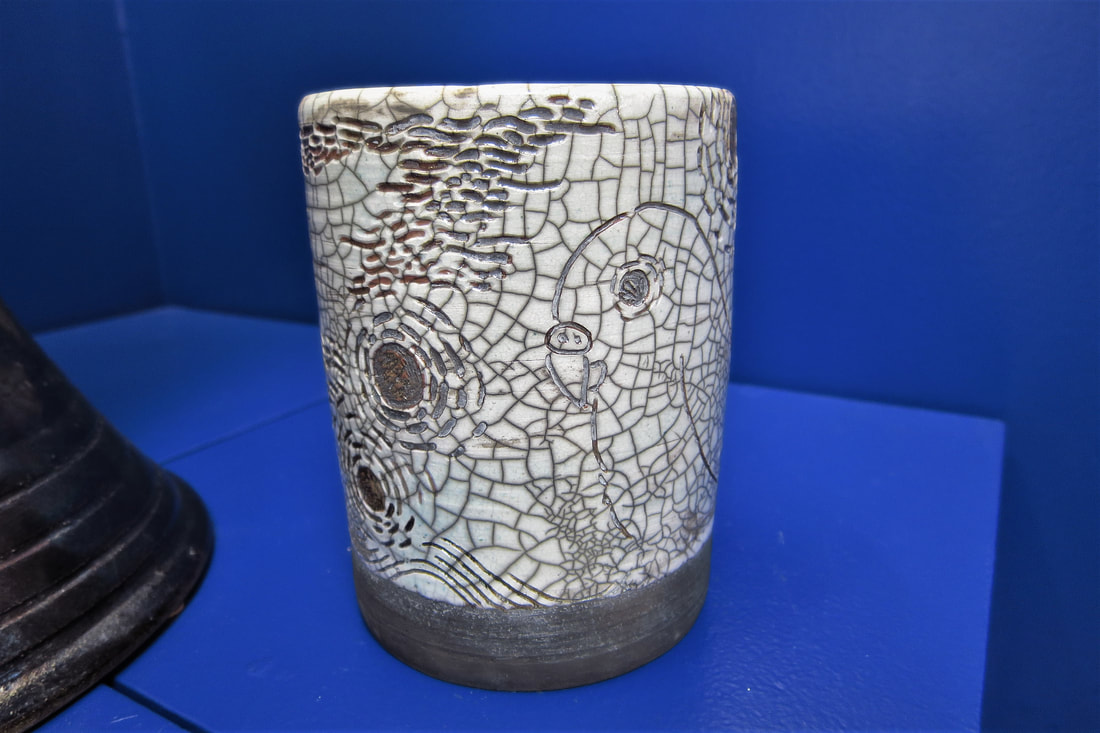
When I first started throwing pottery on the wheel more than 11 years ago, my teachers repeatedly encouraged me to "compress" the clay. They would usually refer to "compression" when they were working on the rim or the base. Compressing the base meant pressing down lightly on it with your fingers or a sponge or a rib. Compressing the rim meant pressing down lightly on it with your fingers or a chamoe. I was encouraged to do this so I wouldn't get nasty cracks in the base or the rim. But what is actually happening when we compress the clay and how does it help prevent cracking? At first, I figured it meant we were making the clay more dense in some way. Isn't that what compression means? Not in this case. In pottery terms, I think compression refers to at least two things. First, it refers to removing a layer of slip from the surface of the clay. Slip is clay mixed with water to form a slurry. The clay particles in the slurry are going every which way and if allowed to dry like this, cracks can develop. Second, it refers to lining clay particles up so they are running in the same direction and are stacked up together. When you compress the bottom of a pot or compress the rim, what you're really doing is lining up the clay particles very thinly at the surface. You don't need to line up every clay particle all the way through the body of the pot, just the ones on the surface on both sides in order to keep cracks from developing. It's usually enough to use your fingers or a chamoe to remove slip on the rim and line up the clay particles. At the base, it's important to compress the clay on both sides of the pot. Compress the bottom when you're throwing, but also compress the bottom on the other side when you're trimming the base. After trimming the foot, I usually take a wet sponge and very lightly wet the inside of the foot to create a little slip. Then I use a small red rib to smooth out the bottom. When you're done, you know the clay particles are lined up because the surface almost looks shiny, like it's been burnished. This is one of the main reasons why pieces thrown off the hump so often develop S-cracks: they are only compressed on one side of the base.
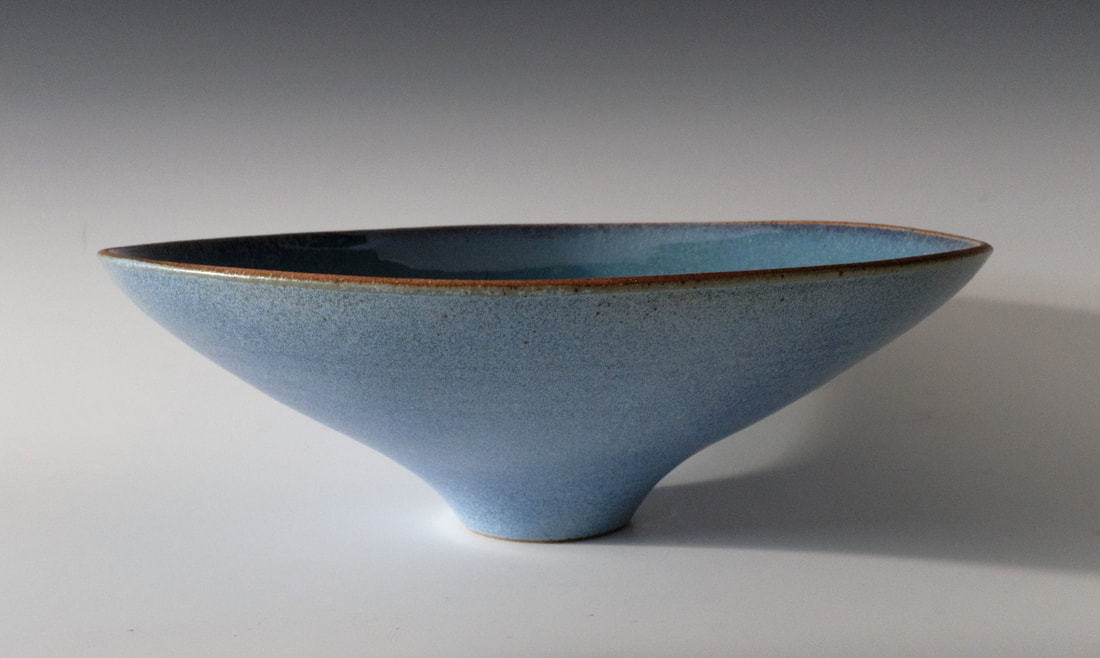
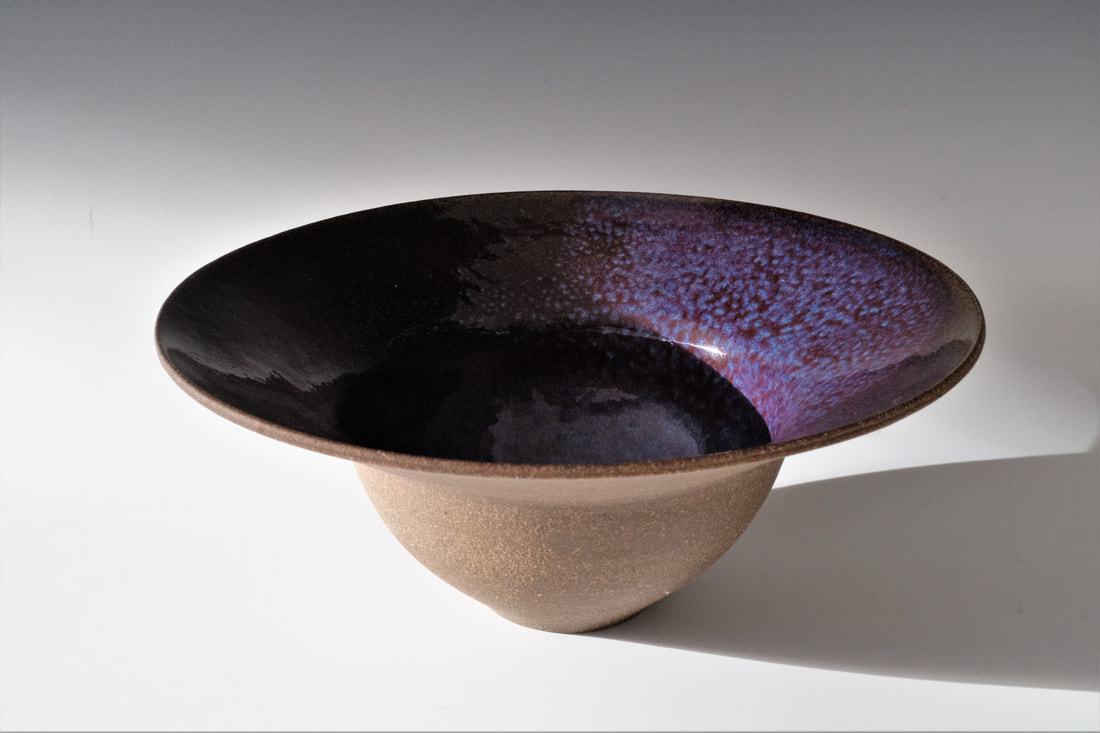
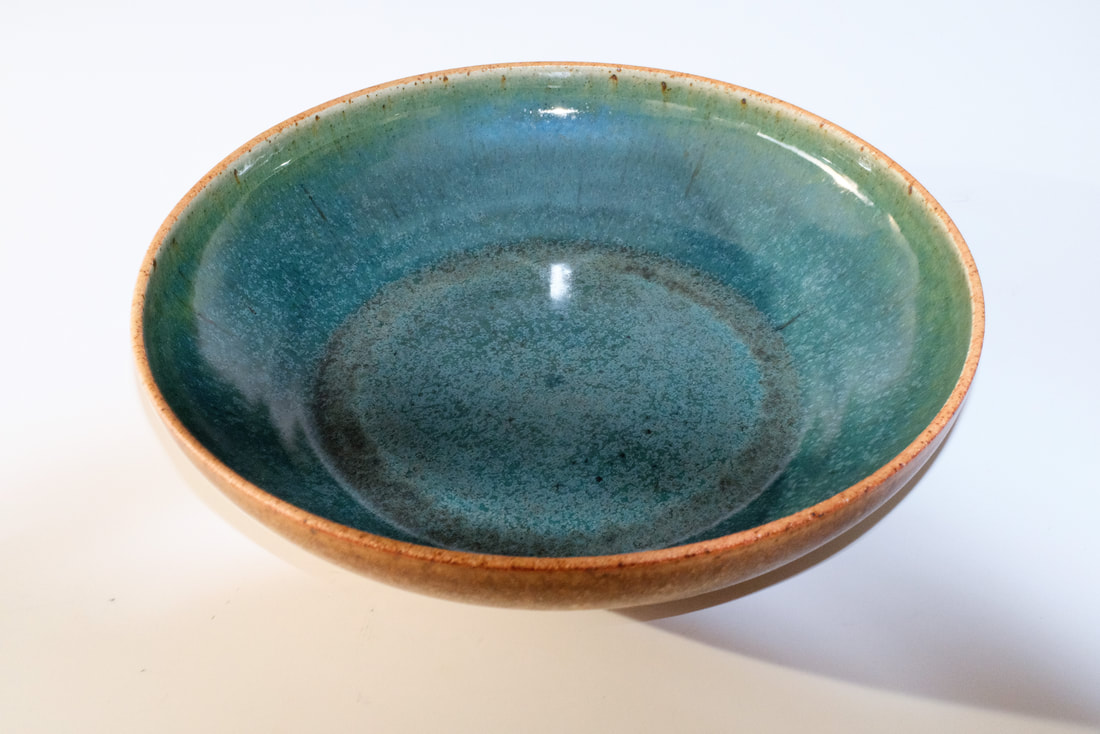
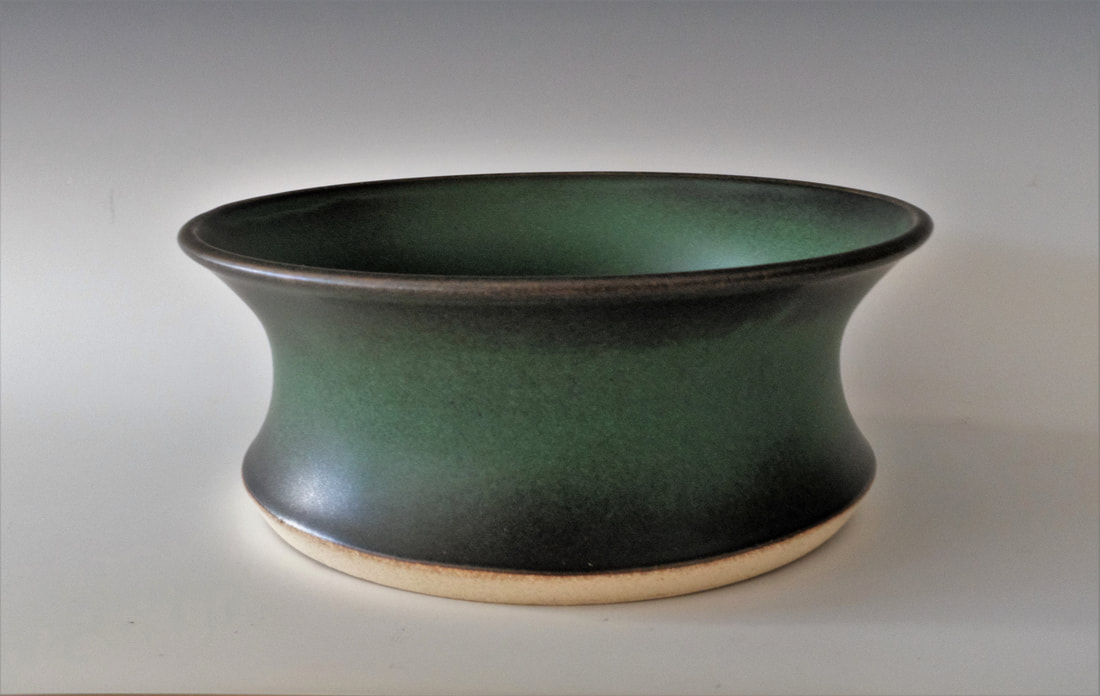
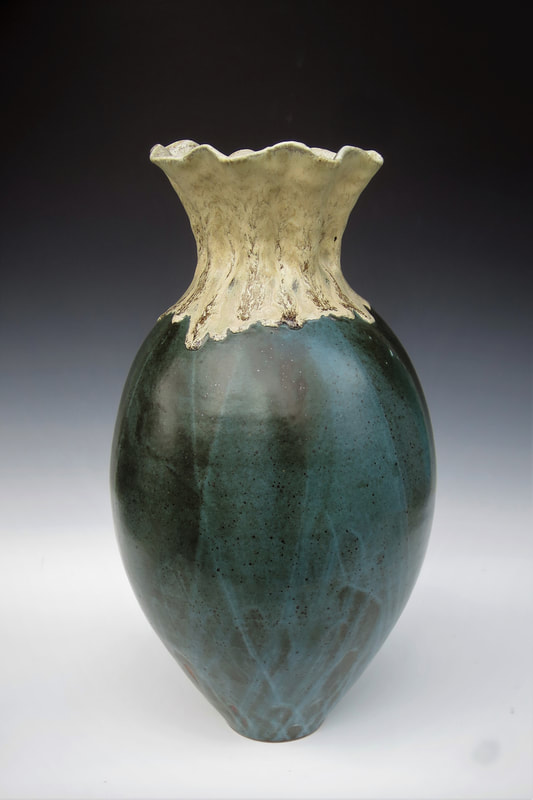
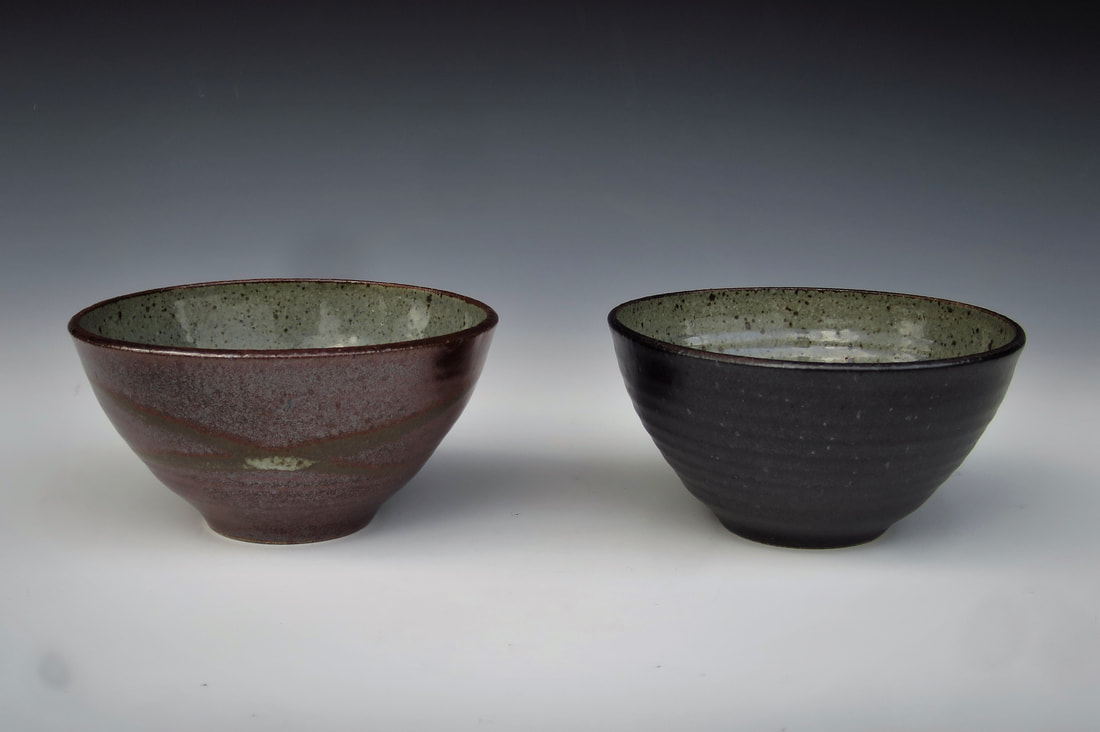
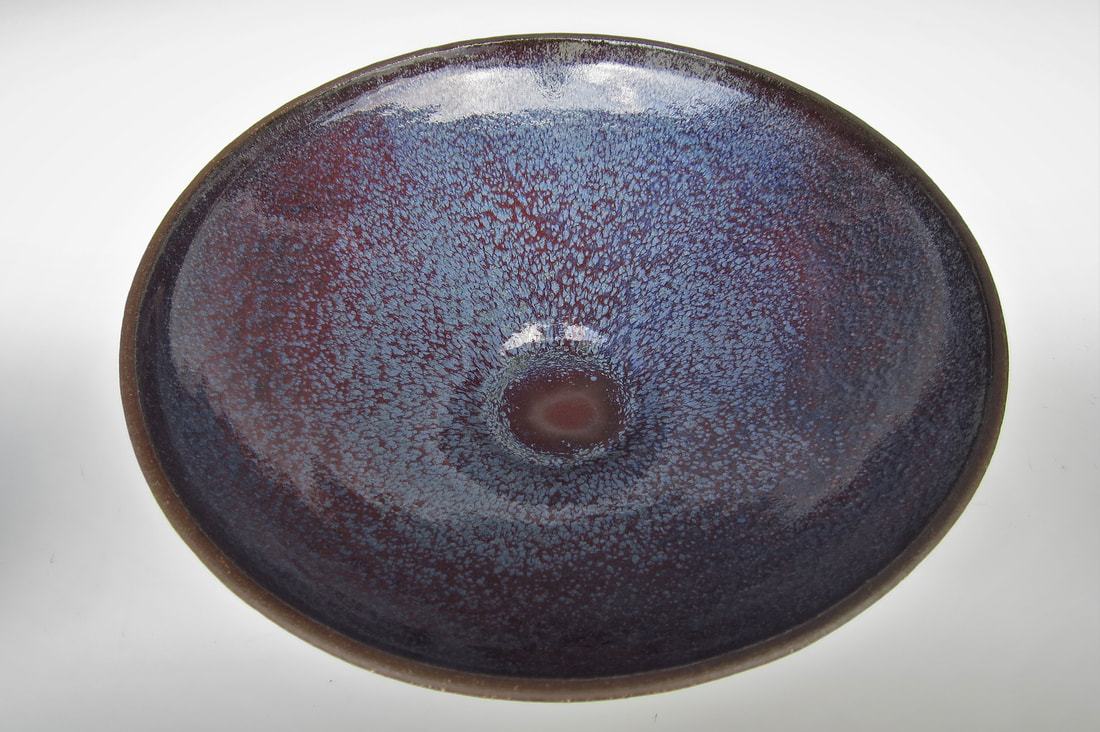
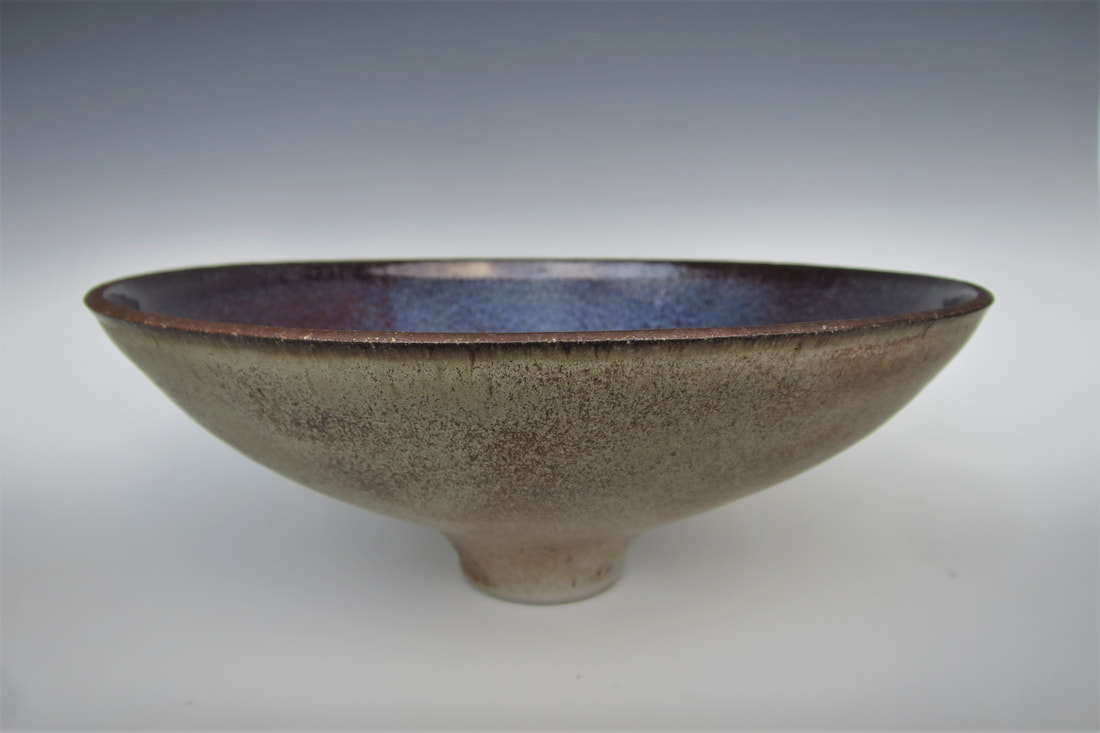
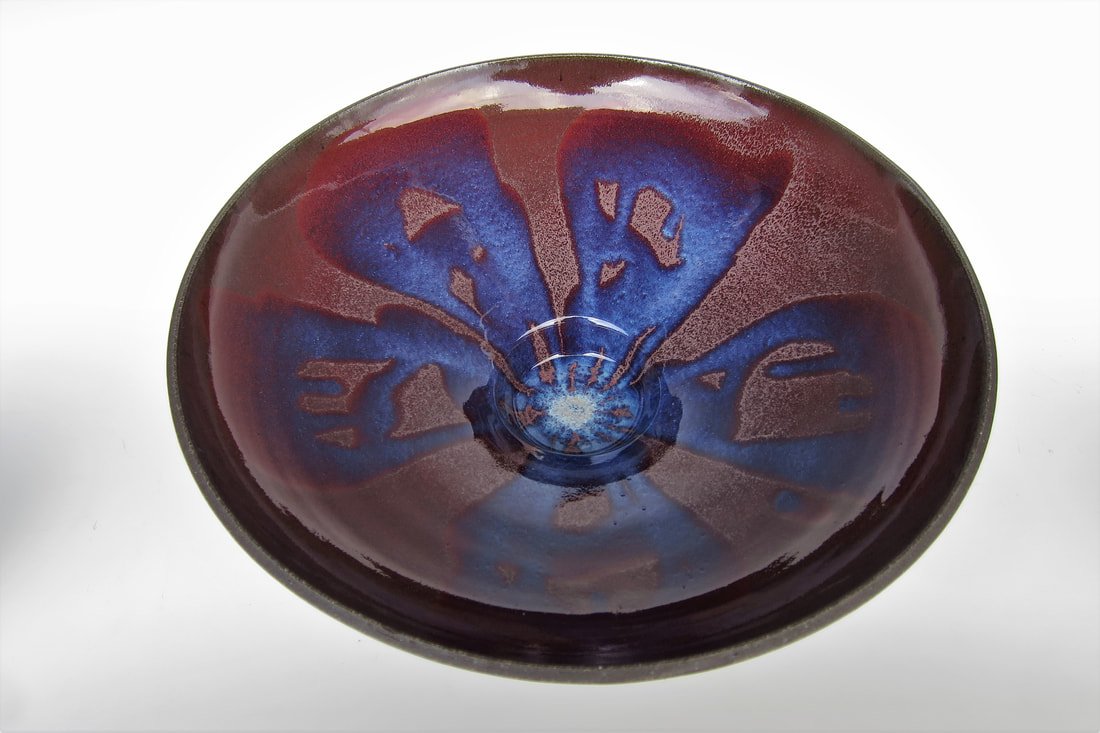
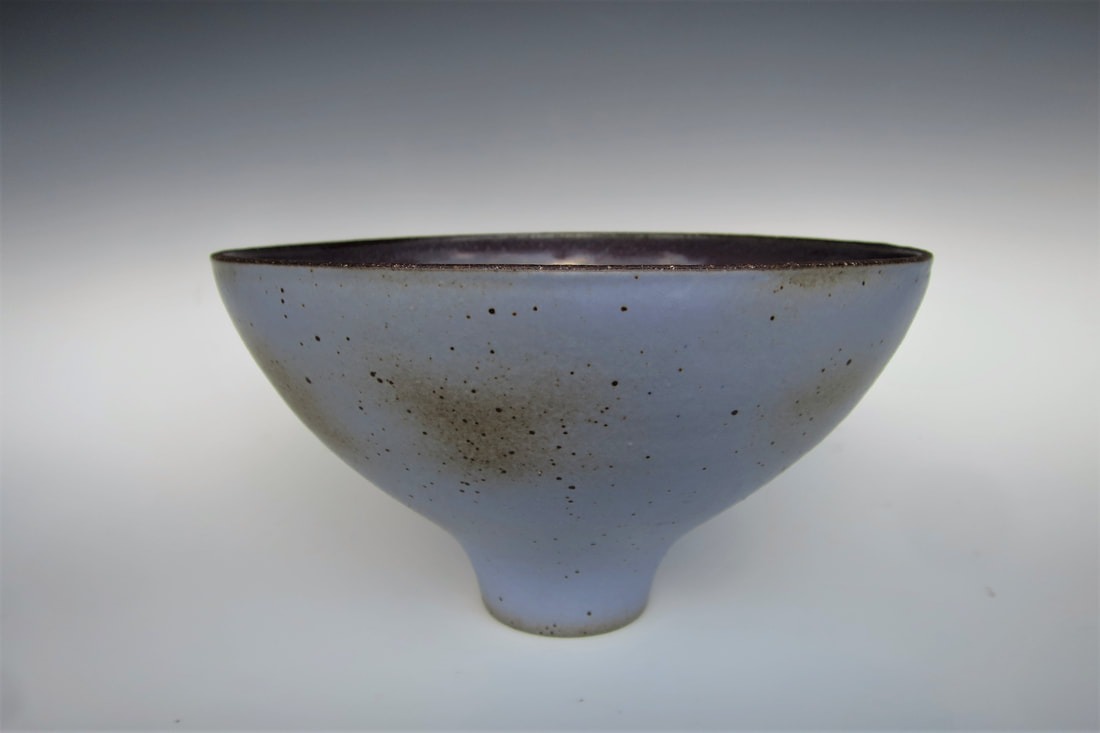
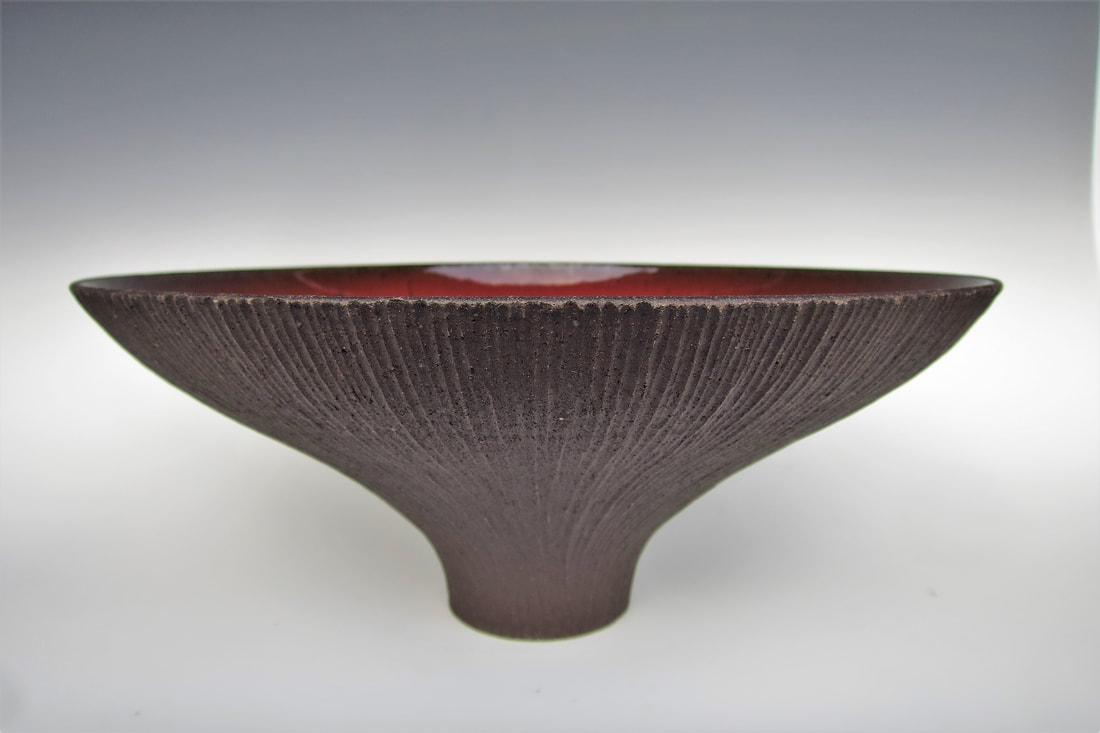
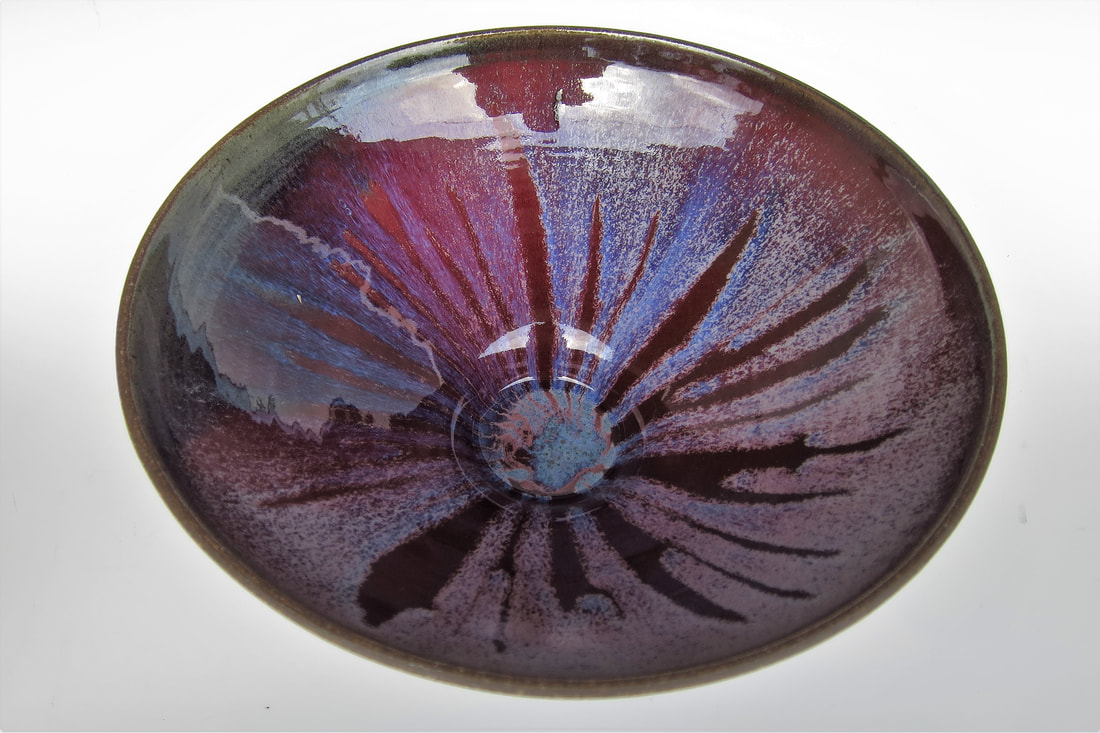
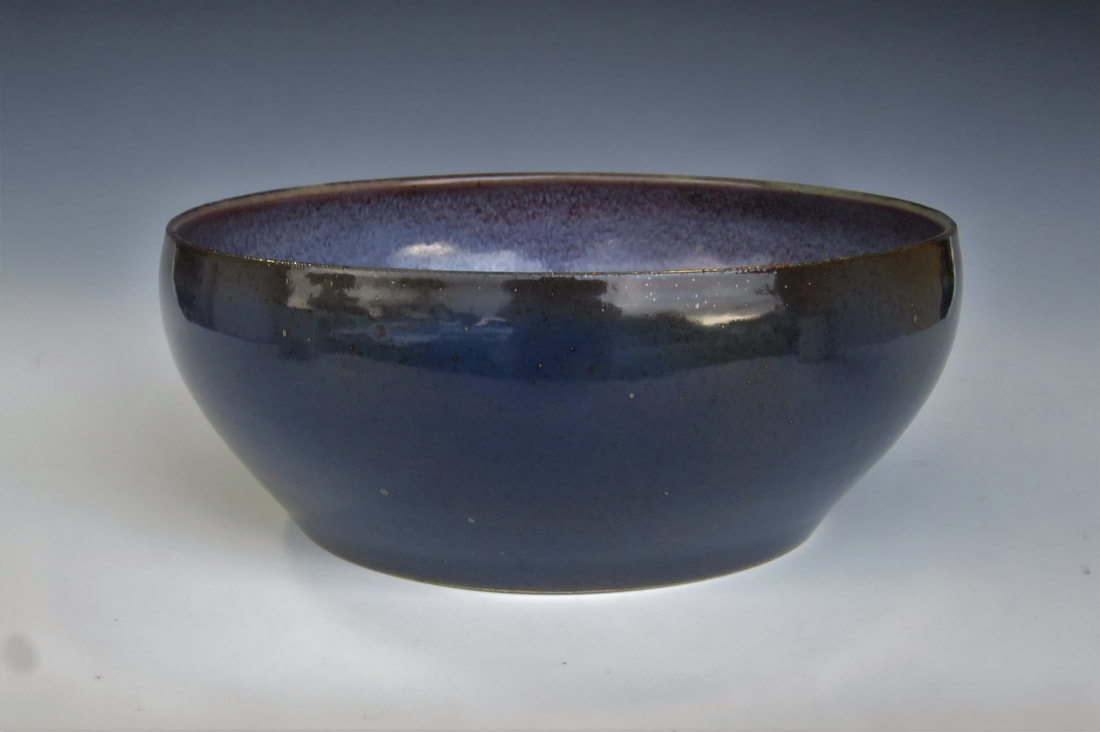
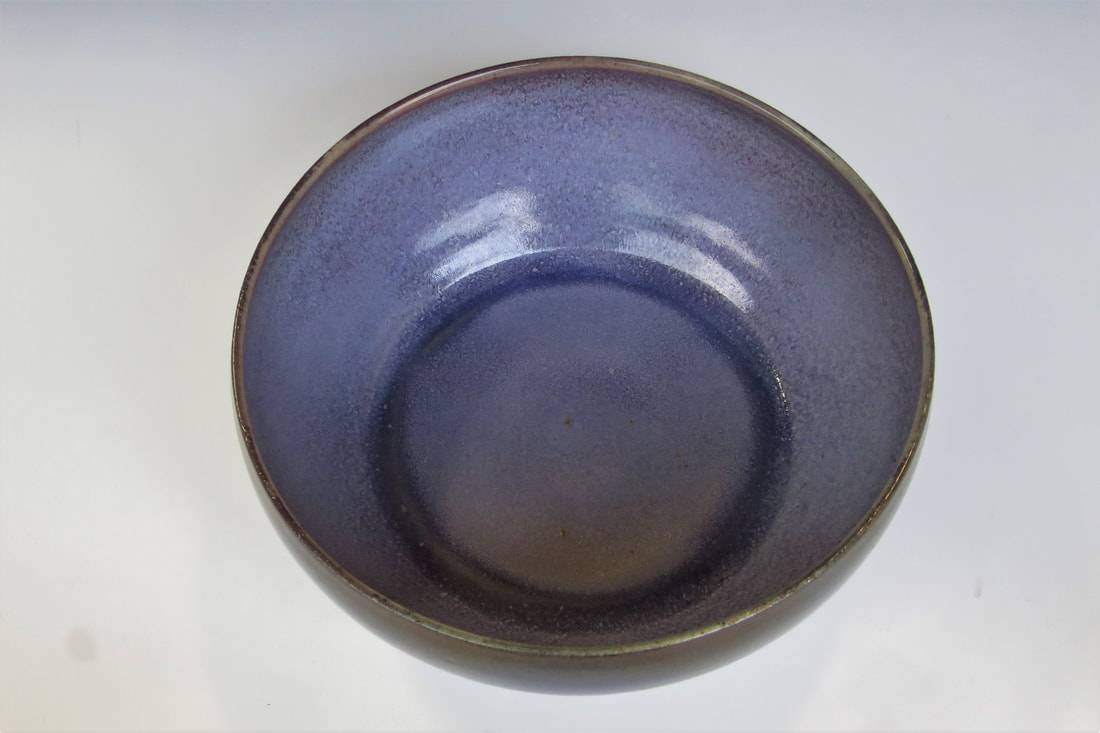
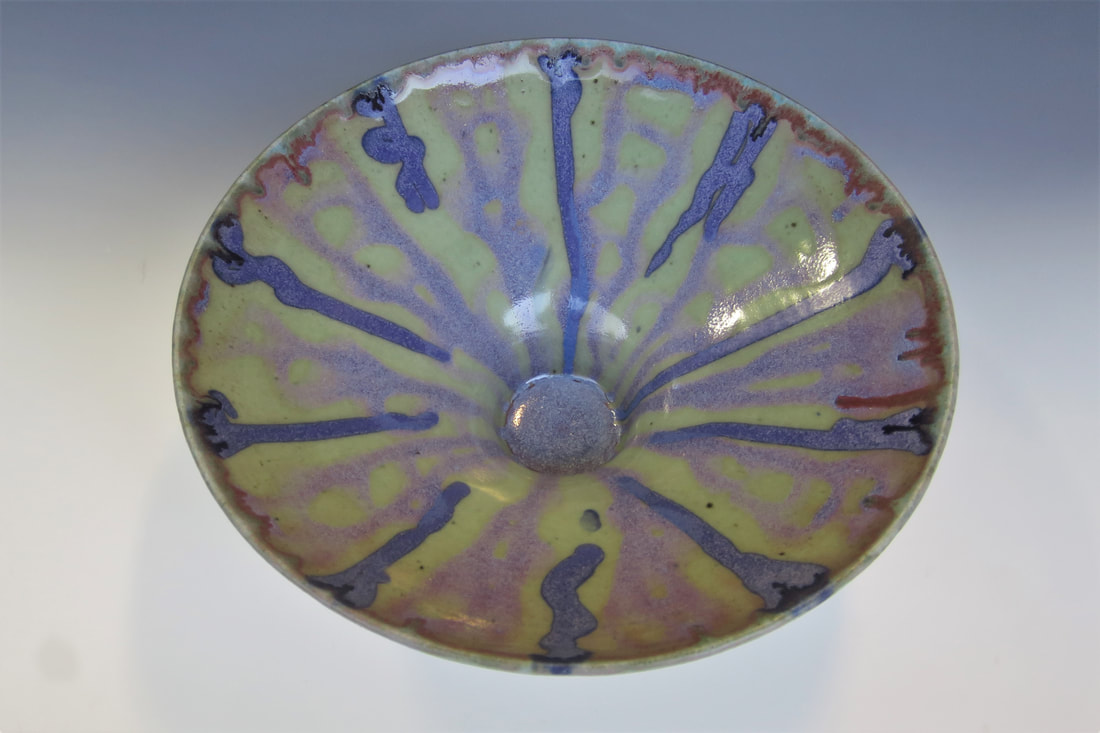
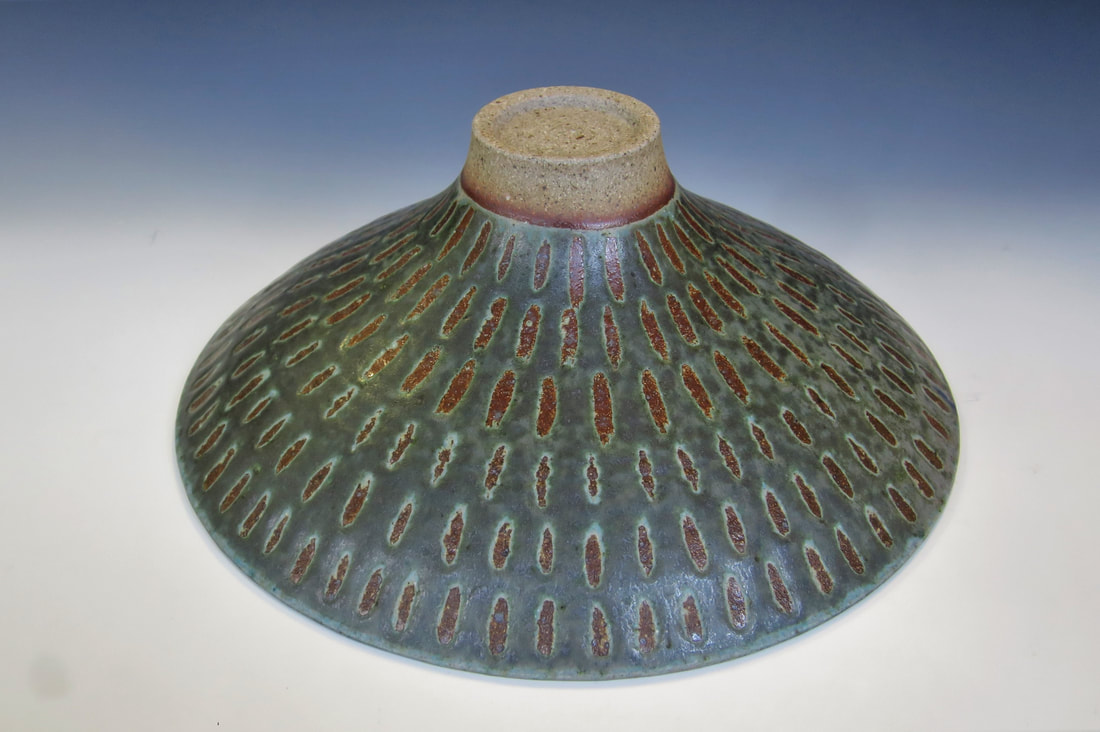
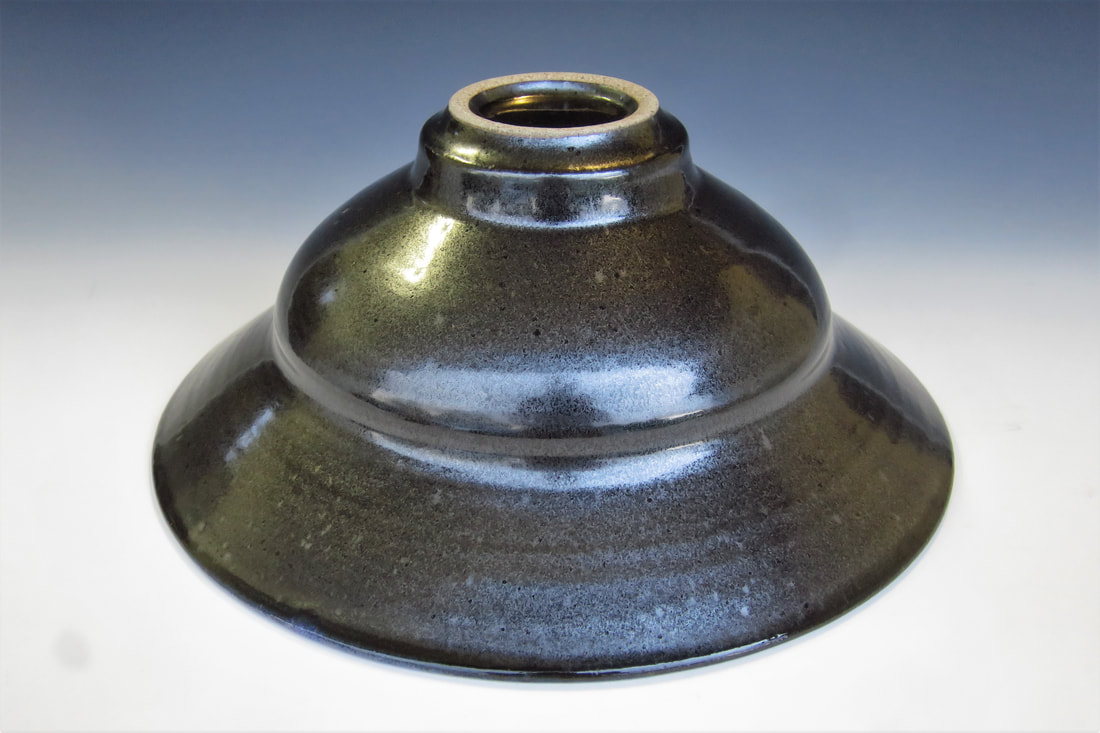
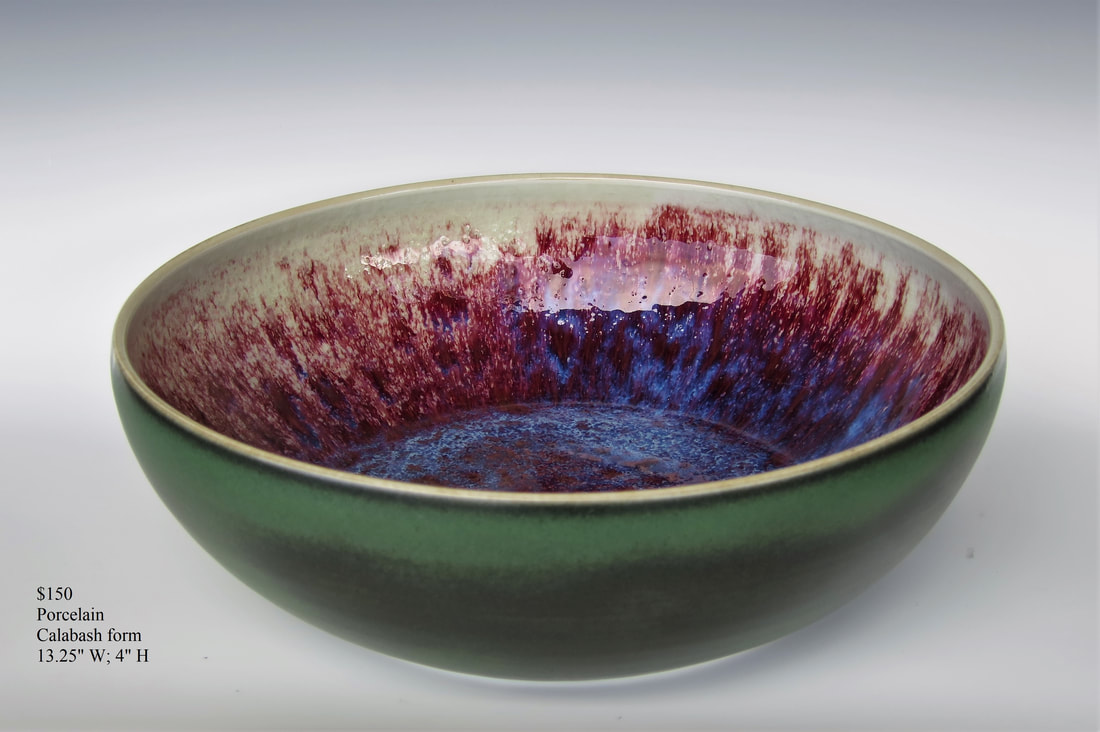
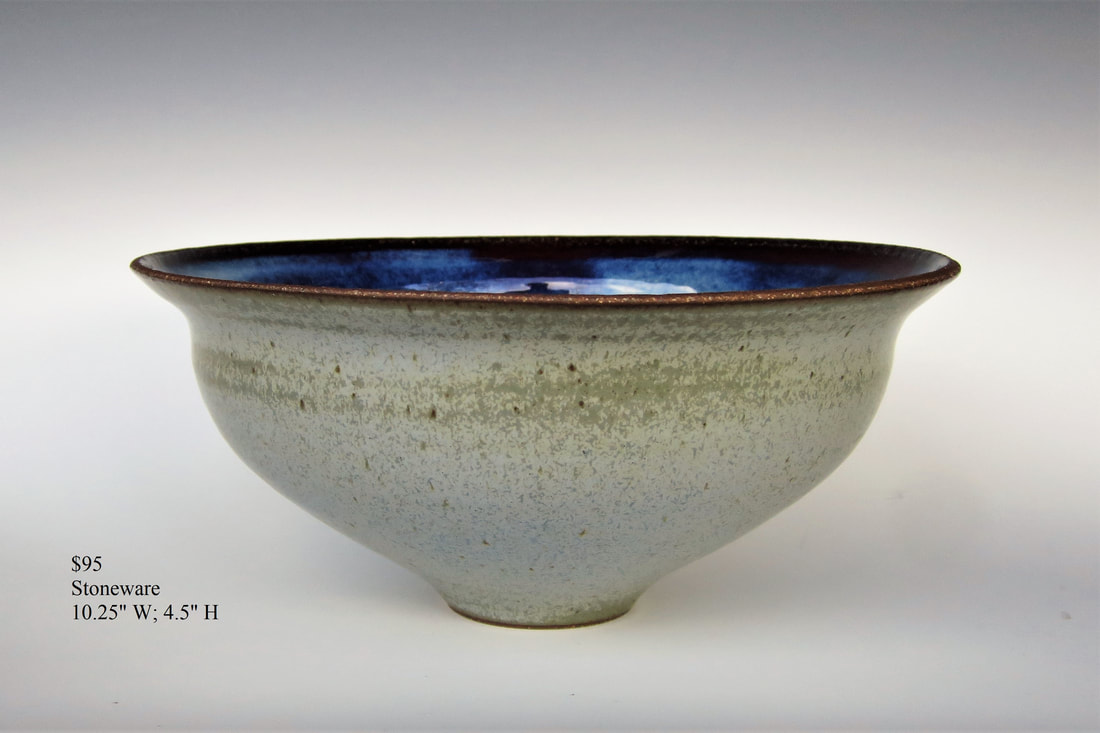
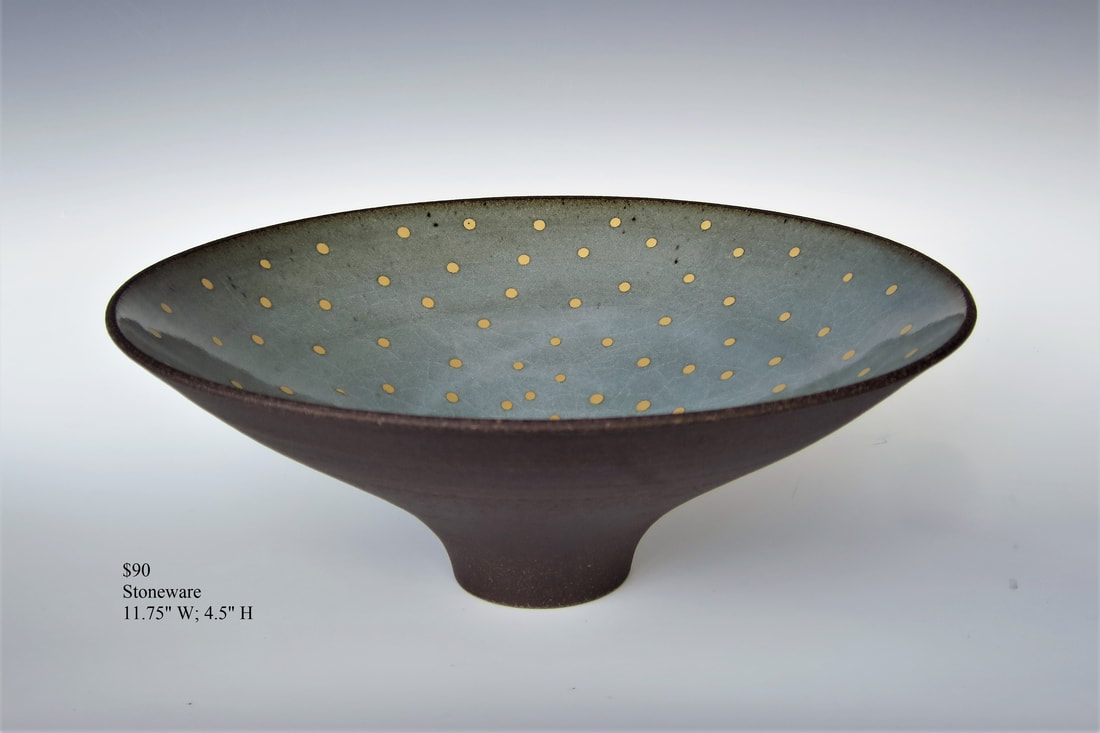
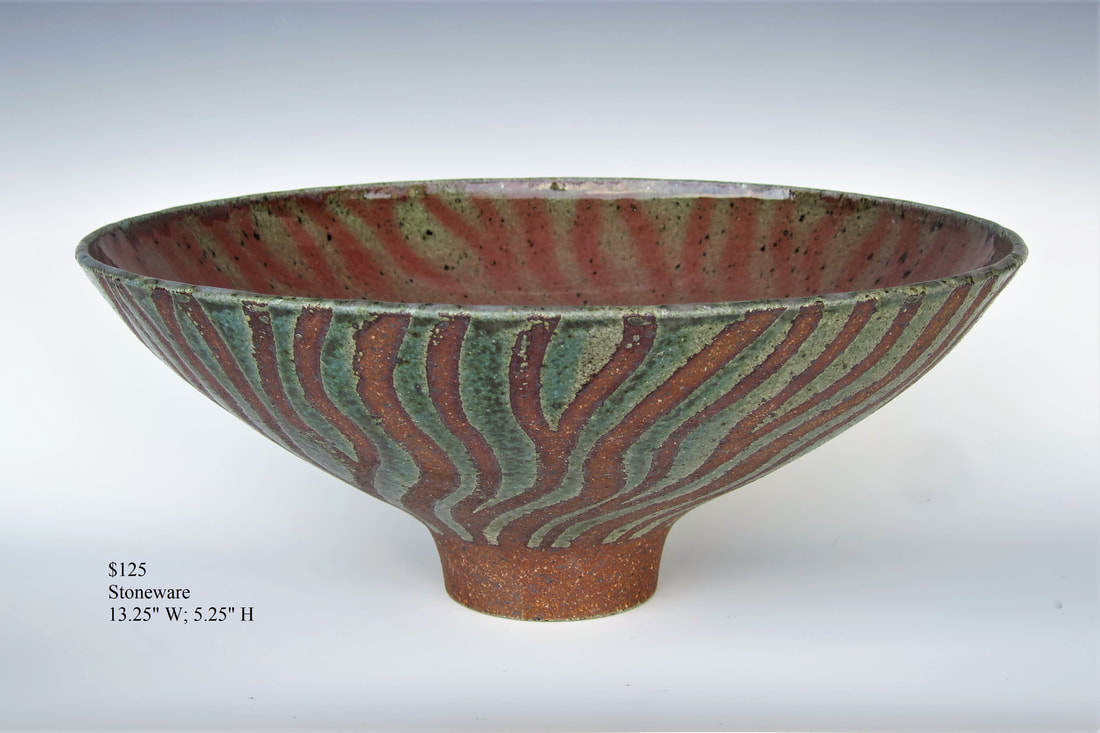
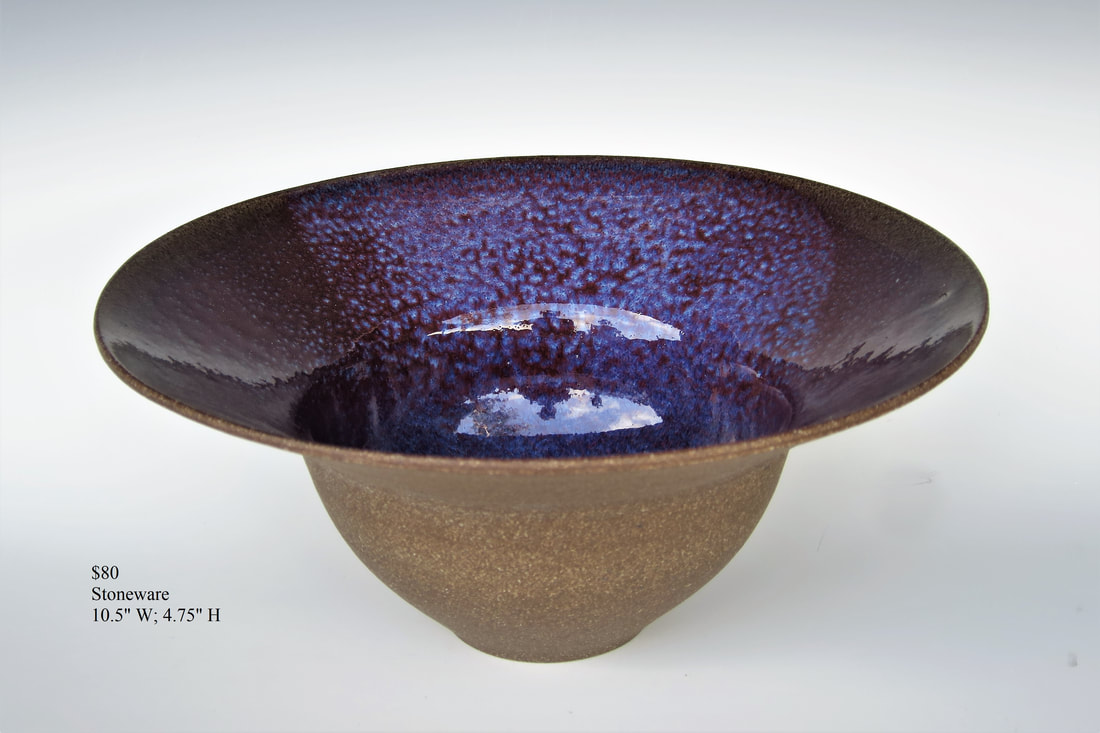
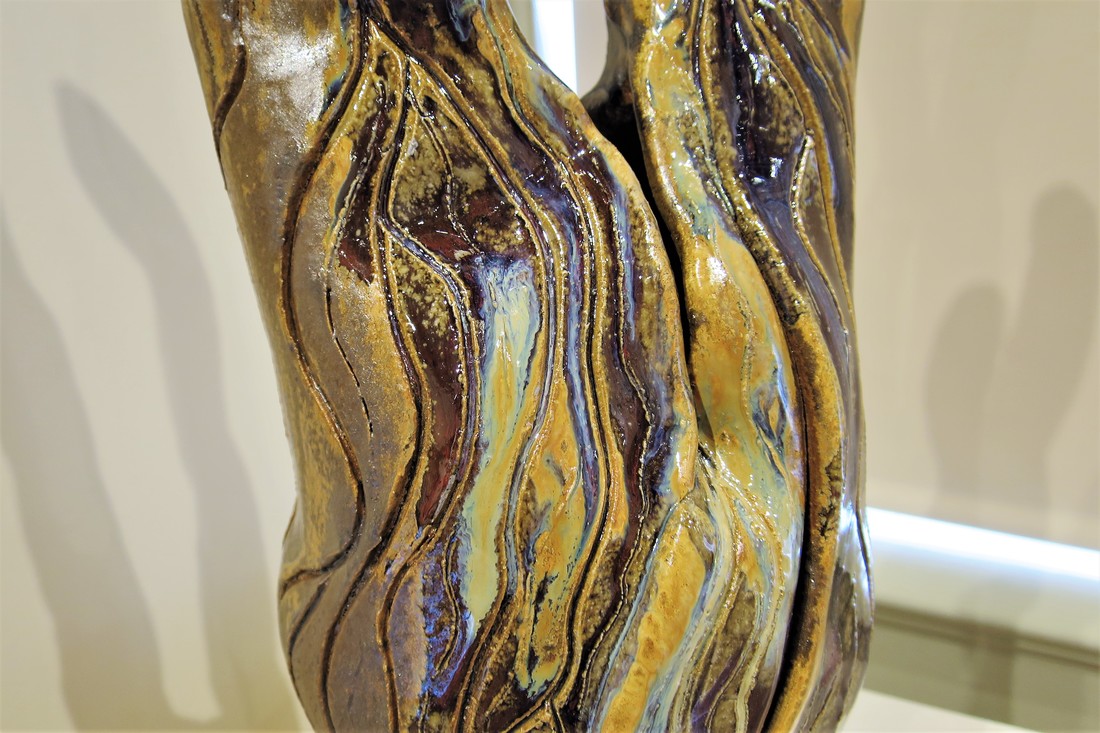
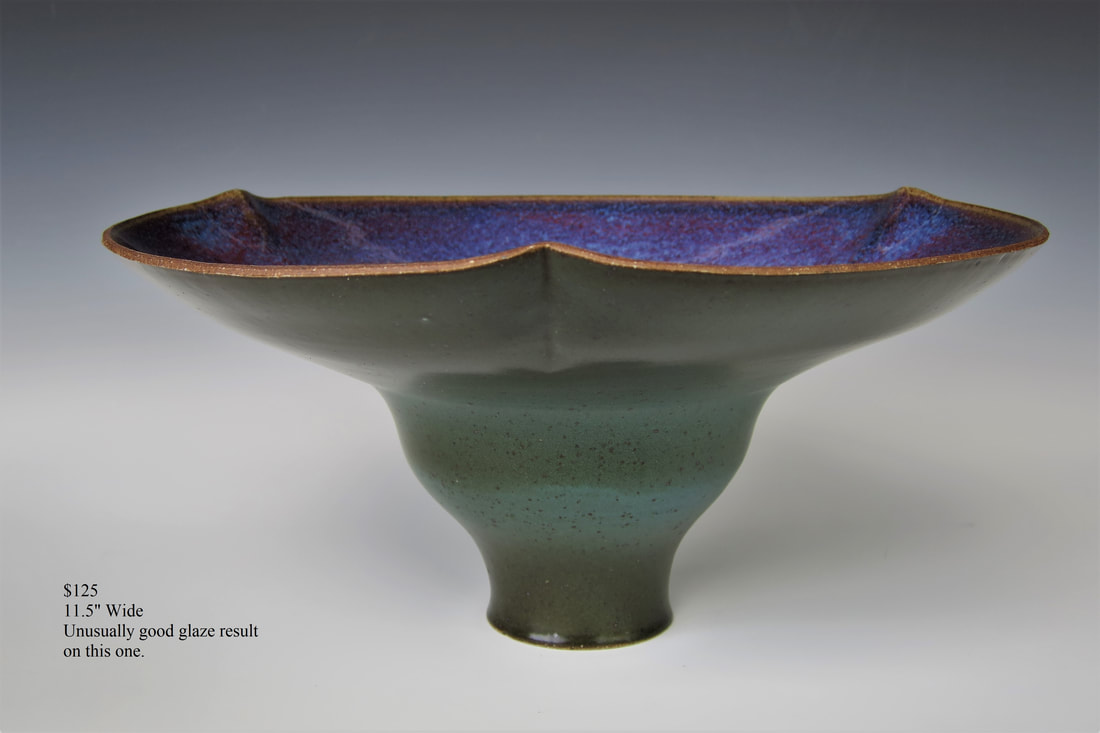
There's one other thing I'll mention about compression, and it relates to making large bowls (which I'll talk about in more detail in another blog). I've seen many potters use a torch to harden the clay near the base when they're throwing large bowls with walls that spread out widely. There's no need to do that. If you use ribs on both sides of the wall and don't add more water or slip, you'll line up the clay particles on both sides of the wall which will make the wall stronger. The thinner the wall becomes as you stretch it out, the higher the proportion of clay particles that are lined up together which allows you to bring the walls out even farther. Using this technique, you can almost lay the walls out flat without them falling down.
There's one other thing I'll mention about compression, and it relates to making large bowls (which I'll talk about in more detail in another blog). I've seen many potters use a torch to harden the clay near the base when they're throwing large bowls with walls that spread out widely. There's no need to do that. If you use ribs on both sides of the wall and don't add more water or slip, you'll line up the clay particles on both sides of the wall which will make the wall stronger. The thinner the wall becomes as you stretch it out, the higher the proportion of clay particles that are lined up together which allows you to bring the walls out even farther. Using this technique, you can almost lay the walls out flat without them falling down.


 RSS Feed