My first goal beginning in September was to come up with a more efficient way of centering small pieces of clay. I tried all sorts of different techniques but nothing seemed to work. My usual way of centering a larger piece of clay is to use my left hand as the steady hand and the right hand to push against it. That works fine with larger pieces of clay, but I had a hard time positioning my hands around smaller pieces of clay using that technique. I don't remember why, but I decided to center on the other side using my right hand as the steady hand and my left as the one pushing against it, and that was the key for me. Suddenly centering smaller pieces of clay became easy. Just one or two moves and the whole thing was centered. Another important change in my centering technique was using my little fingers on both hands to firmly come underneath the clay at the bottom to make sure that all of the clay was centered all the way to the bat.
My first cups were enormous, way too bulbous to get my hand around. I checked and these first cups held about 16 ounces of liquid! Most of those I ended up giving away. My cups have become smaller and more slender, but I needed to change my technique in several ways in order to accomplish this. First, I gradually learned how to throw smaller and smaller pieces of clay. At first my cups were a little too large because I was using a pound or more of clay. Eventually I learned how to throw three quarters of a pound and half a pound of clay. Second, my new throwing technique was making two small pulls using a sponge (which saved my fingers from being too abraded by the plastic bats) and then one long pull using only my fingers. By not making the walls come up too high at the beginning, it allowed me to reach down to the bottom for the last pull with fewer fingers so I didn't push out the sides too far. That had been the problem with the first cups I'd made. When I made my final pull my walls would already be so high I'd have to stick my entire hand into the cup to get my fingers to the bottom and it would push the walls out too far. The walls by that time were so thin that I couldn't get them to come in again.
I tried several designs and am still in the process of evaluating them. I've had family and friends over several times and have used these cups as part of our table settings. I've asked them to try different cups and tell me their preferences both in design and decoration. Most seem to like a glossier glaze since it feels smoother and less tacky on the lips. They also like rims that are thinner and curve out a bit rather than curving in. The rim is always a challenge for me since most people like thinner rims but they also chip more easily. The feet of my cups are also getting smaller, something people always comment on. If the bottoms are made as level as possible, these cups are very steady. However, I get comments like this from people at HPG fairly frequently: "I couldn't use one of your cups. They make me too nervous. I get nervous just looking at them." Usually I just laugh when people say such things, but if I'm feeling sassy I'll say "Well, these cups are for adults. Whatever you do, don't let children use them!" People will also comment about how the cups don't have handles. When they ask, "Why don't you put handles on your cups," I'll just answer "Because I don't want to." I suppose that's how you lose sales but I don't care. That's one nice thing about not earning your living as a potter. Of course, give me six more months and I'll start making mugs with handles!
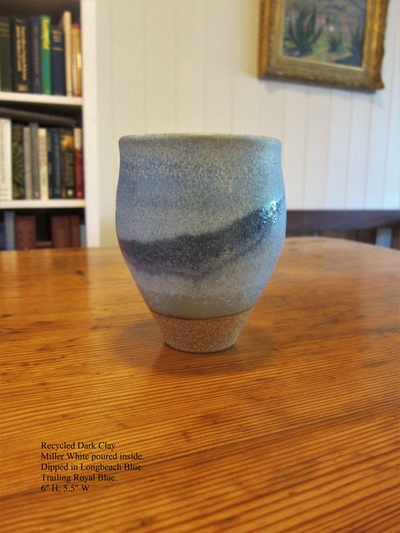
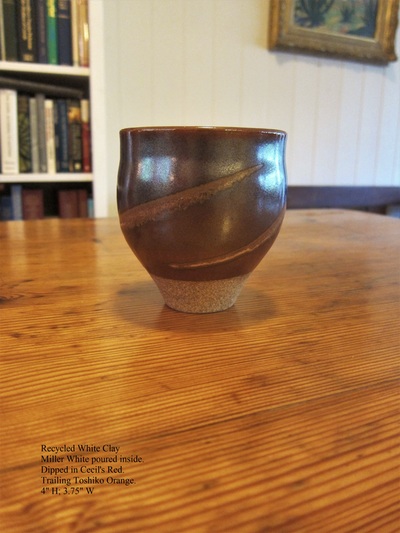
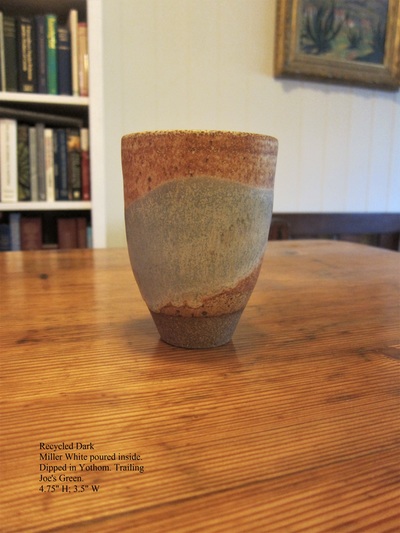
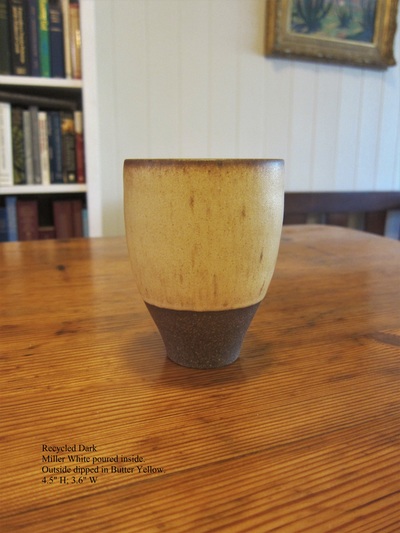
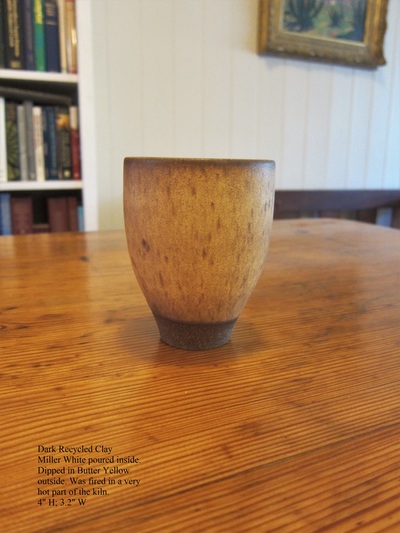
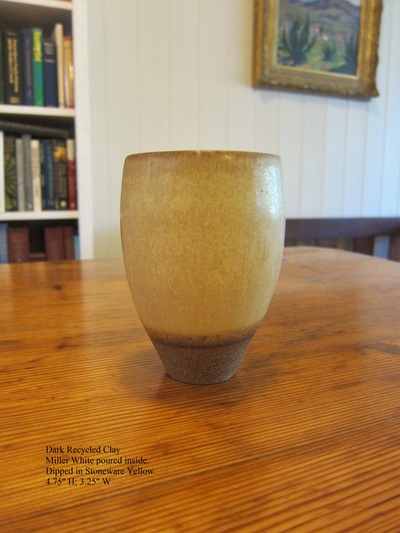
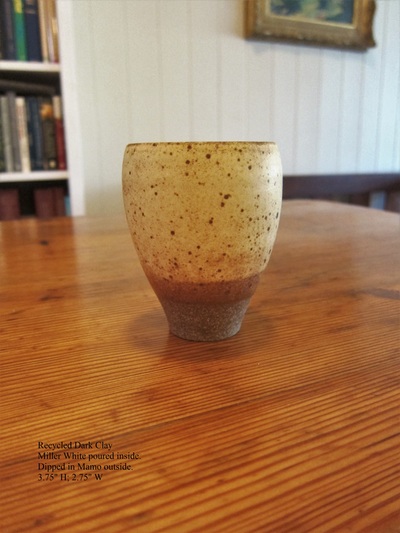
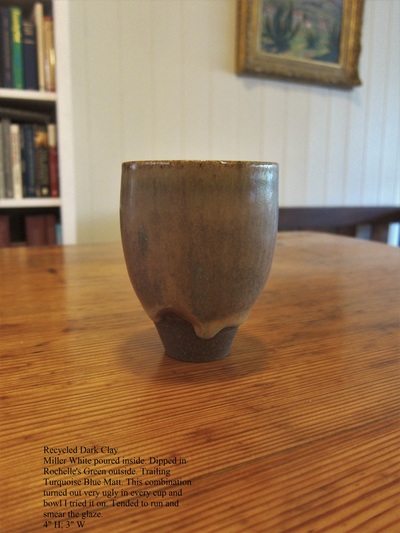
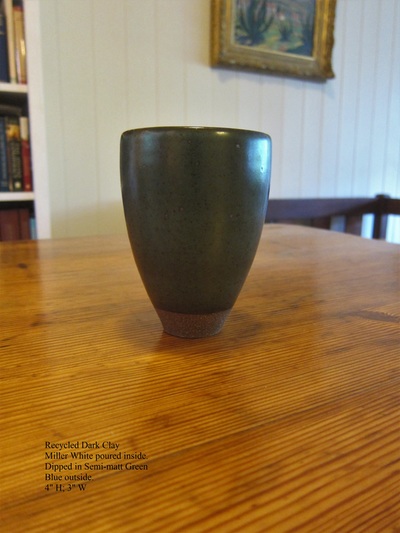
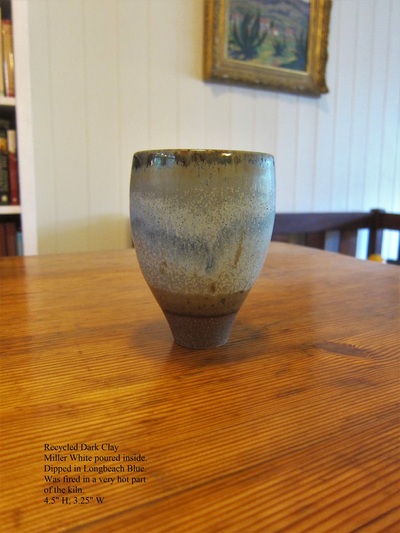
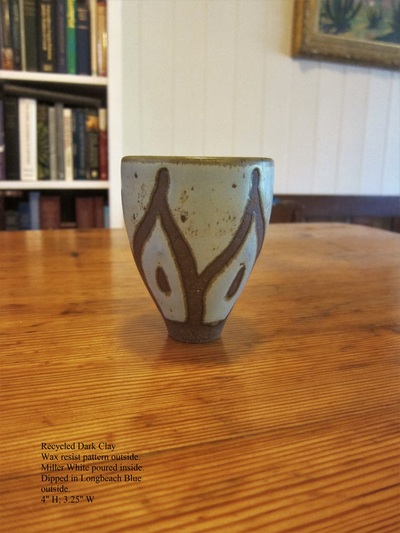
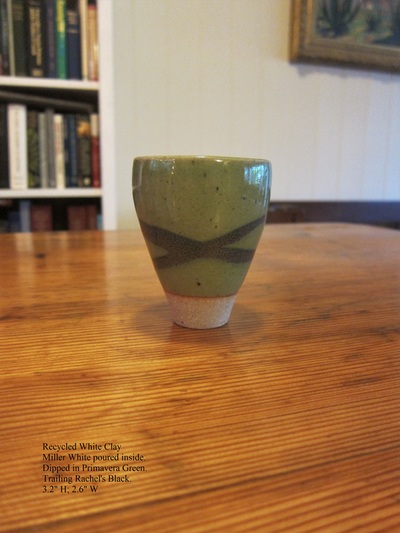
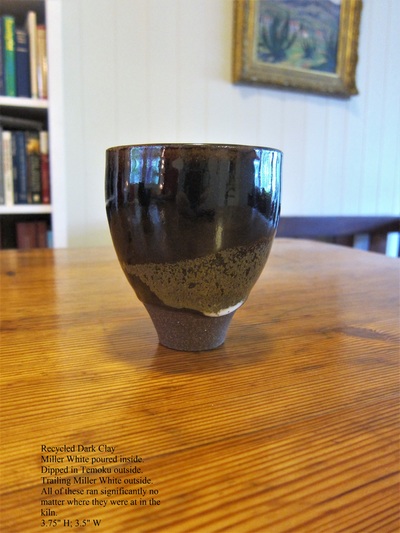
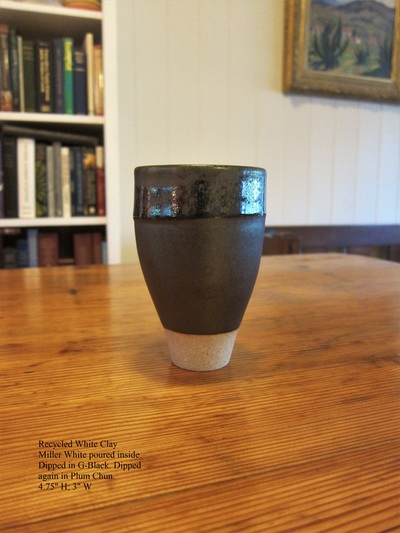
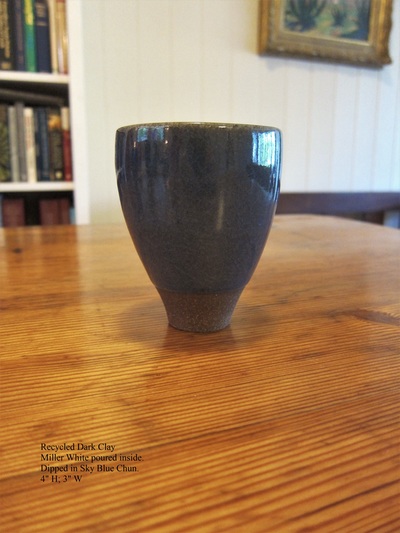
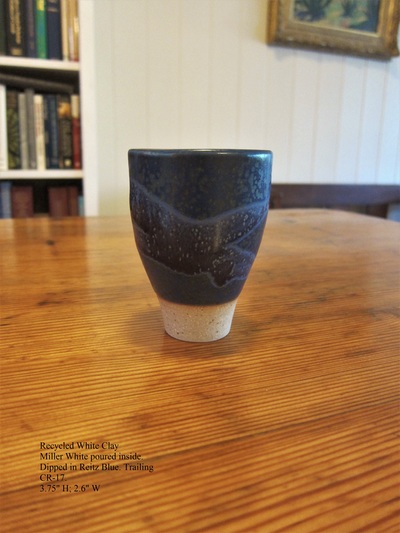
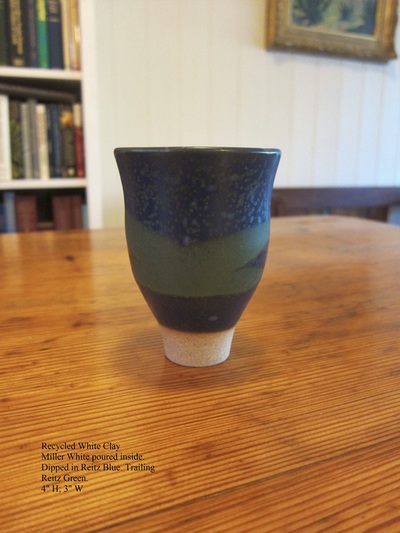
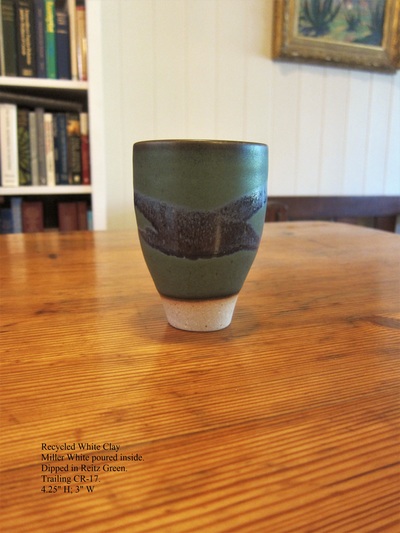
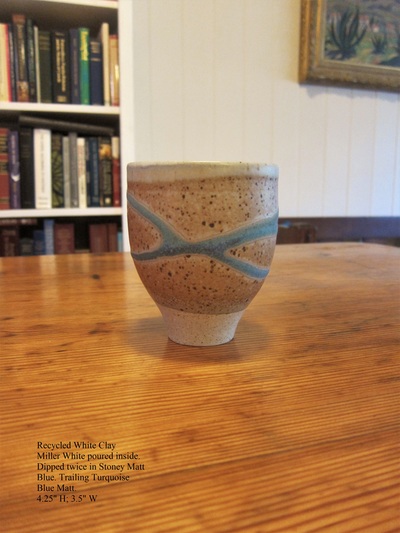
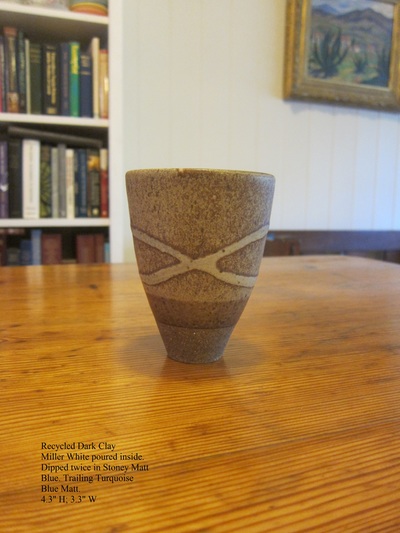
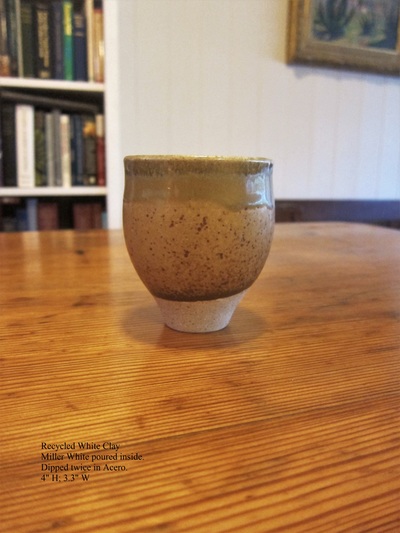
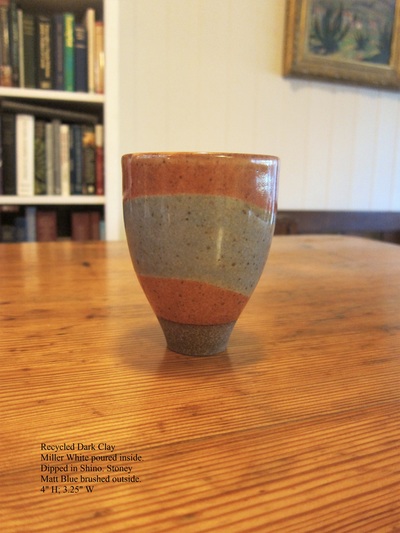
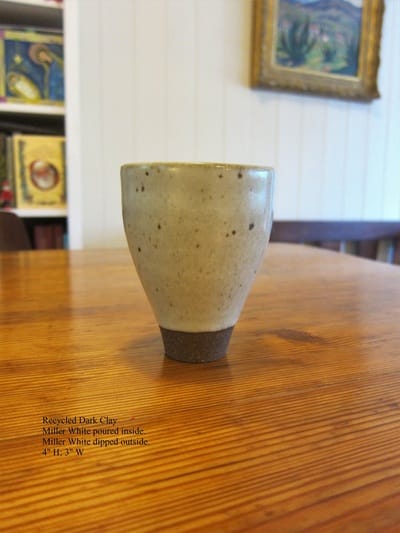
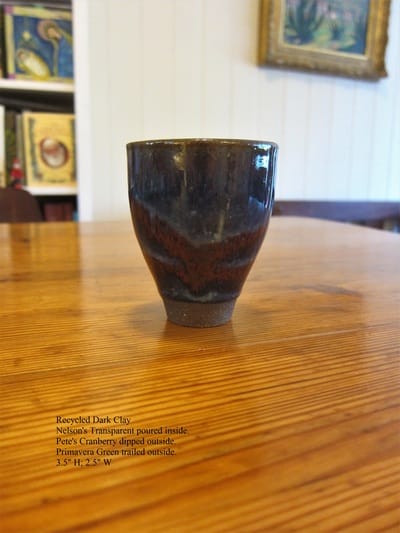
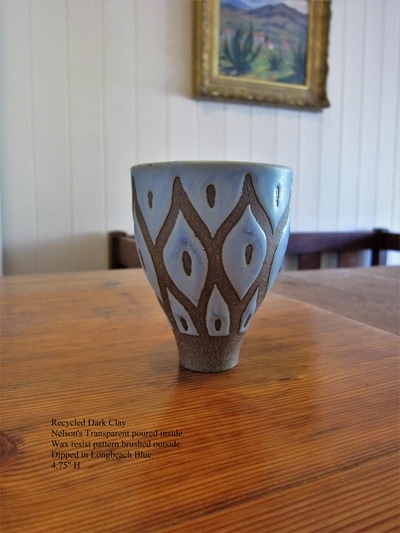
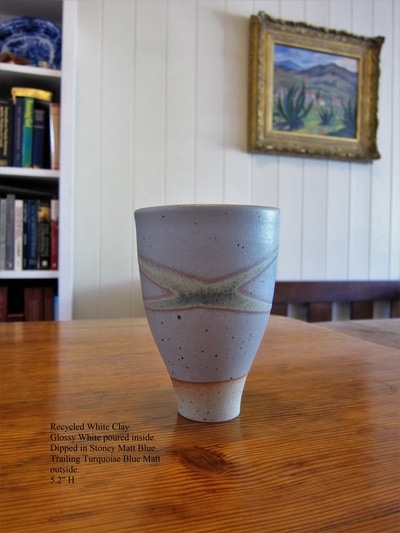
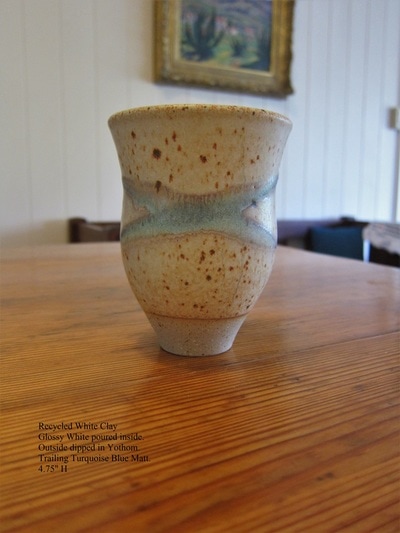
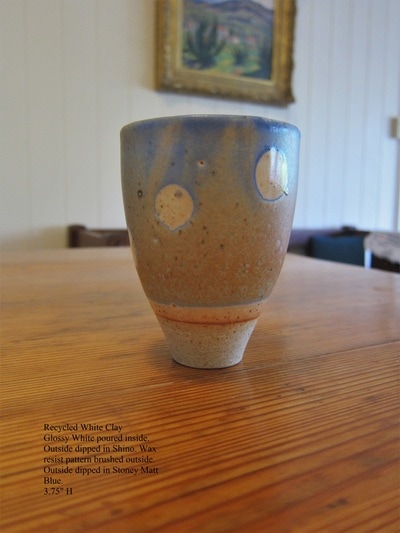
I've also tried several ways of decorating the cups, as you can see below. It's always interesting to see how glazes respond to dark or white clay bodies. I'm also very interested in the look of my recycled clay and trying to expose it as much as possible. Quite a few people have commented on how much they like the look and feel of the bare clay that's been sanded smooth. What lots of people like, and what you won't see on any other clay body that I know of, is a speckled look from different colors of grog. My white recycled clay always has some dark clay in it and vice versa. What that means is that some dark grog ends up as black speckles in my white recycled and some white grog ends up as white speckles in my dark recycled. It looks great but is hard to show in a photograph, at least with my camera. Most of these cups are glazed on the inside with Miller White, a food-safe glaze. I've been having trouble with it developing bubbles, however, and have refired several pieces or even thrown them away. I'm beginning to use Glossy White and Nelson's Transparent, both food-safe, as alternative liners and have found both work well. I also used a different technique when glazing the cups. I poured the glaze through a sieve into a plastic pitcher. I poured it about two thirds of the way up since the glaze will flow over the top of the rim if it starts out too high. Something called "displacement" if I remember correctly. So I would wet the bottom inch of the cup that wasn't going to be glazed anyway so I could grasp it more securely. The bisqued clay is tacky when wet which helps you hang on to the cup when dipping it in the glaze. With some glazes, especially with dark clay, I would dip it twice, but most of the time I was just holding it submerged in the glaze for several seconds before lifting it out.
Below are examples of most of the different designs and glazing effects that I've tried on my cups since September. I hope they'll give you some ideas about how to make your own cups.


 RSS Feed