|
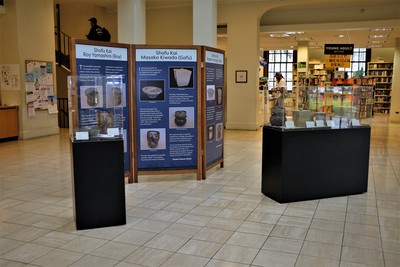
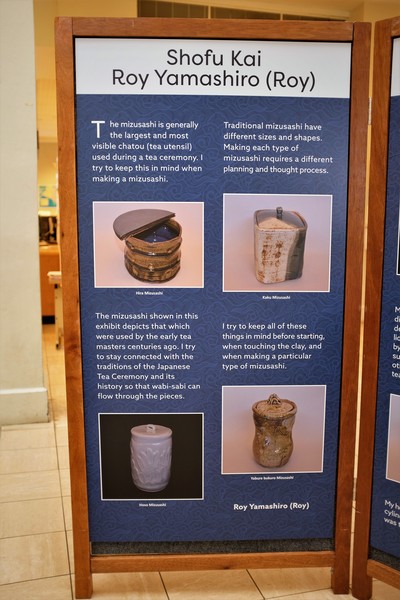
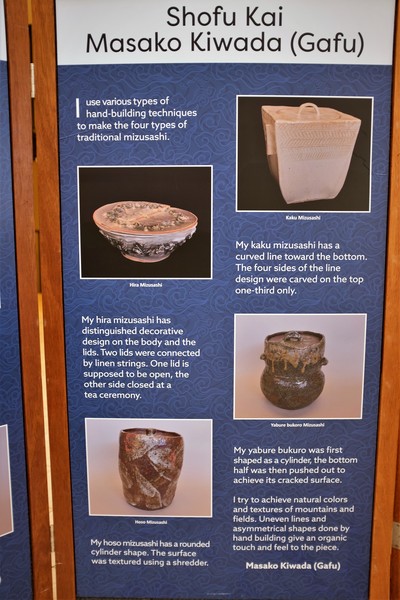
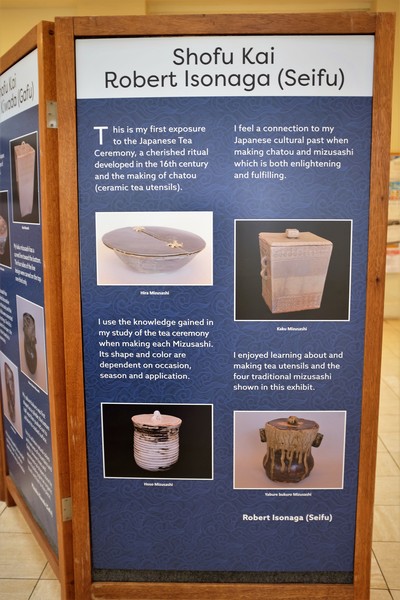
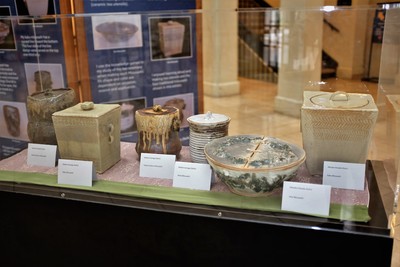
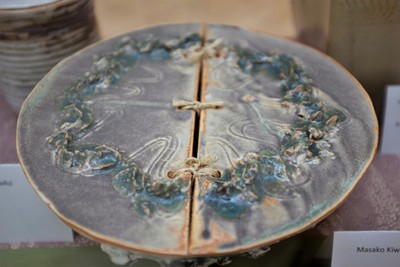
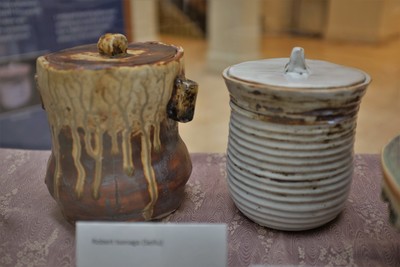
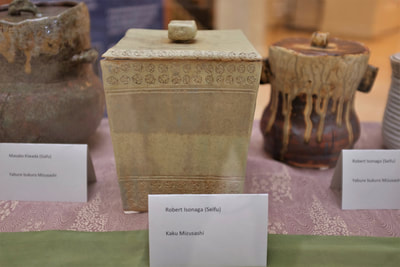
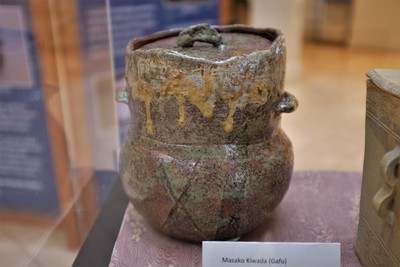
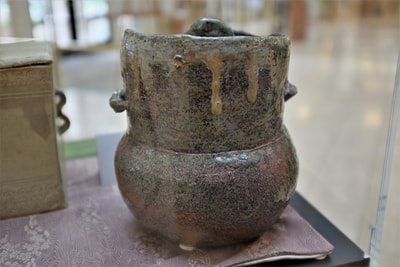
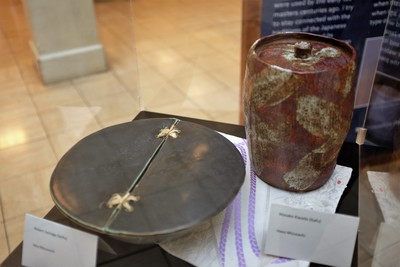
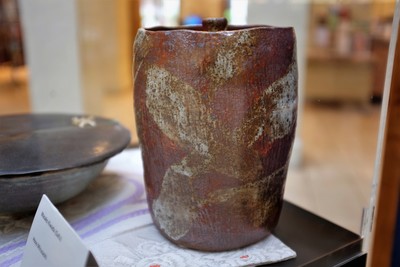
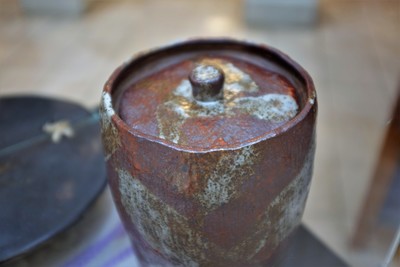
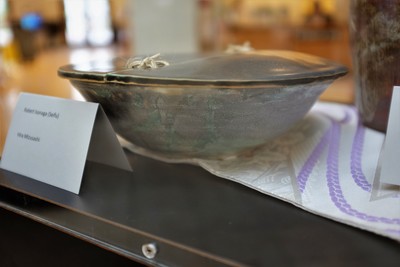
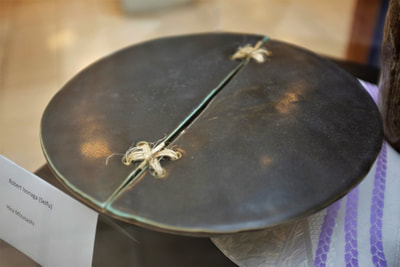
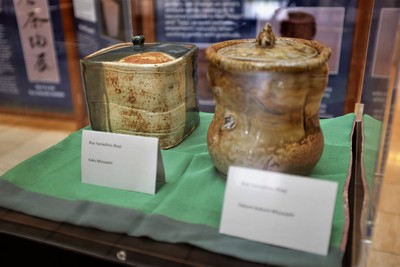
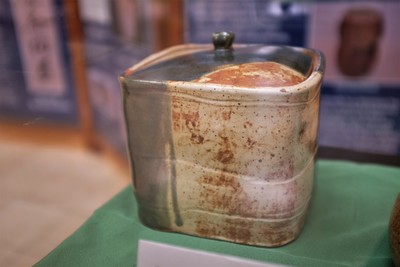
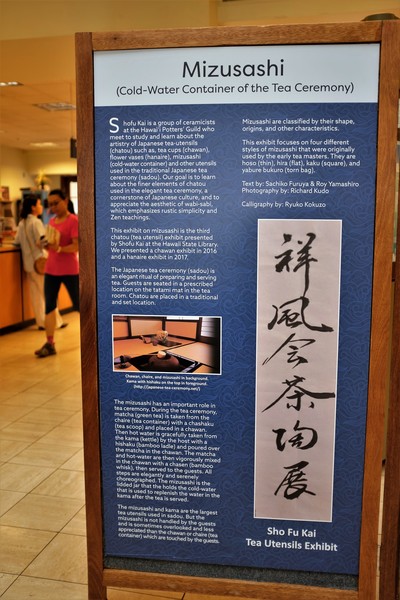
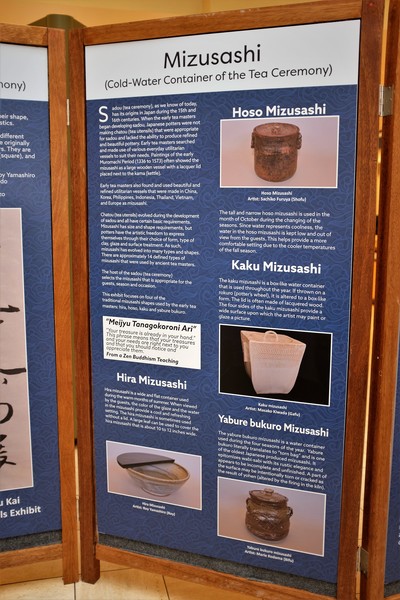
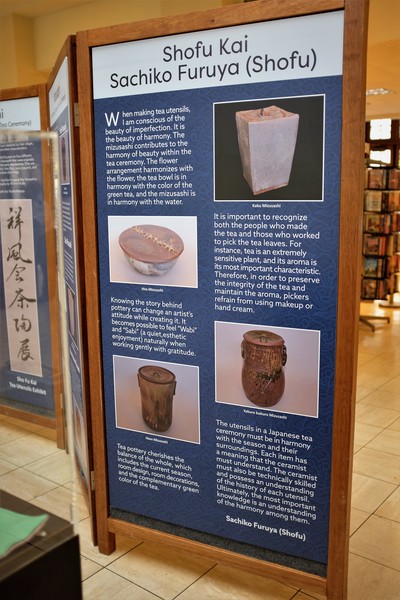
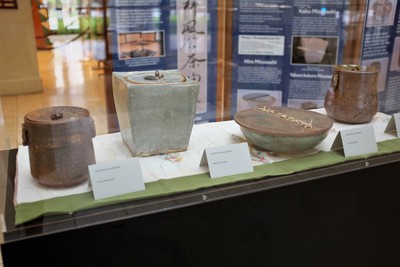
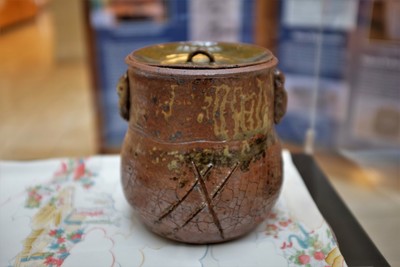
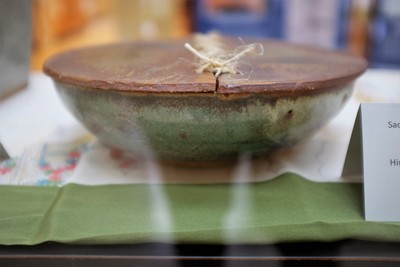
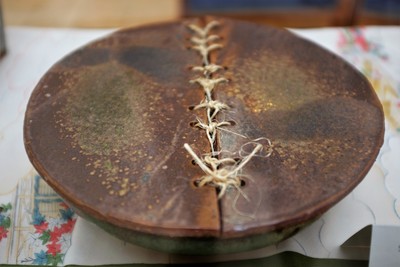
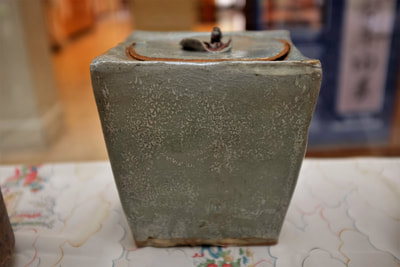
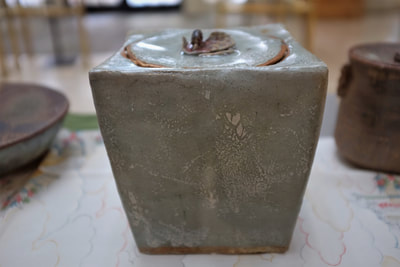
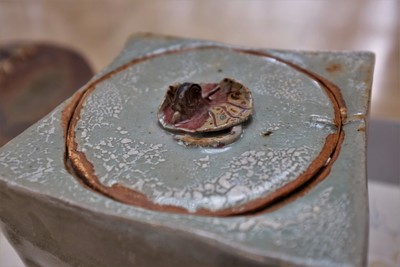
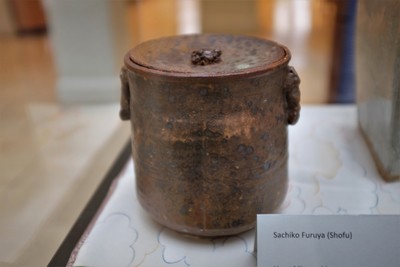
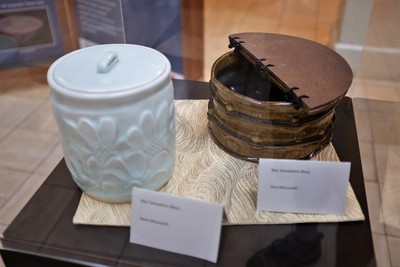
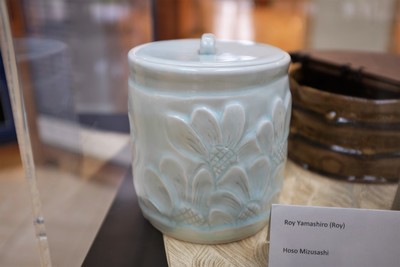
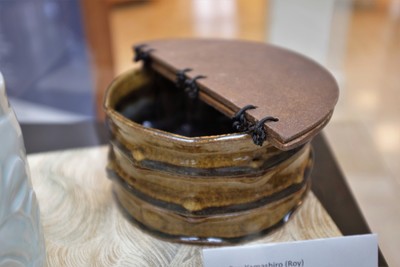
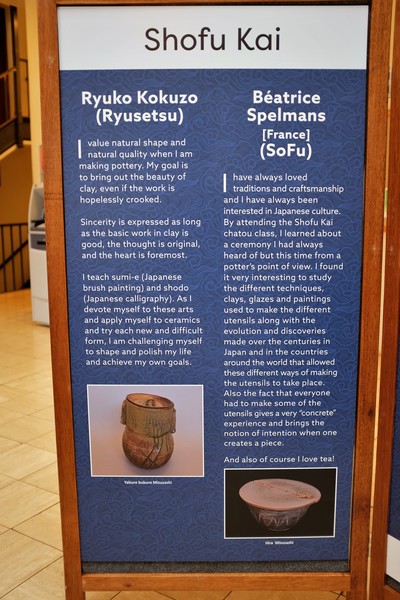
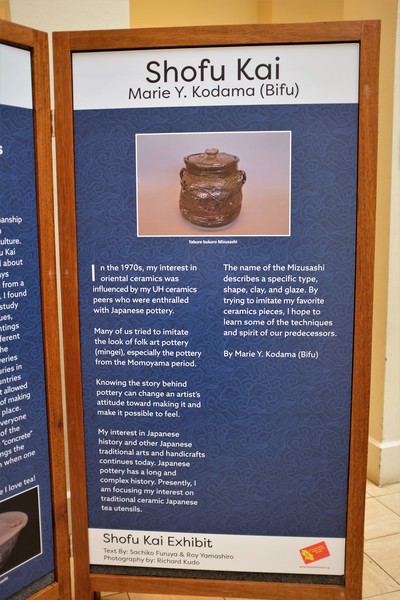
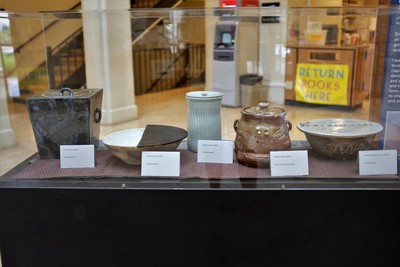
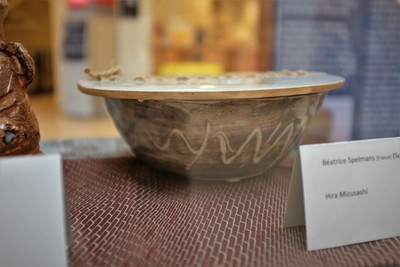
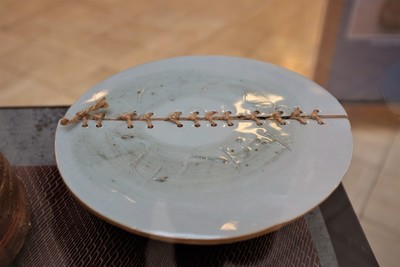
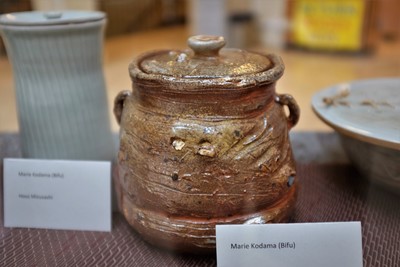
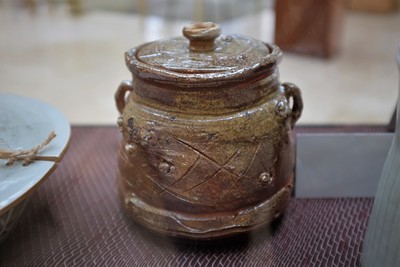
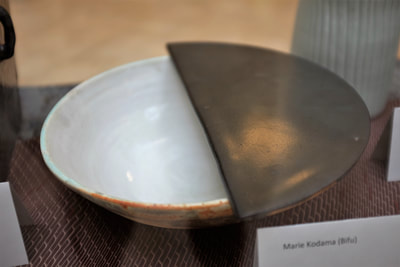
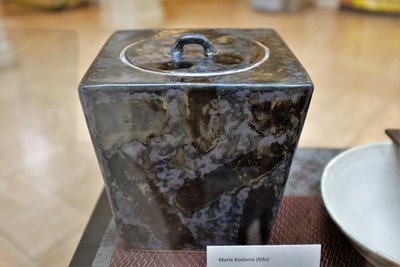
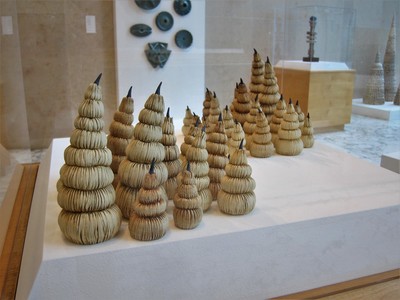
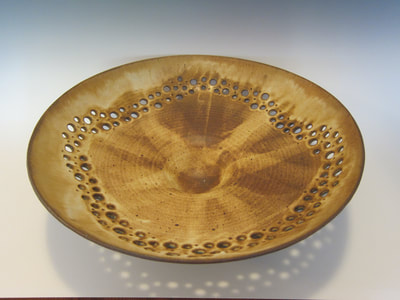
Mizusashi are lidded vessels that contain the cold water that's used to replenish the water in the kama (kettle). The exhibit is by Shofu Kai, a group of potters from the Hawaii Potters Guild who meet each Friday to learn about the Japanese tea ceremony and how to make and use the utensils for the ceremony. This is their third exhibition at the Hawaii Public Library's main location in downtown Honolulu. The exhibition will be up from October 1 through October 31.
1 Comment
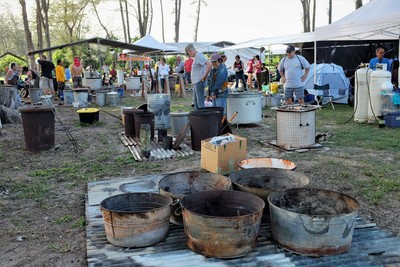
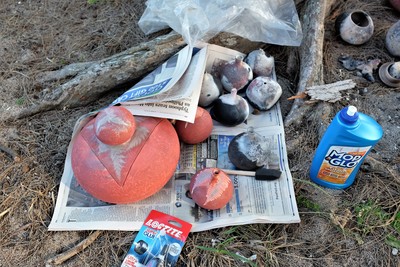
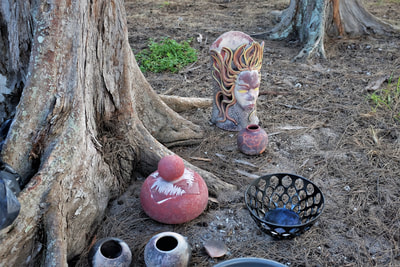
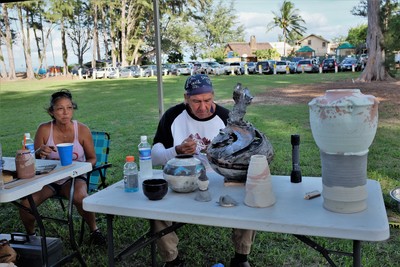
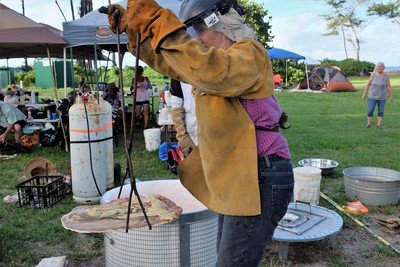
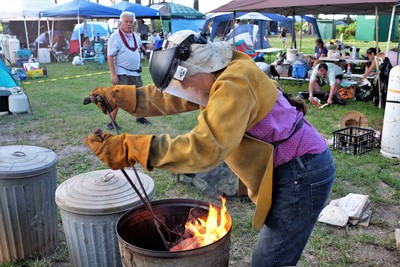
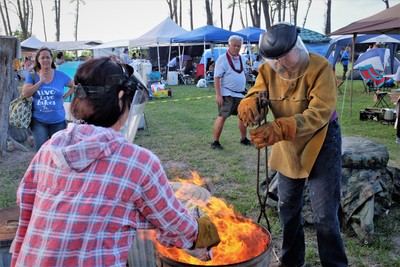
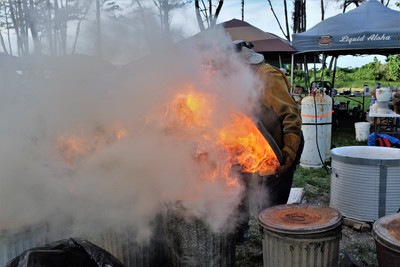
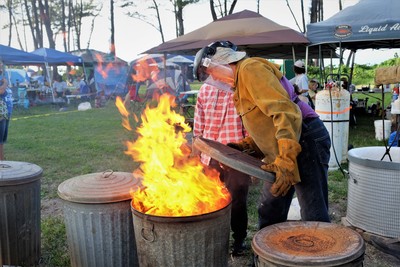
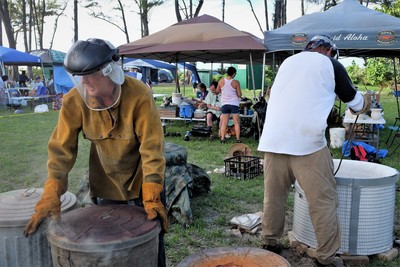
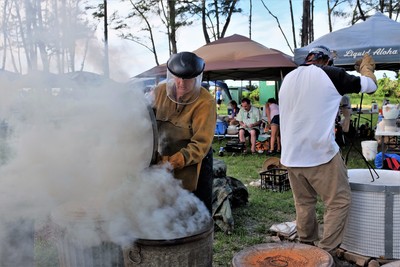
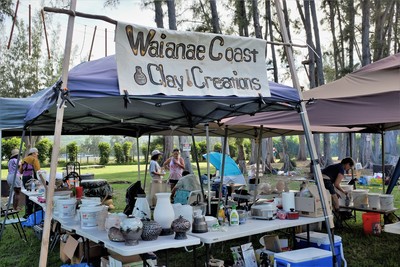
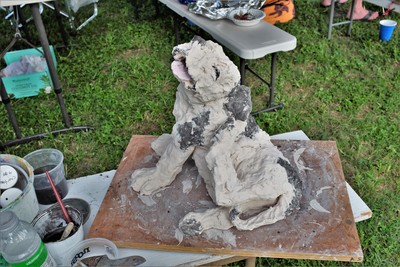
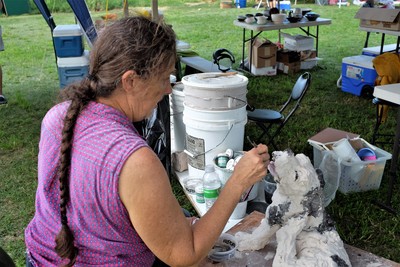
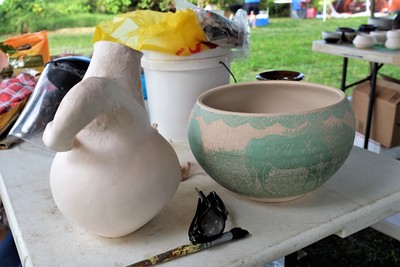
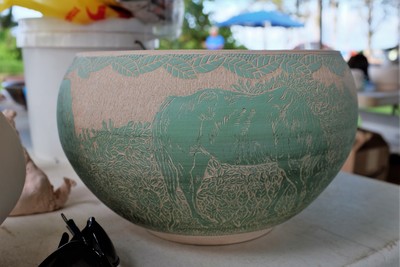
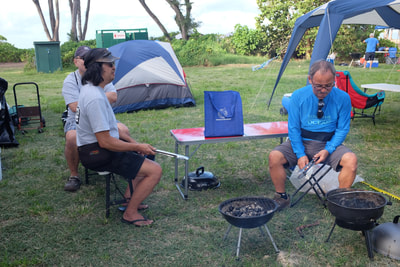
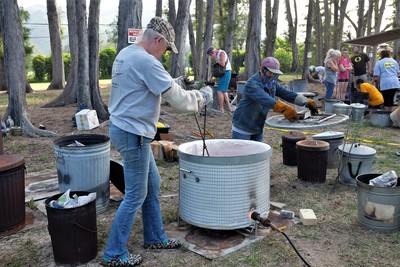
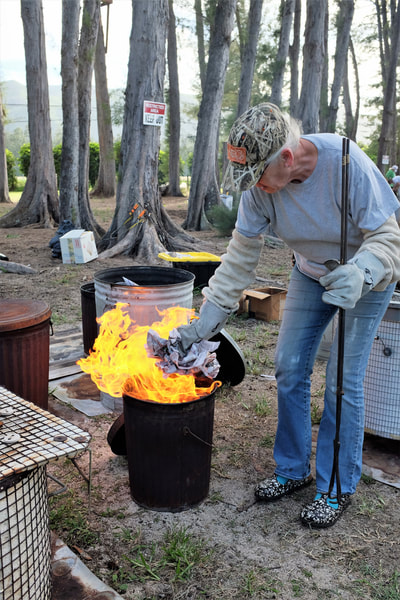
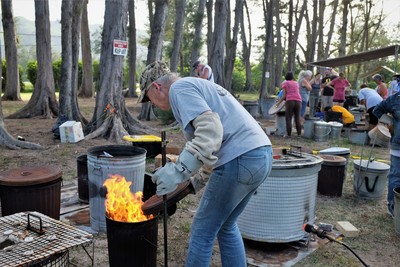
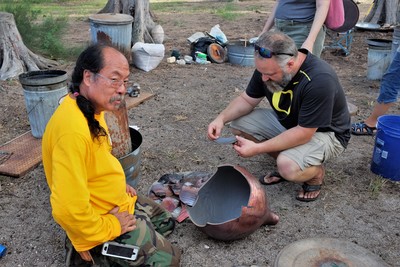
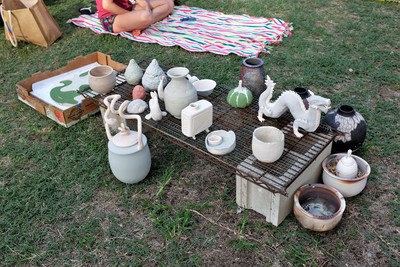
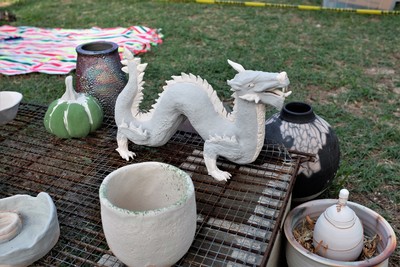
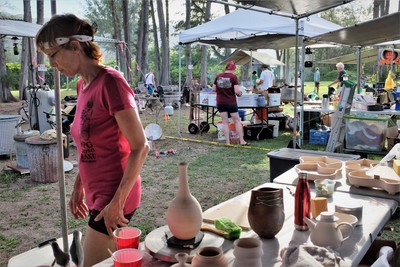
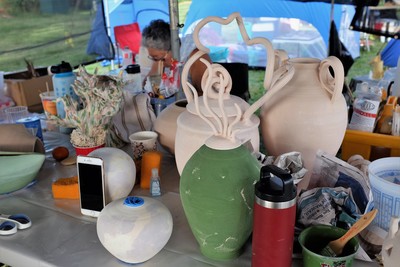
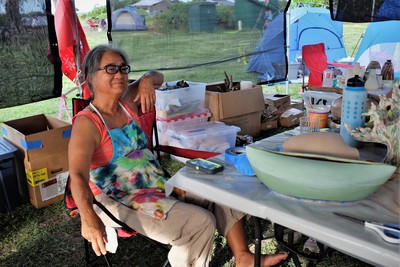
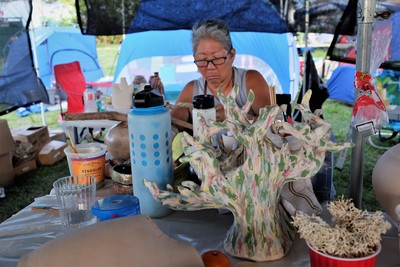
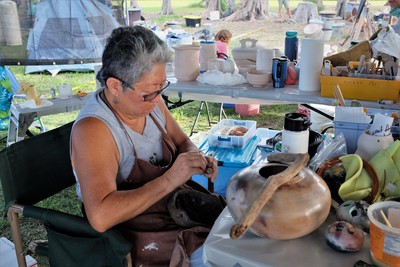
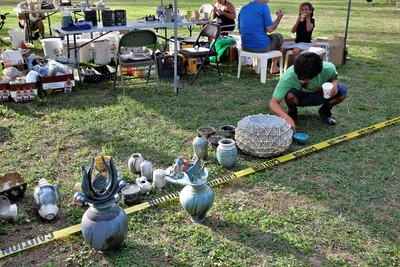
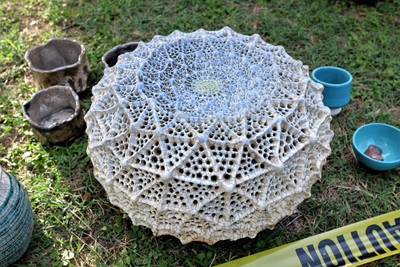
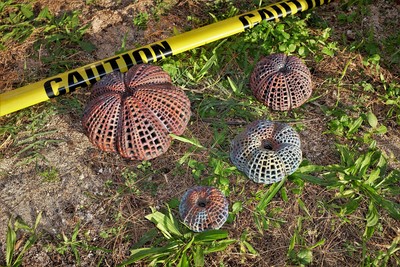
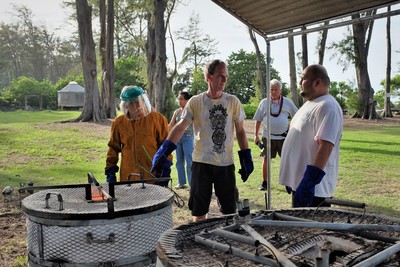
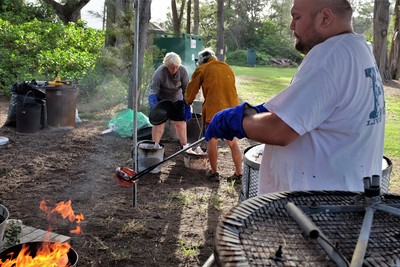
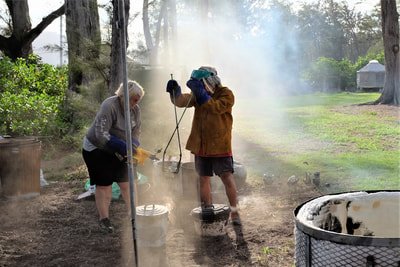
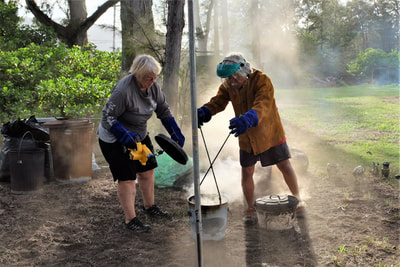
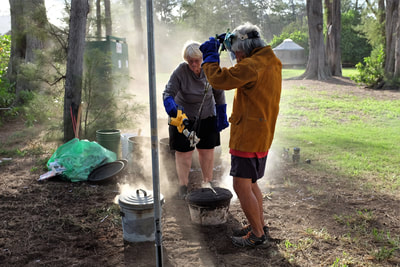
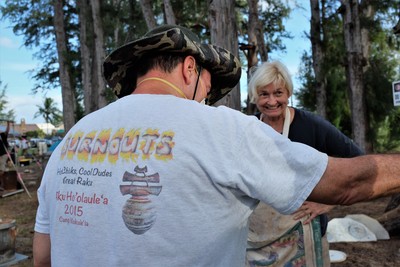
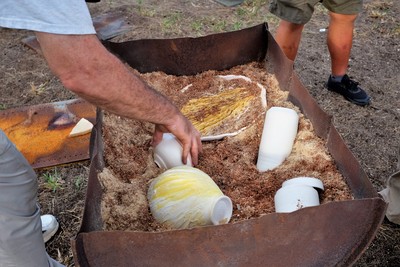
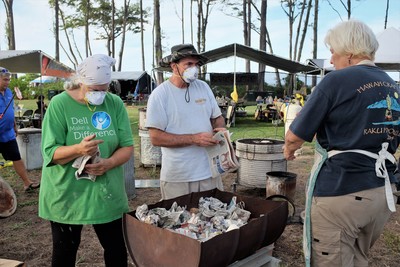
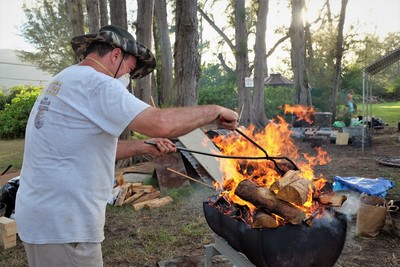
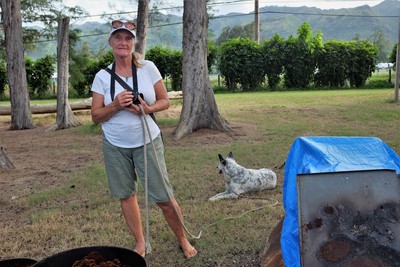
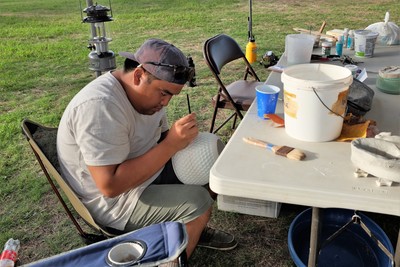
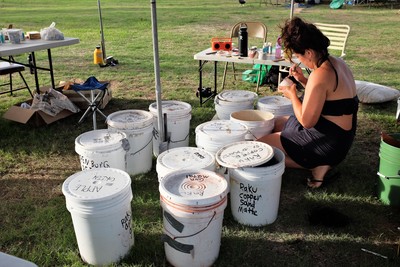
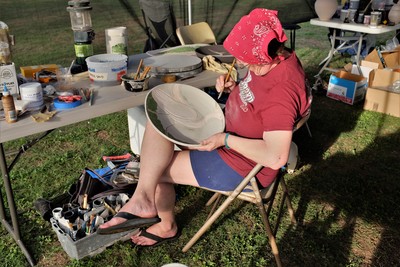
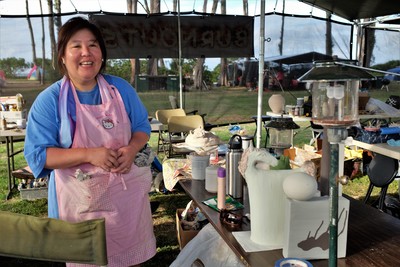
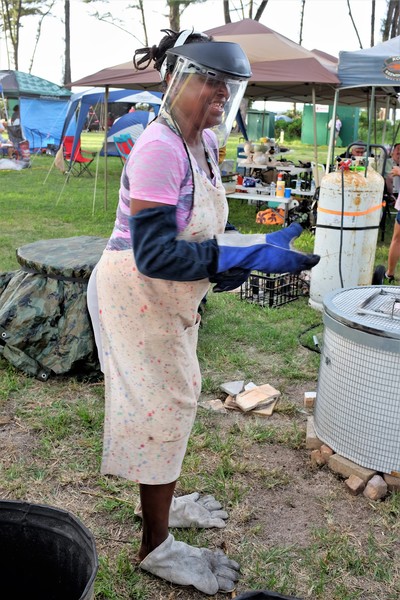
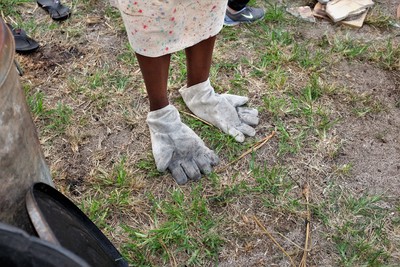
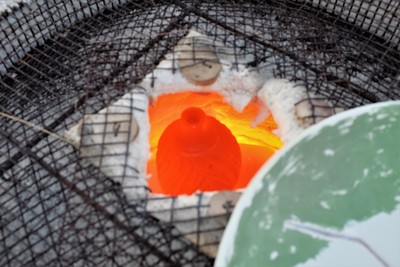
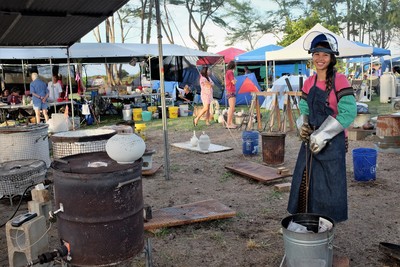
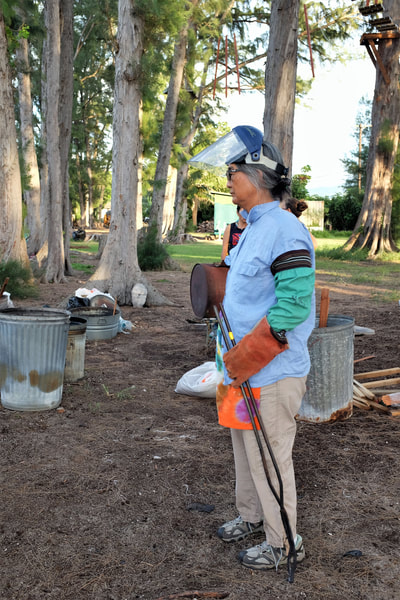
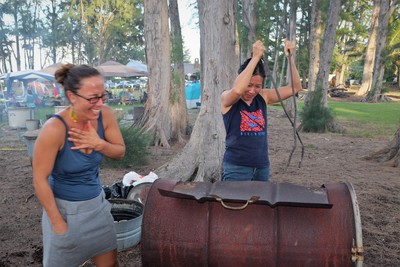
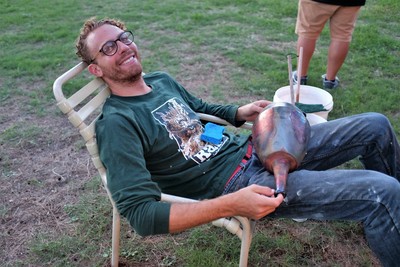
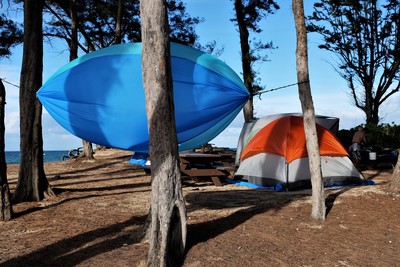
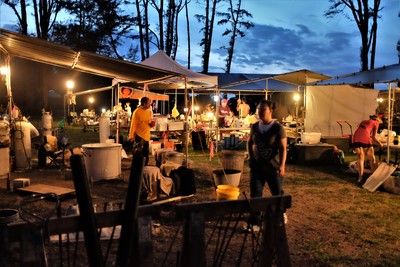
This past weekend, September 21 through 24, the Hawaii Craftsmen held their annual Raku Ho'olaule'a at Camp Mokule'ia on the North Shore of O'ahu. About 50 potters camped together, decorated pots together and fired together. I've never participated in Raku Ho'olaule'a before but I decided to visit on Saturday to get a taste of what it's like. I took some photos that you can see below. I had a great time and hope to participate in 2019. Scott Young, a potter who's originally from Hawaii but who teaches now in California, was the juror. In a later blog I'll post photos of the pots he chose that will be on display at the Windward Mall in Kaneohe.
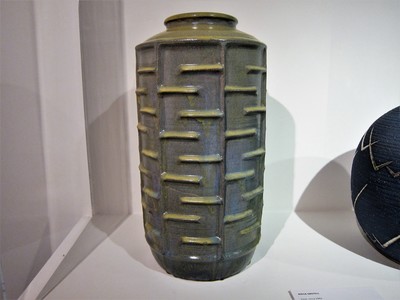
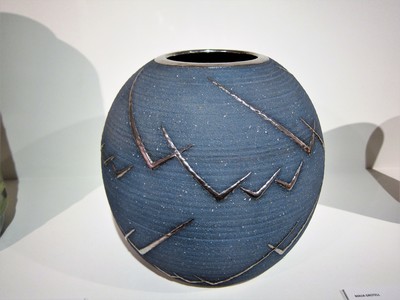
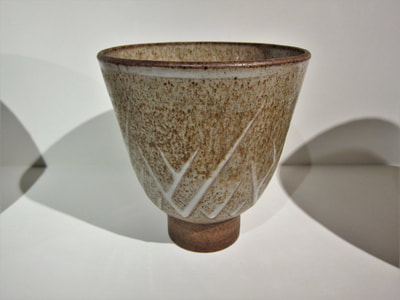
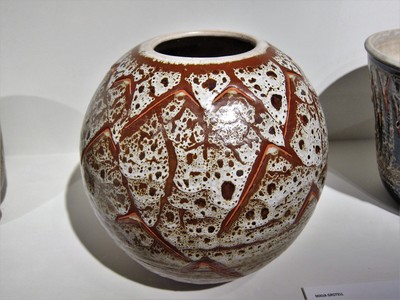
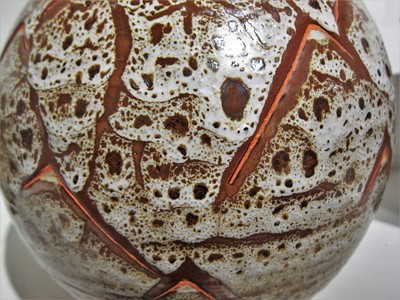
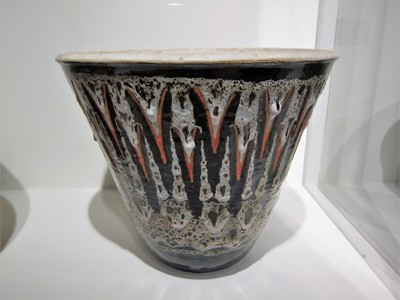
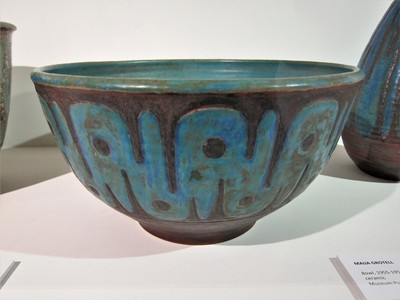
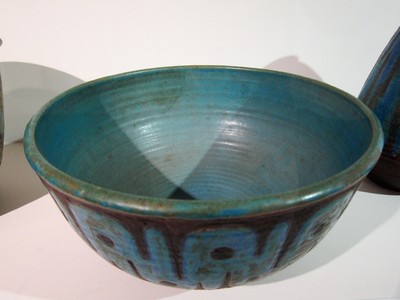
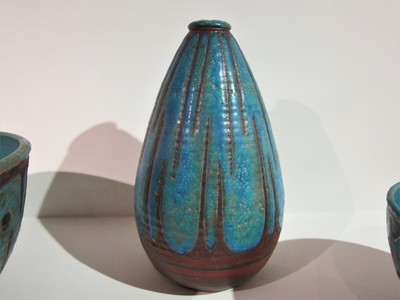
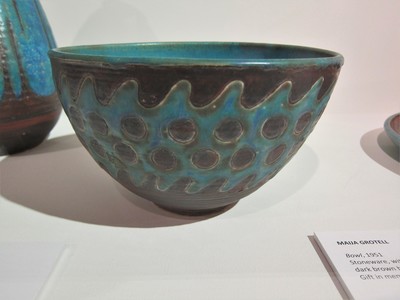
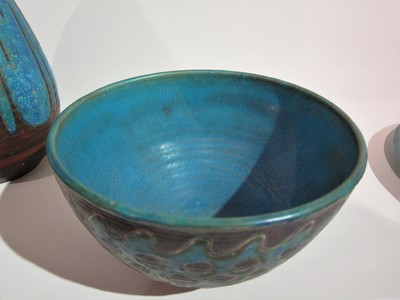
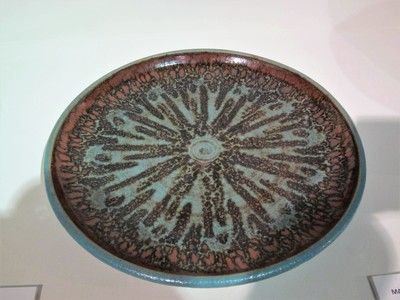
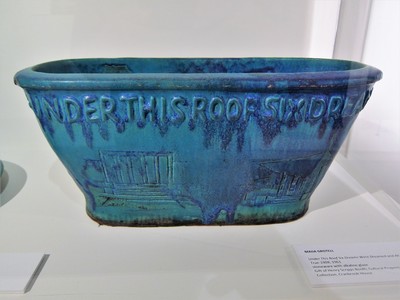
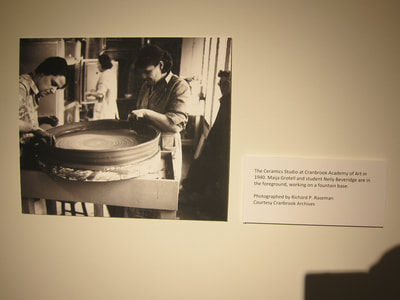
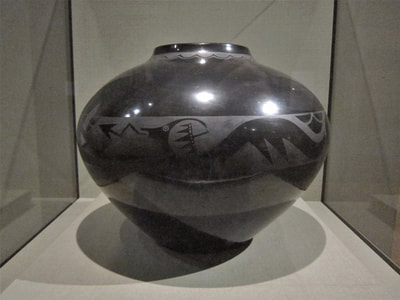
Last summer I visited the Cranbrook Academy of Art in Bloomfield Hills, Michigan. I walked all over the campus slipping into buildings where I probably shouldn't have been and taking photos. It's an incredible place. I especially loved the bronzes by Carl Milles and the campus designed by Eliel Saarinen. I even had a chance to visit Saarinen's home on campus which is a rare treat. I also visited their art museum which had a major retrospective of the designer Alexander Girard. I was a little overwhelmed at that point but when I went downstairs I found an exhibition that explored the "Finnish connection" between Cranbrook and Finland. Part of the exhibit featured the pots of the Finnish ceramic artist Maija Grotell. Maija was one of the most important potters of the 20th century and certainly one of its most important instructors. Among her more famous students from Cranbrook are Toshiko Takaezu, Richard DeVore, Howard Kottler and John Glick. Below are photos of her pots that were included in the exhibition. The descriptions are from museum labels.
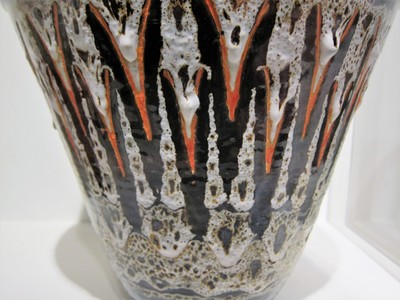
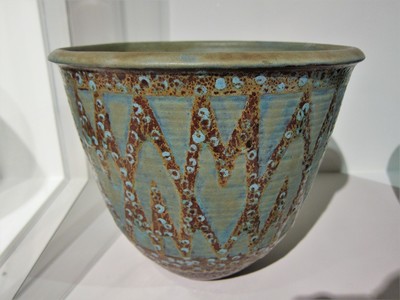
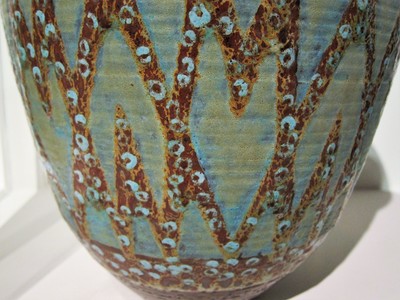
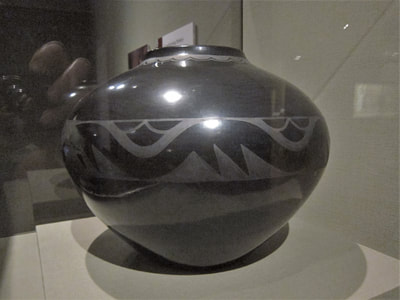
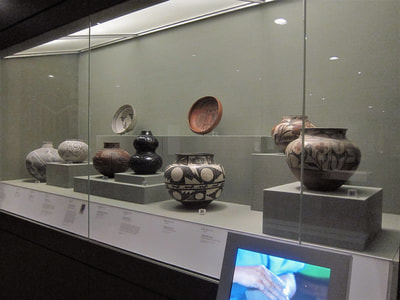
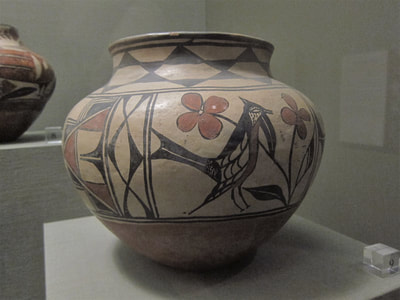
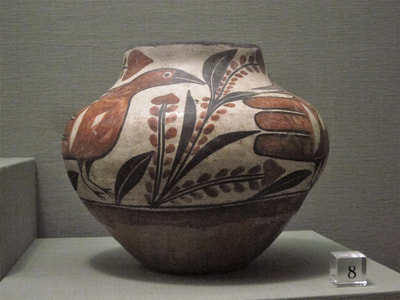
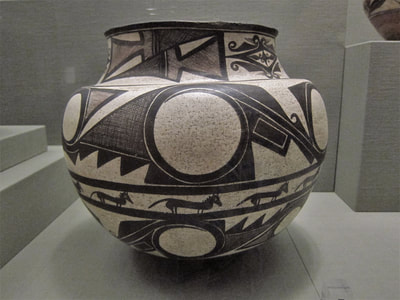
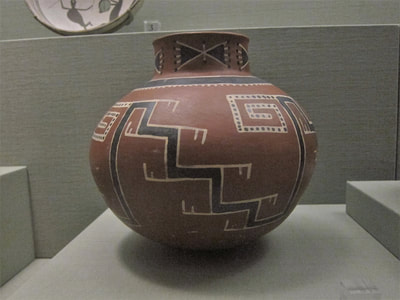
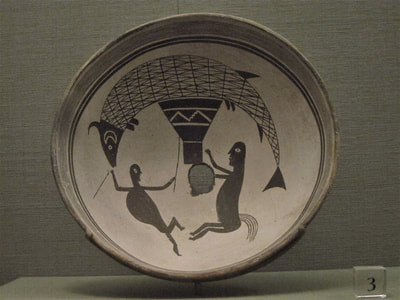
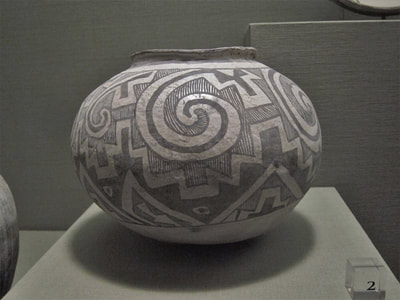
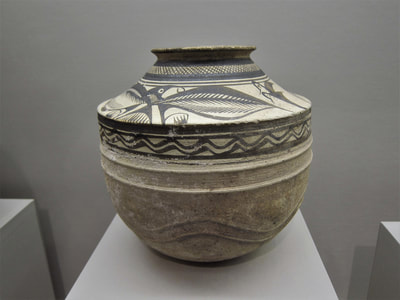
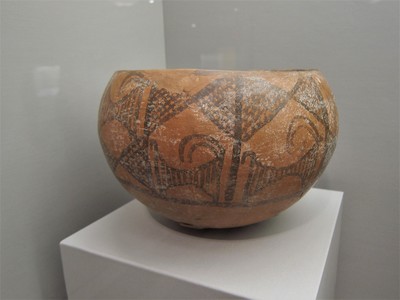
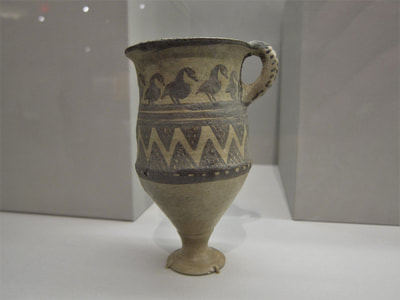
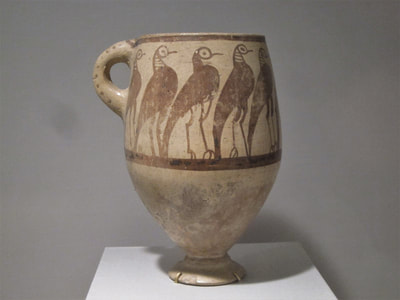
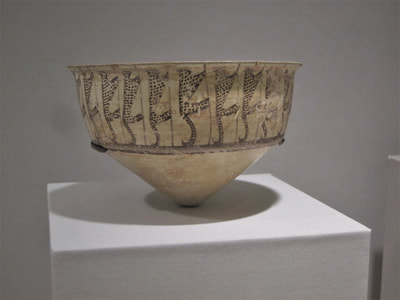
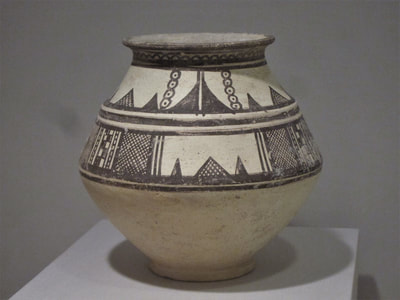
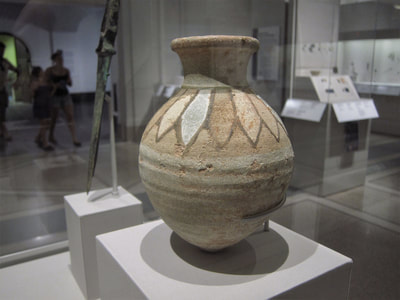
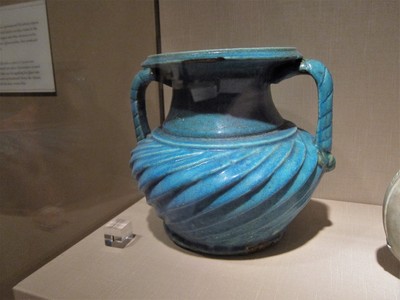
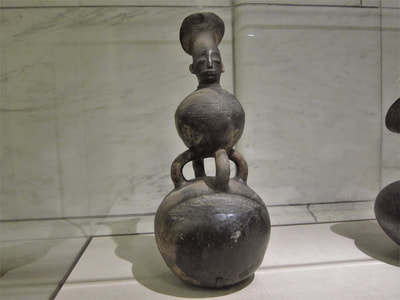
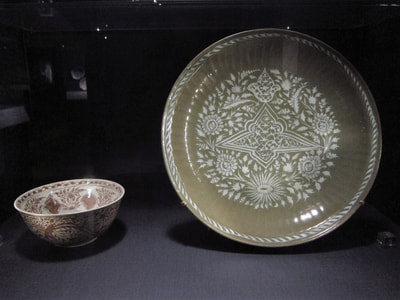
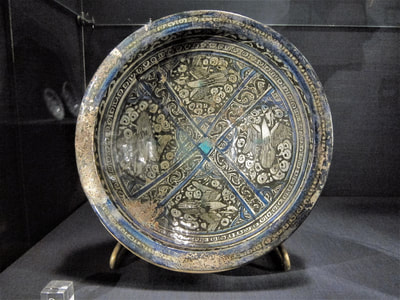
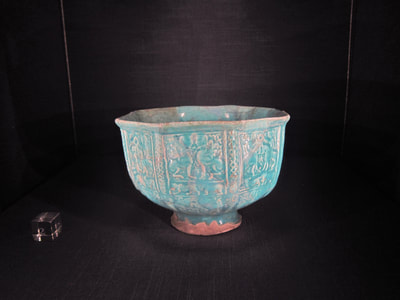
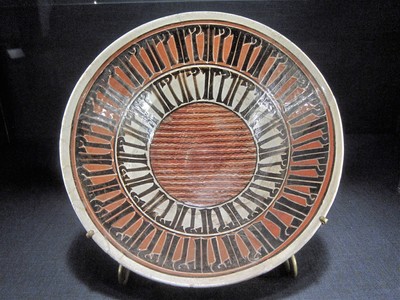
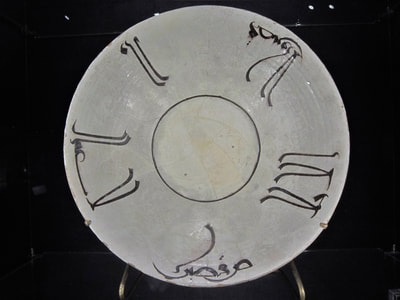
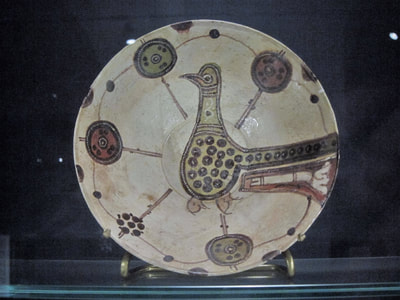
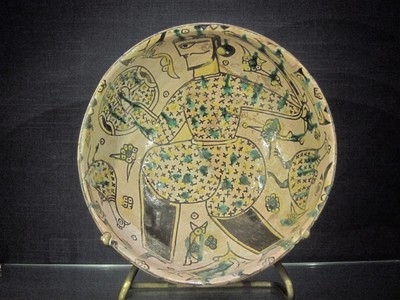
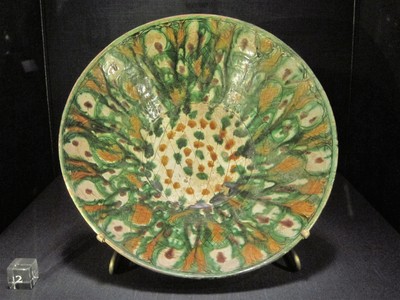
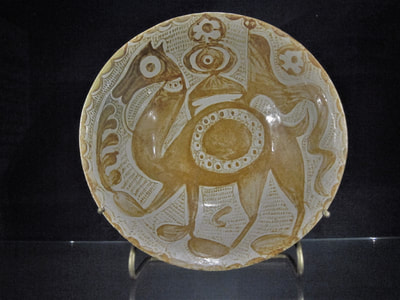
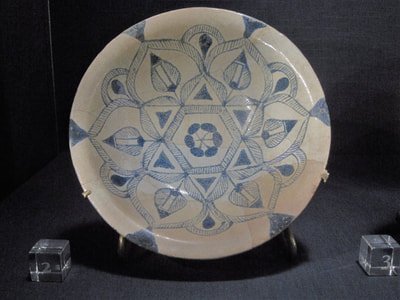
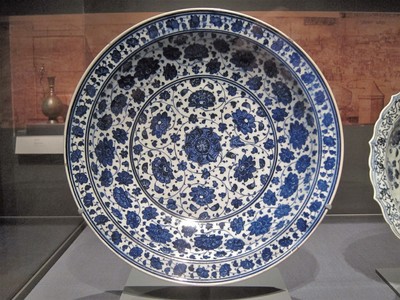
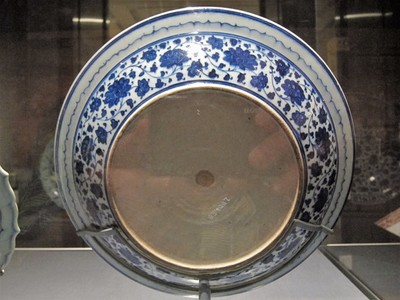
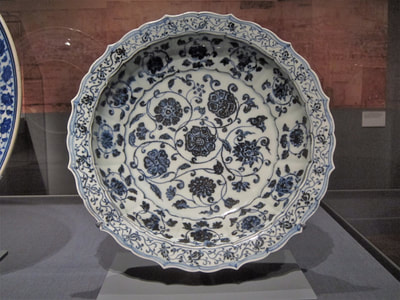
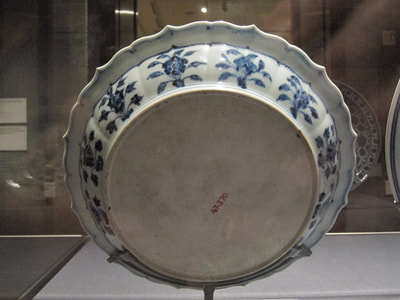
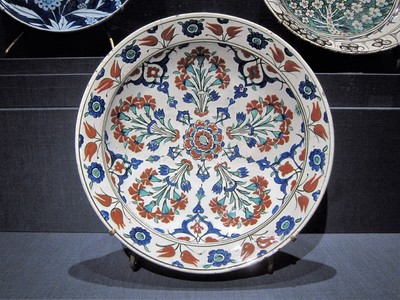
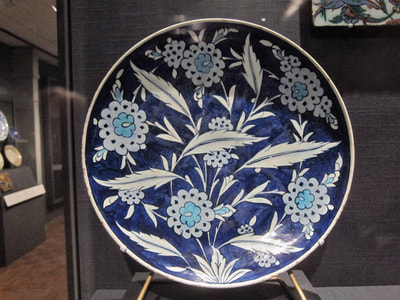
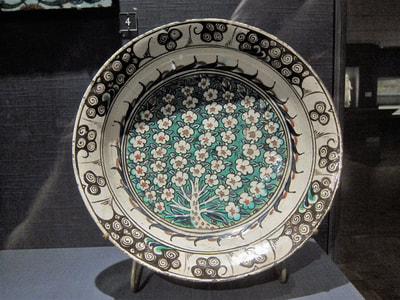
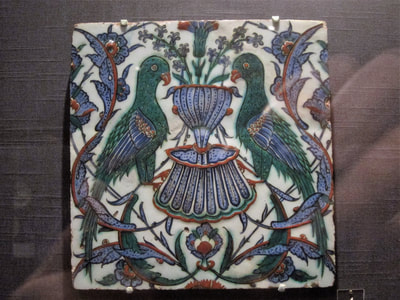
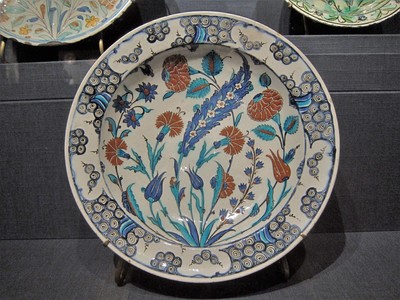
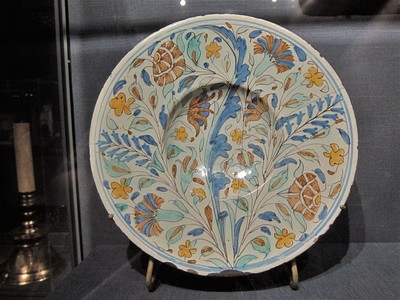
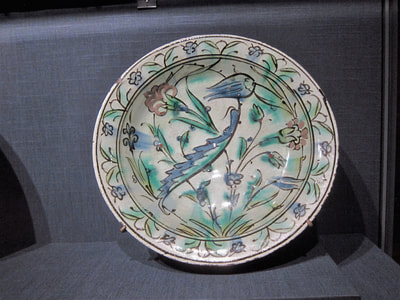
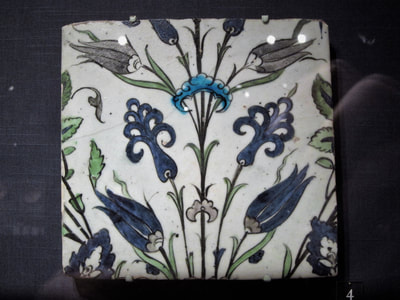
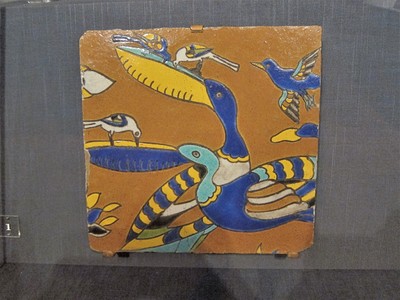
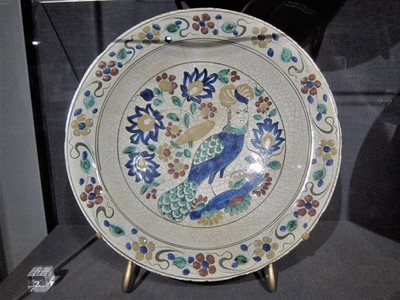
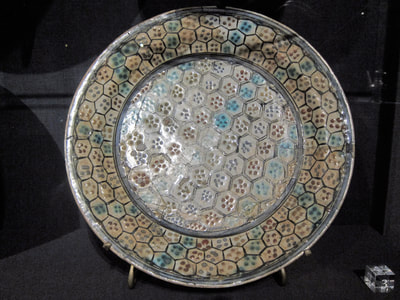
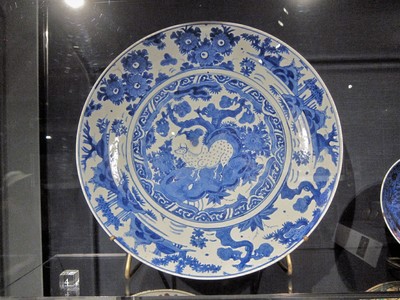
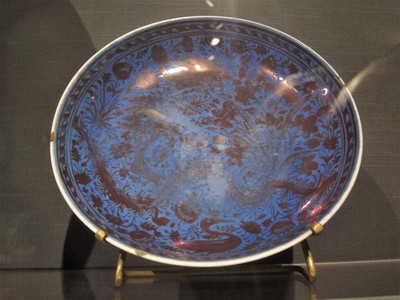
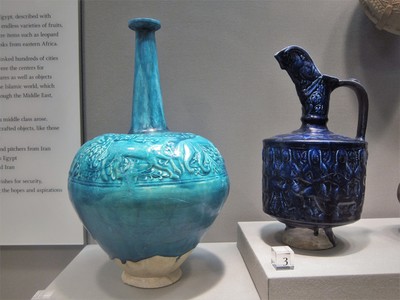
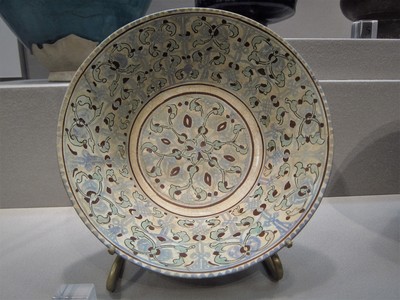
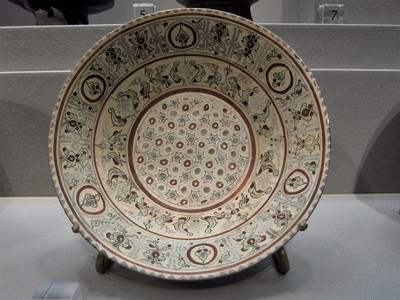
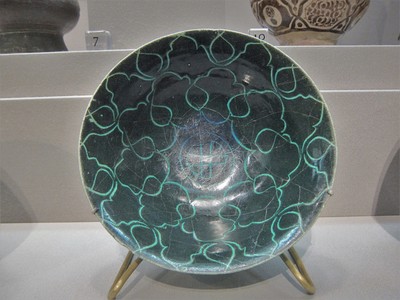
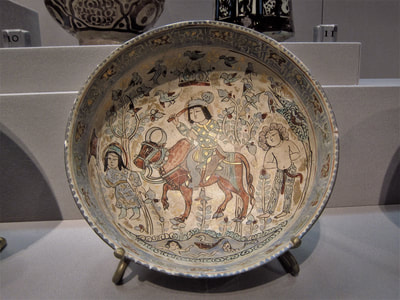
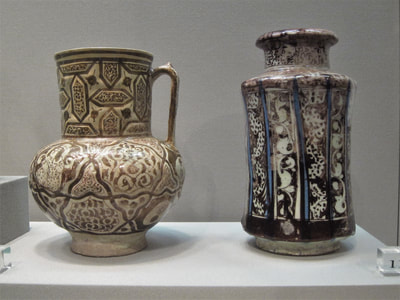
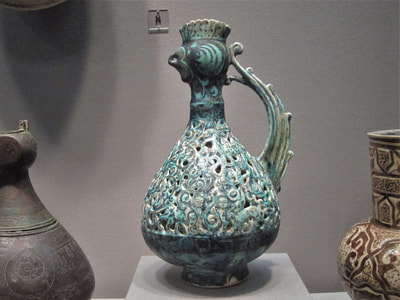
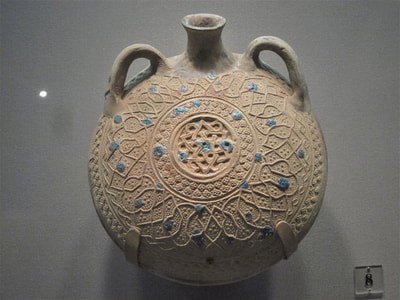
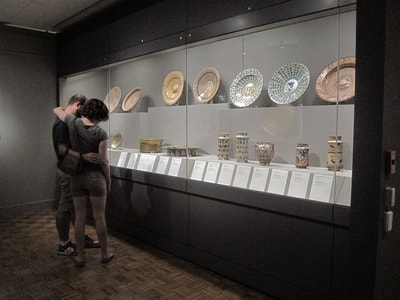
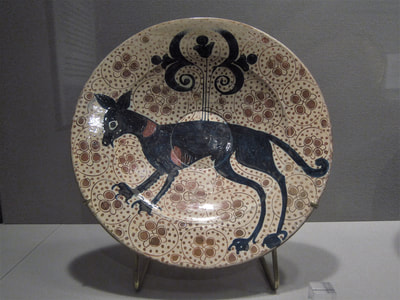
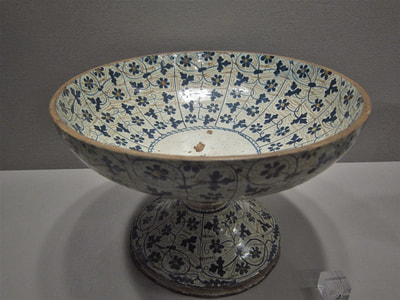
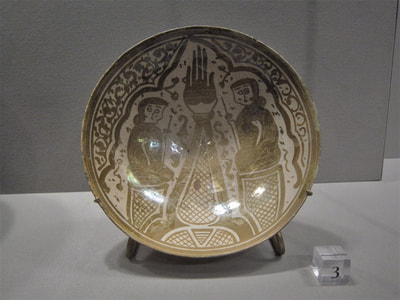
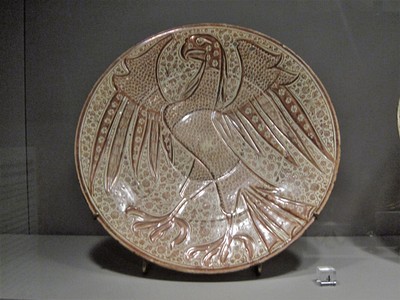
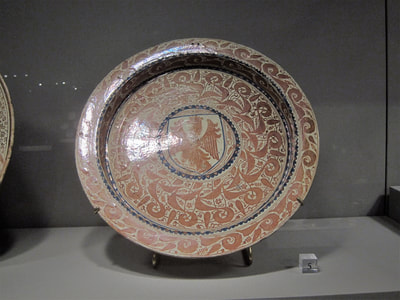
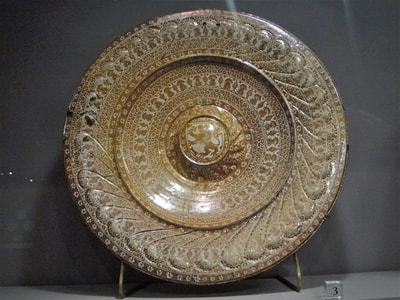
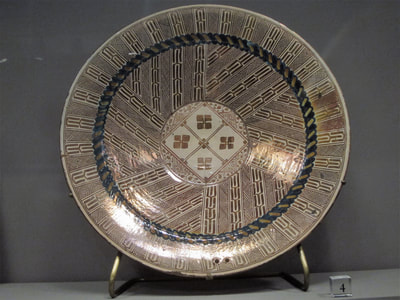
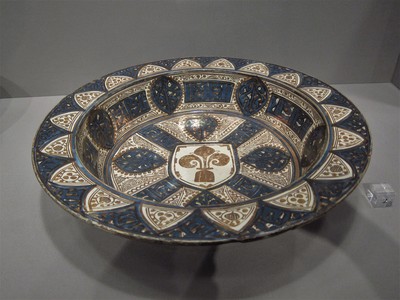
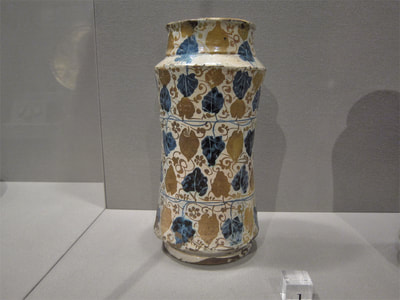
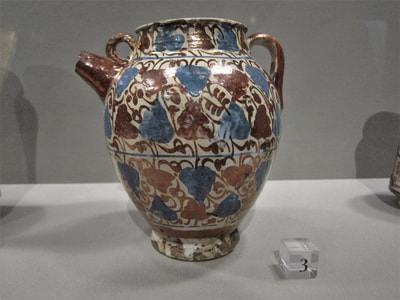
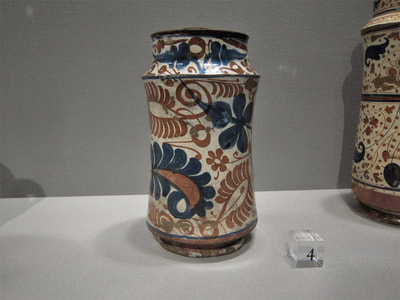
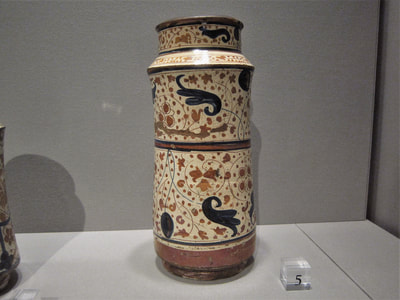
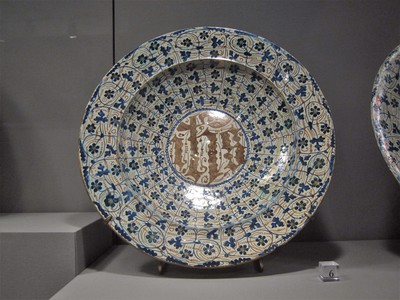
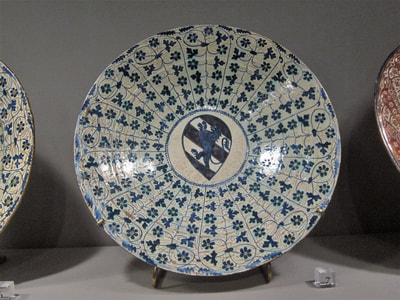
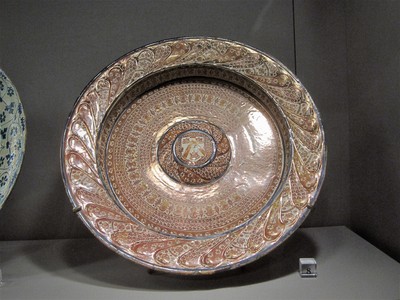
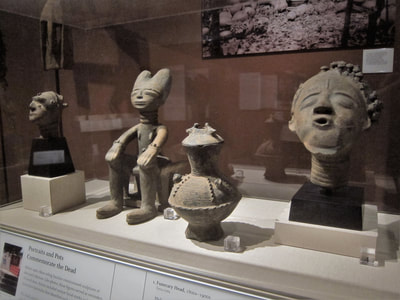
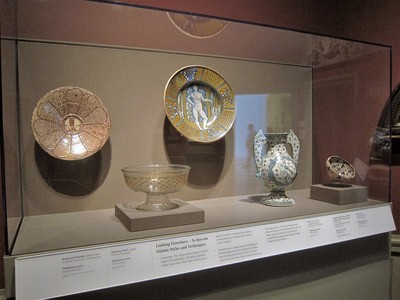
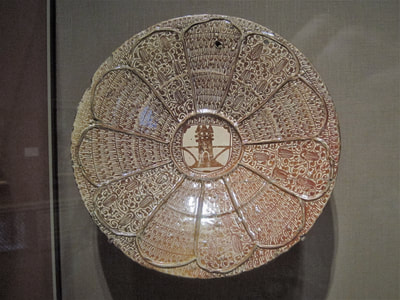
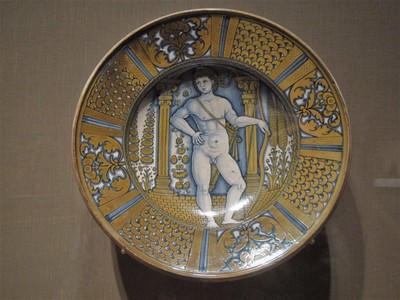
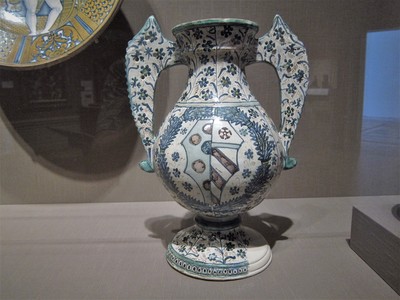
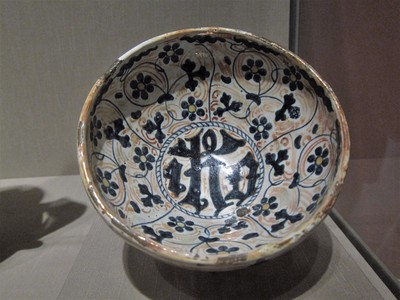
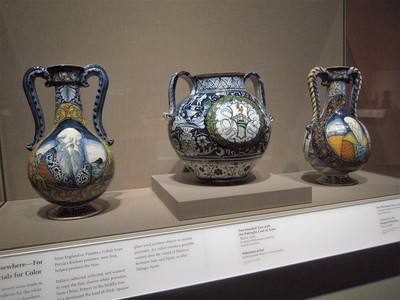
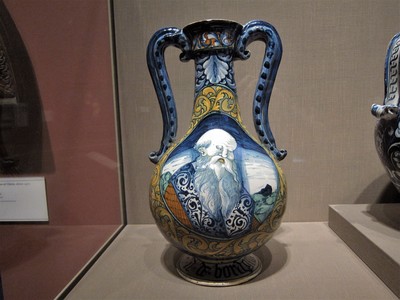
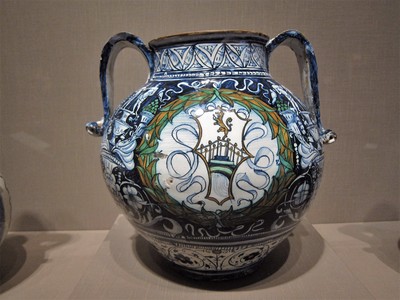
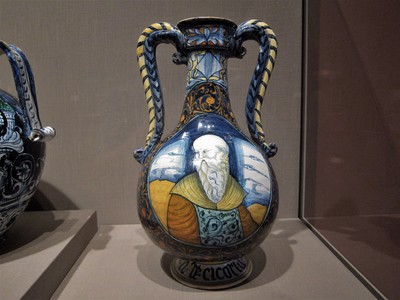
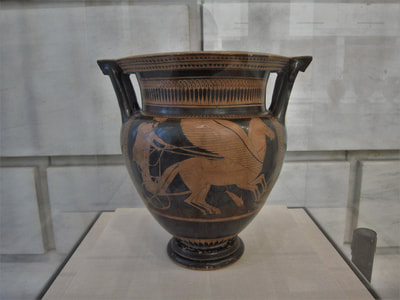
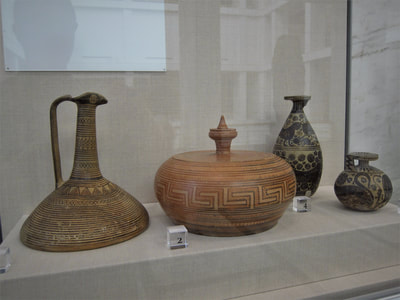
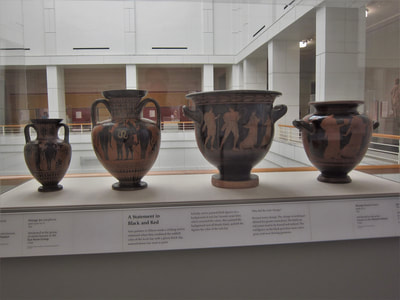
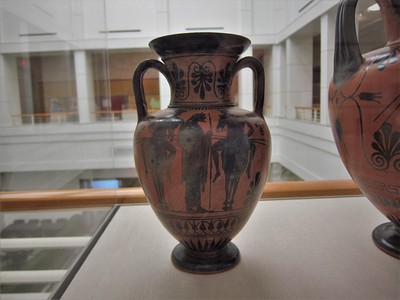
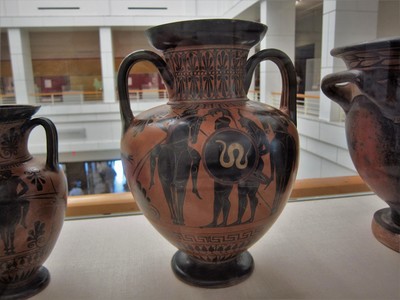
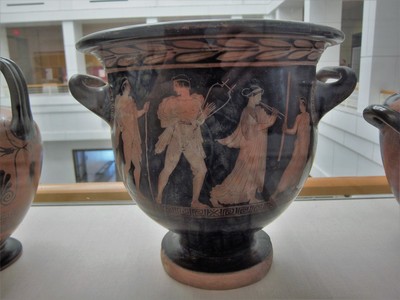
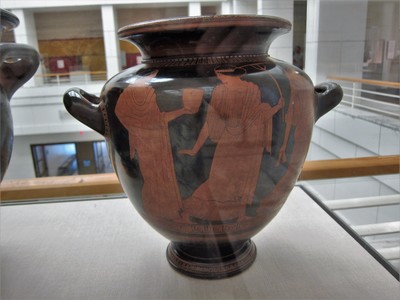
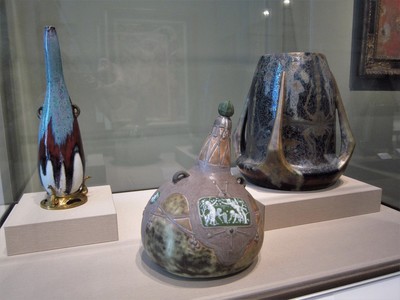
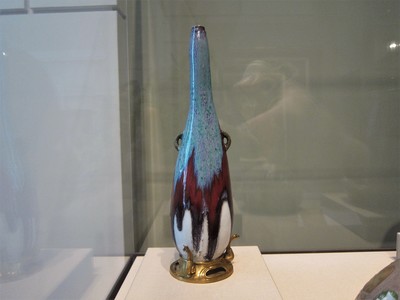
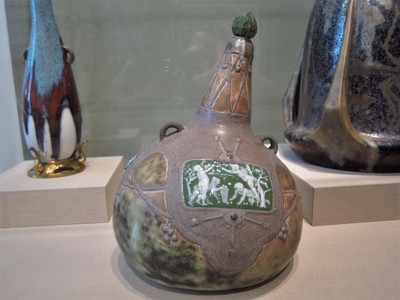
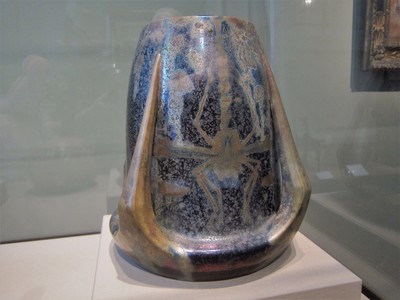
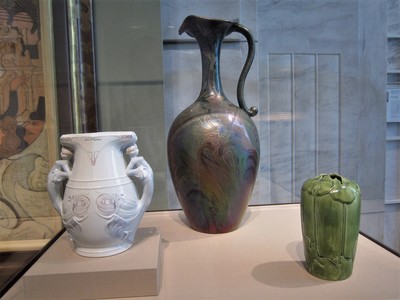
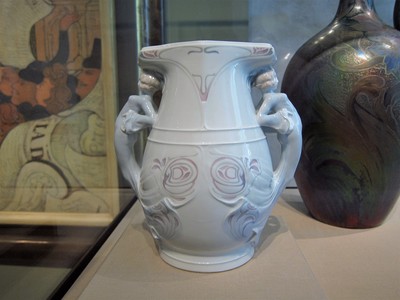
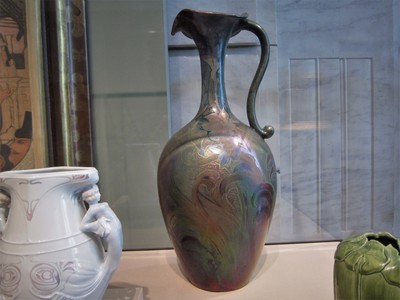
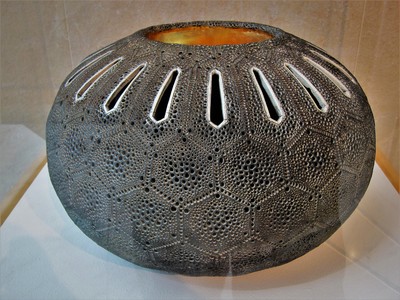
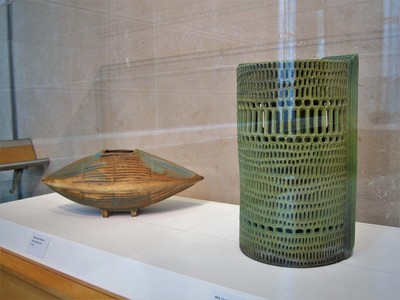
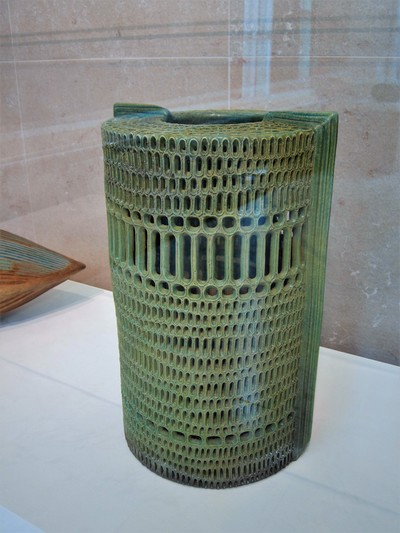
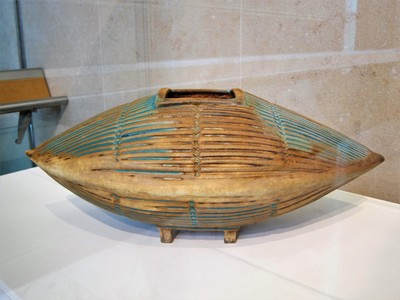
This month I visited the Detroit Institute of Art while vacationing near Ann Arbor. The DIA has an incredible collection, one of the top 10 in the US. From what I've read, the city of Detroit owns the museum and several years ago considered selling off all of its art to pay its bills when the city was bankrupt. Thankfully they didn't do that. Below are photos I took of ceramics at the DIA. Most were displayed under low lighting and my camera doesn't do well in low lighting, so the quality isn't that great. However, the quality of the pieces is so high that I thought I'd present them here anyway. The descriptions are the ones supplied by the museum. Hope you find something inspiring!
One of the most important things you can do to promote your pottery is to take good photos of it. Images of your pots, if done well, can communicate alot about the beauty of your pieces, how they could be used, and what they might look like in someone's living space. I certainly can't claim to be an expert on taking photos of my pots, but I've learned a few things over the years that have worked well for me and may be helpful for you as well.
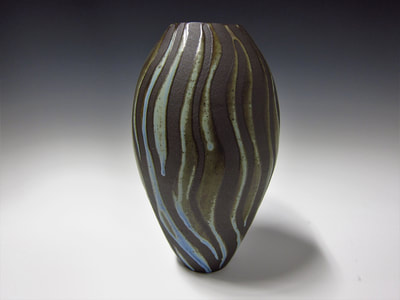
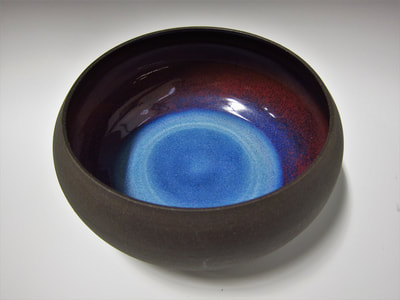
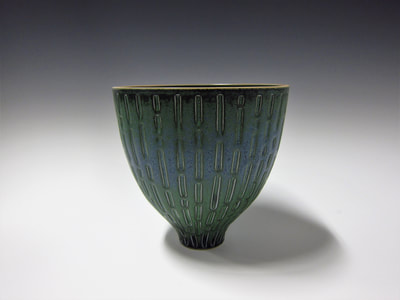
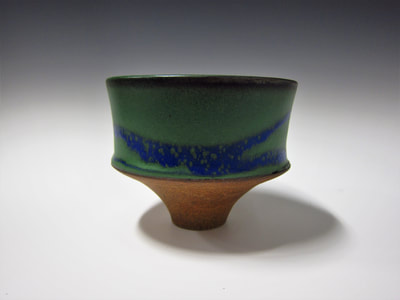
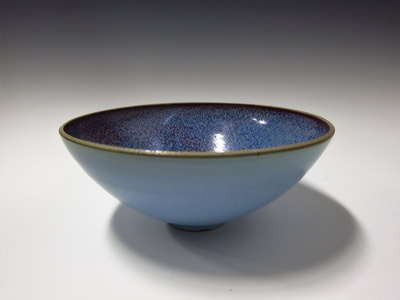
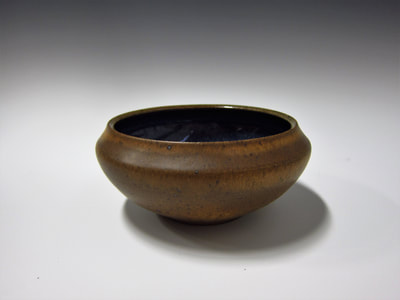
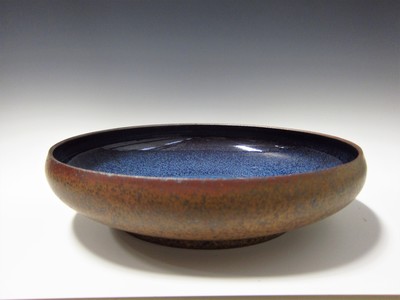
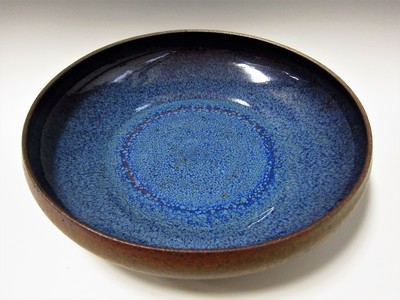
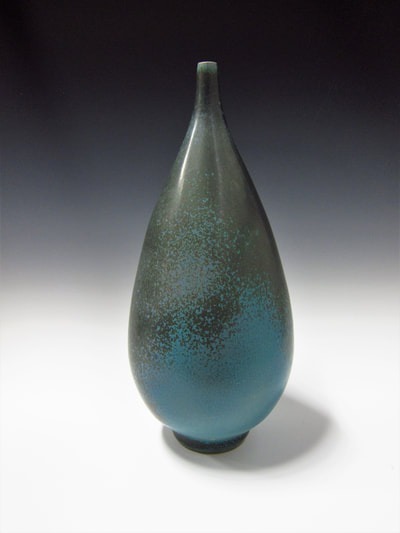
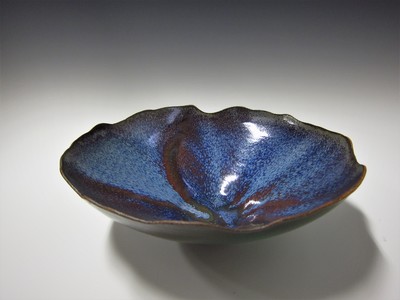
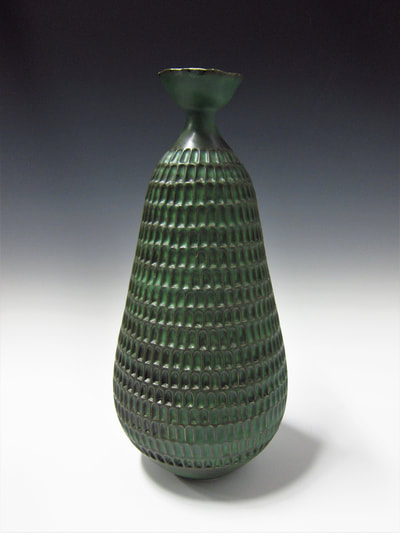
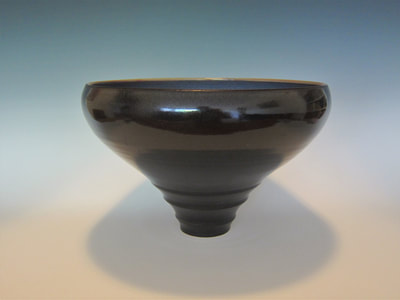
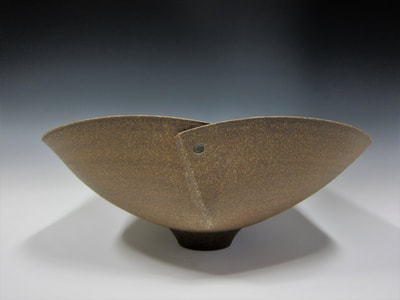
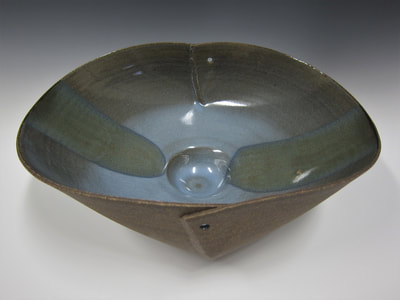
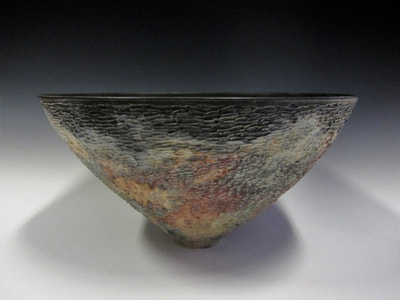
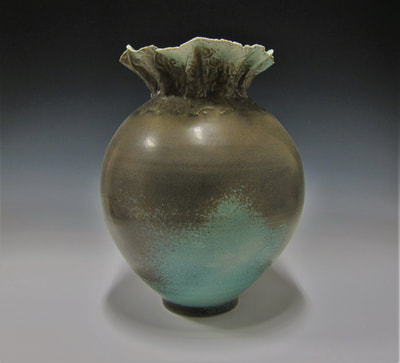
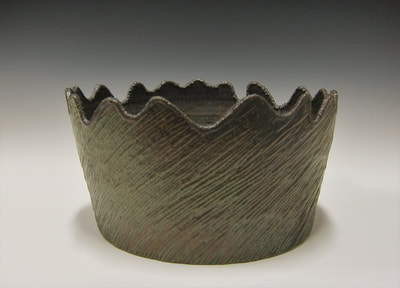
First, learn how to use your camera or cell phone to take still life photos. Photos of pots are done at close range and present unique challenges. For instance, I've found that some of my photos of pots will be distorted if I hold the camera too close to them. It's the same principle that makes your nose look too big if you hold the camera close to your face. In situations like this, I hold the camera a little farther away and use the zoom to get closer. You don't need a tripod since most cameras compensate for minor shaking, but you do need to adjust the settings for different types of light such as fluorescent, tungsten, or natural sunlight. Explanations for how to do any of these things should be in your manual or online in one form or another. Second, learn how to stage a photo. I'm still too lazy to work hard enough on this, so I know this is an area I need to work on. The photos of pots on this website are all taken on my kitchen table which doesn't communicate much about them. There are quite a few people on Etsy who are skillful at presenting their pieces in settings that show how they might enhance the beauty of someone's home. Some of the best photos of my pots are from collectors who take them home, fill them with flowers, and send me images. One of the best I've seen was someone who took a photo of her breakfast the morning after my sale. My bowl was filled with a beautiful salad and my cup was filled with a fresh green smoothie. It's also important to know how to take photos using a background. I don't have a lightbox but I do use a Flotone Graduated Background (white at bottom to black at top; 31" x 43") which I purchased from Amazon for less than $50. Photos using these backgrounds look like the sort of thing you see in museum catalogs. You can get many types of backgrounds with many different colors or even just white; I just happen to like white to black. These can be in vinyl or paper and are easily marred by dirt or scratching. I always brush off the bottom of a pot with a soft brush before photographing it, and I always brush off the background before putting a new pot on it. Even so, it still gets a little dirty and scratched, but I've never had anything show up in my photos since the next pots always sit where the other pots were sitting. I've used photos with a background like this for submissions to juried exhibitions and when alerting buyers what types of pots were going to be available at an upcoming sale. If you want a few examples of what my photos with a background look like, check out the blog below from April before my spring sale. All of the photos were taken at my garage using the Flotone Graduated Background that I attached to the back of a chair using plastic clips and held down on the table at the corners using books. Everything was set up on a table next to the entrance of the garage, and the garage door was open to the right. You can see how this created shadows that went to the left, but that's okay since indirect sunlight is great at reproducing colors that are closer to what our eyes see. This was better than what I was getting with the garage door closed. Even adjusting for fluorescent light, all of the whites were turning out yellowy. Third, learn how to adjust photos after they're taken. Most photos don't look that great straight out of the camera. I've never used Photo Shop, but I use the software that Canon supplied with my camera. It's important to know how to make adjustments to photos, not to make them look better than they really are, but to correct flaws in the original image. Fourth, learn how to use good photos to attract the attention of collectors. This website has hundreds of photos of my pots and a few thousand people a week look at them. Before sales, I send photos of about 20 pots to my mailing list so collectors know what sorts of things I'll be offering. One of the most important ways to use images is through Instagram. Even if the images aren't great, they can let collectors know what sorts of things are coming out of your kiln and will be available for sale. These are a few suggestions about how to take better photos of your pots and what to do with them once you have them. Please let me know what you've done that's worked for you. First Hawaiian Bank has it's main headquarters, First Hawaiian Center, on Bishop Street in the business district of Honolulu. It was designed by Kohn Pedersen Fox from New York City and is a work of art in its own right. First Hawaiian has made a unique commitment among local businesses to stage continuous art exhibits at First Hawaiian Center curated by the Honolulu Museum of Art.
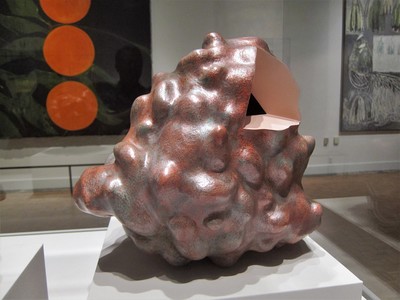
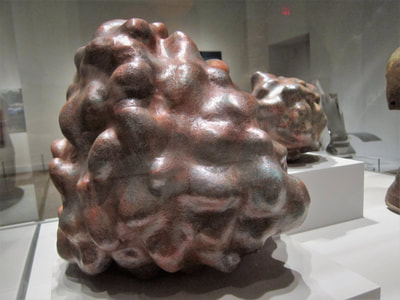
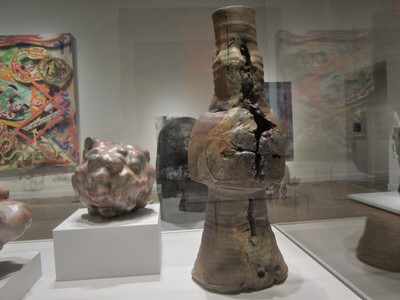
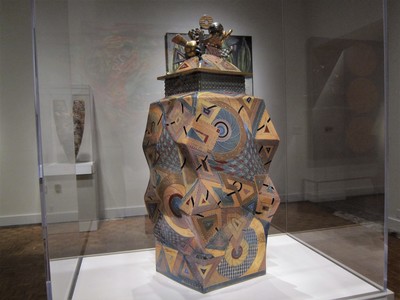
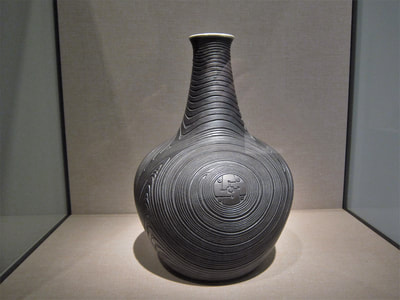
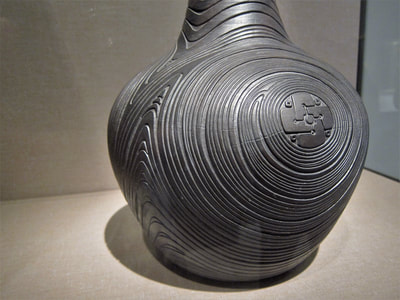
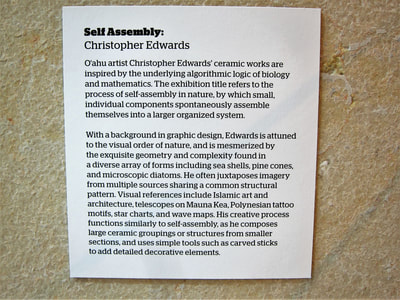
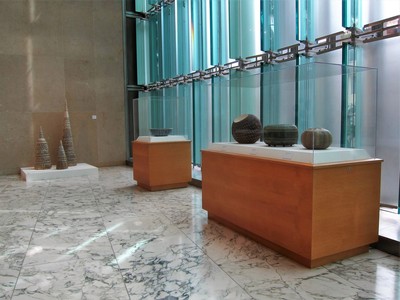
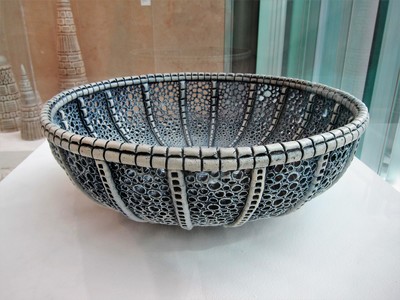
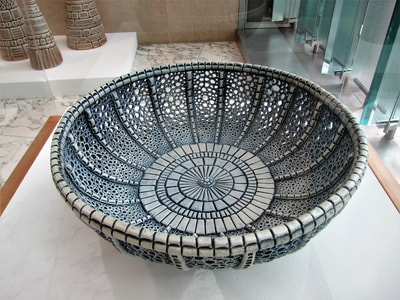
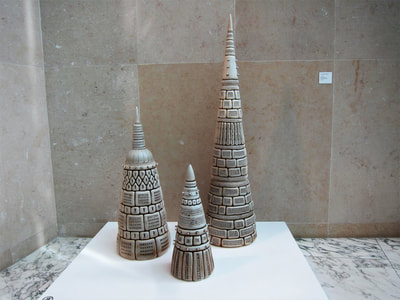
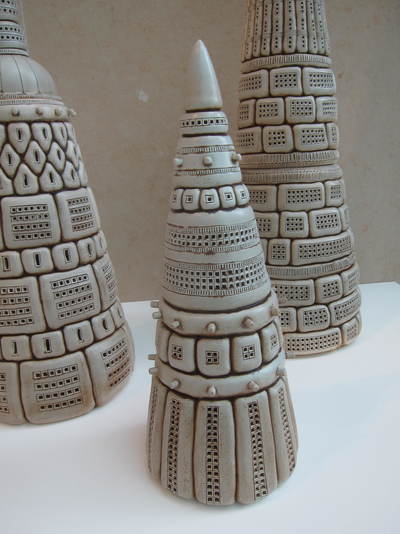
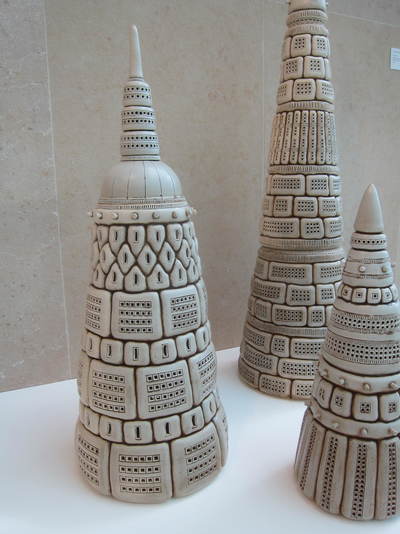
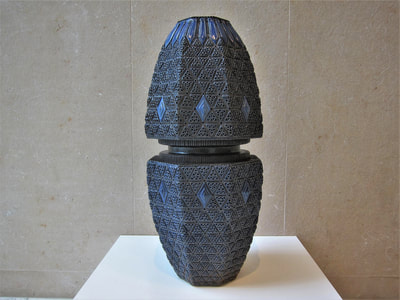
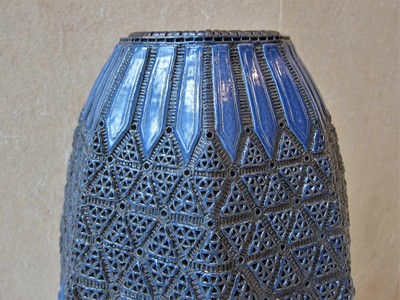
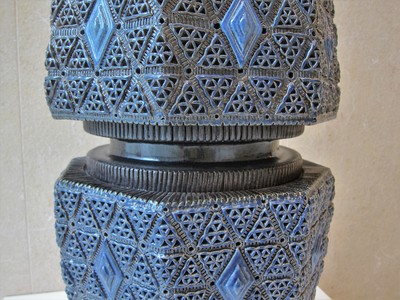
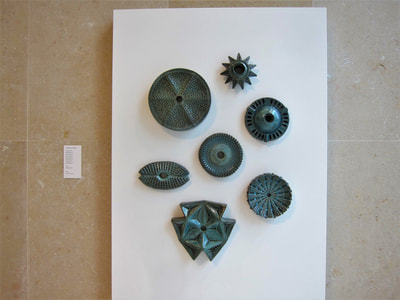
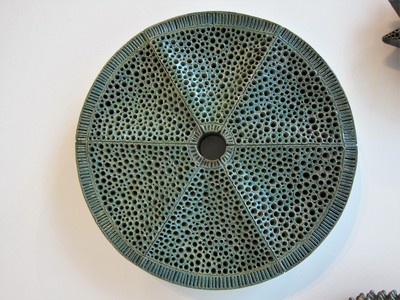
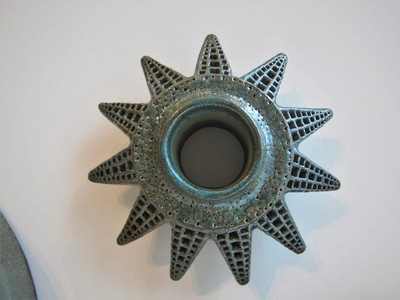
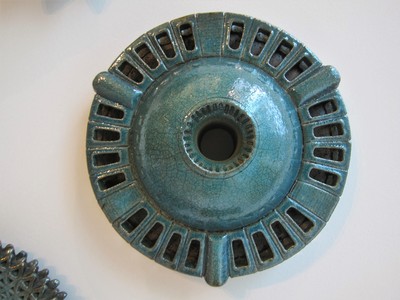
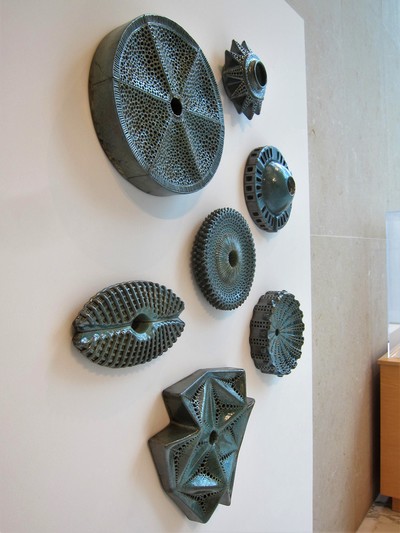
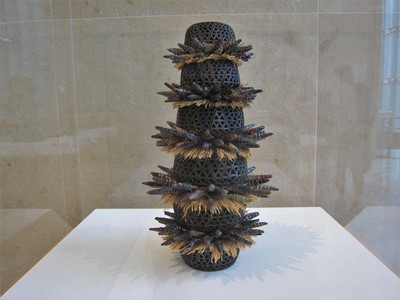
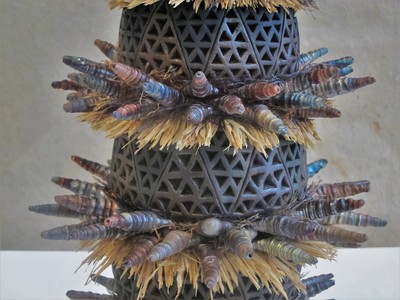
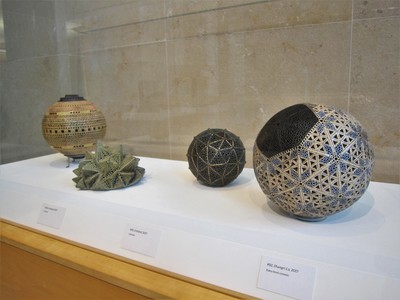
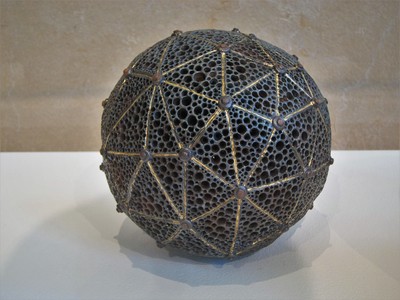
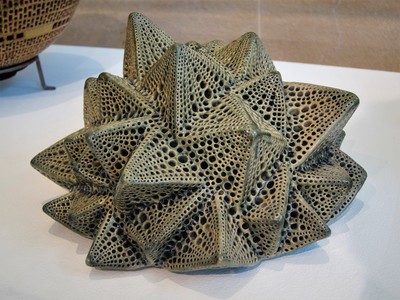
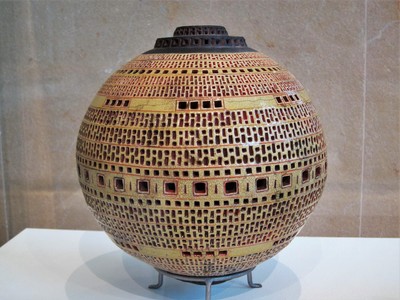
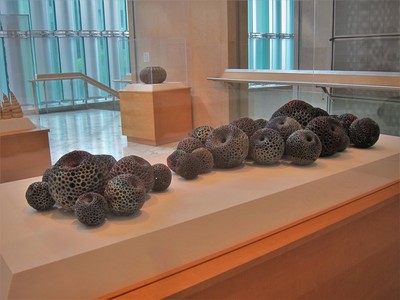
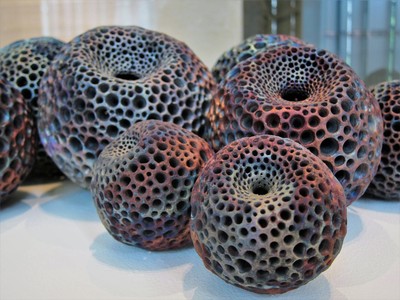
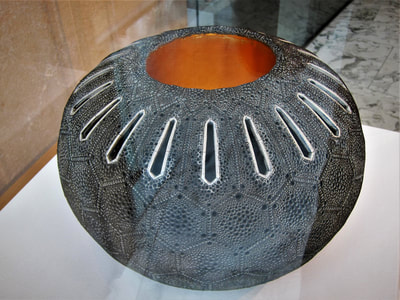
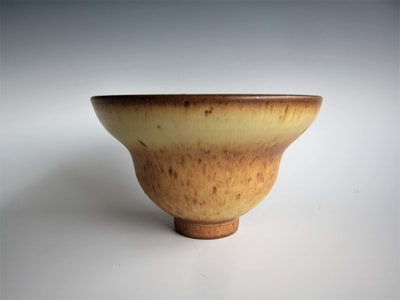
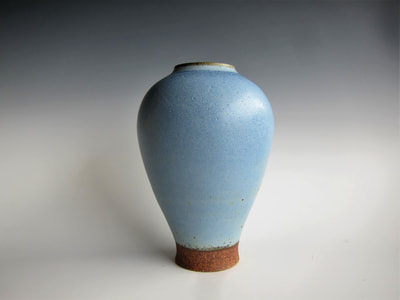
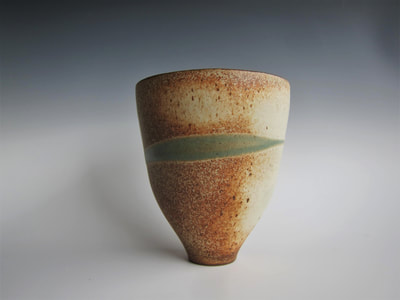
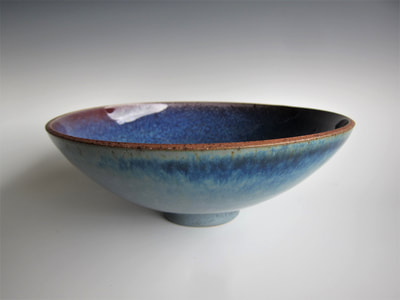
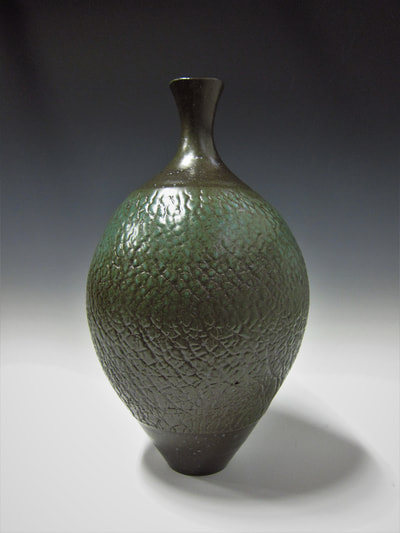
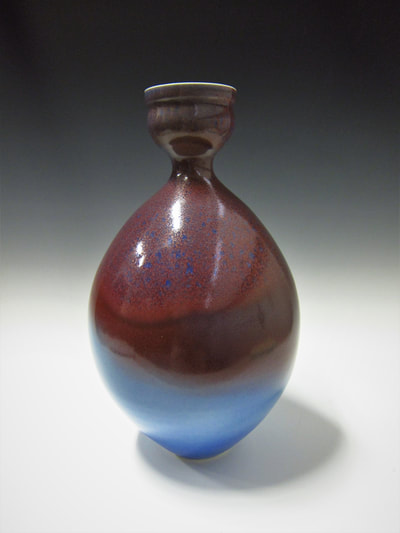
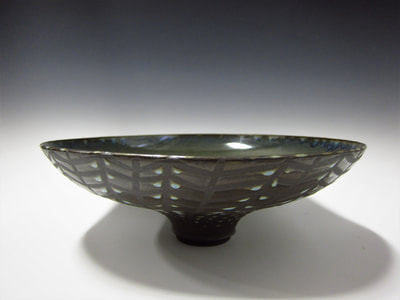
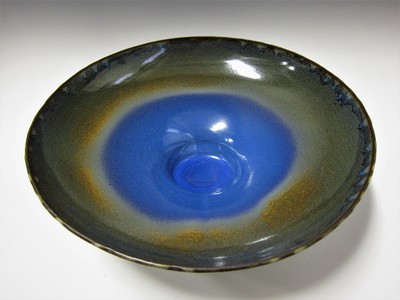
The most recent exhibit features the ceramic sculpture of one of my friends, Chris Edwards. Chris is a graphic designer who started working in ceramics only 6 years ago. Now he's making monumental ceramic sculpture, many of them constructed from separate pieces. His work represents the most impressive burst of original creativity in ceramics that I've ever seen. Below are images of the pieces on display. If you're in the Honolulu area, the exhibit will be up through June 15 and is definitely a must see. If you'd like to see more of Chris's work, go to https://christopheredwards.net/ On Saturday, May 5th, I'll be having a holiday sale at my studio from 9am to 2pm. I have lots of cups for $15 and small bowls for $20 to $25. I've been making more medium size bowls and vases as well. I enjoy hosting people and showing them where I make my pots, so I hope you'll stop by and see what I have available. You can park in the driveway if there's room. If not, there's on-street parking as you head for Manoa Falls just after the five-way stop. If you can't walk that far, I'll have my assistant drive your car to a parking spot. Below is a sample of the sorts of things I'll be offering for sale. Hope to see you this coming Saturday!
Forming, trimming, bisquing, glazing, firing, marketing, and selling pots are all part of the process of studio pottery. Potters for thousands of years have made pots and have made money by selling them. Why shouldn't we?
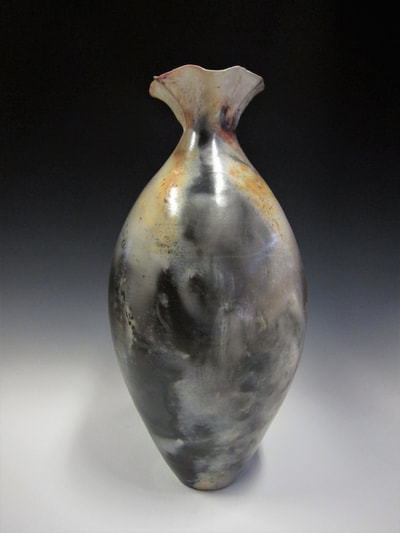
When I first started making pots, it took me forever to make one thing but still it usually made it's way surreptitiously into the dumpster. As my skills improved, I began making pots better and faster, and fewer of them ended up in the landfill. After a year, I was making more pots than I could personally use or even give away to family and friends. I began selling pots so they wouldn't multiply like tribbles and take over my house. I also hoped my creations would bring pleasure to someone else, and I wasn't opposed to making a little money while doing it. Following are some things I've learned about selling pots that I hope will be helpful to you. First, make a commitment to sell your pots. This can mean something like signing up for a craft fair or a sale through your potters guild. Don't wait until your pots are perfect before making the commitment. When you commit to sell your pots they'll start to get better because your mind will be focused, you'll have a goal to reach, and a limited amount of time to reach it. I talk with potters all the time who are planning on doing a sale "next year" or "next time." When that next time rolls around, they're not going to participate but loudly proclaim they'll do it "next year" for sure. Procrastination is the biggest obstacle to selling your pots, that and fear, fear that maybe you won't sell anything, that everyone else's pots will sell because they're so much better than yours. Put all that aside and make the commitment to a sale. Second, bring only your best work. Don't surround your great pieces with lots of mediocre stuff. You're developing a reputation, a brand, that will attract collectors over time, so don't put things out that detract from your reputation, only things that build it up. I found out early on that when I tried to sell bad pieces, my good pieces suffered. It was hard to sell a really nice bowl for $150 when I had a similar bowl next to it for $20 with a one inch crack on the rim. You may think you're wasting money by throwing things away, but just the opposite is the case. If you want to charge good prices for your work, you need to put only your best work on the table. Third, learn how to price your pieces. Visit local sales and look at stores online. Start with examples that are closer to yours in quality and find out what sorts of prices are being charged for them. Also watch how quickly pots sell at what price points. It's easy to put a $50 price on a mug, but that doesn't mean you'll sell it. Start lower and charge more as you get better and you create more demand for your work. When I first started making and selling small bowls and cups about a year ago, I was charging $20 for them. My sales were not that great so I dropped the price for most of them to $15 and they started selling well. The most I've ever charged for a piece, and then sold it, was $350. I've done that twice. Almost everything I make sells for $200 or less. I know people who sell ceramic sculptures for quite a bit more than that, but that's not what I'm making. I also have an interest in making at least some things at a price point that anyone can afford. That's why almost all of my small cups and bowls start at $15. My dream is not to sell my pieces at stratospheric prices to a few very rich people. Well, I wouldn't mind selling some of my pieces for absurd prices to those with more money, but I don't want them to be my only clients. A few years ago I had an interesting conversation with a local wood turner whose work is in museums and is very expensive. During our conversation he shared the following cautionary tale from his own life as a craftsman. He told me that sales of his bowls started out slowly but picked up momentum as time went on. As he sold more bowls he charged higher prices. As his prices went up, he attracted fewer and fewer collectors because only a handful of people could afford them. Ironically, as he told me, the more he charged for his bowls, the less money he made. As he put it, he "choked off the market" for his bowls by making his prices so high. Once sales slowed down for this small clientele, he couldn't lower his prices to sell more pieces to those with less money since that would have enraged those who had payed more money. Fourth, learn how to market your pots. One of the most essential things to learn about marketing is how to take good photos of your pieces. It's not that hard anymore since even most smart phones have fabulous cameras. Get on Instagram and share photos of your pieces. Start following people and commenting on what they share. I know this will sound like humbug to some of you, but you can get more bang for your buck from Instagram than any other method for marketing your work. Get business cards and start handing them out. I use Zazzle or Vistaprint. Build a data base of contacts and stay in touch with them. I have an always growing email list that I contact about sales by sending them images of about 20 pots that I'll be offering. Sometimes people will contact me to buy pieces before the sale even begins. I don't bug them about every sale I'm in but only those where I'll have a large number of things. Make contacts in radio, television, newspapers, and magazines. They may not be willing to cover your personal sale, but they will often be willing to cover group sales that your potters guild is putting on. I have three or four sales a year at my studio/garage. Before each sale I put up a sandwich board in front of the house with signs facing both ways that say there's a pottery sale this coming Saturday from 9am to 2pm. I also post signs on telephone poles in the area. I have posters and postcards made at Vistaprint and put them in local businesses. I put up a big banner in the front yard that I ordered from Vistaprint that's 8 feet long and only cost about $60 because I got it on sale. These are just a few ideas about how you can promote your sales. Fifth, learn how to sell your pots. Most people are pretty timid and don't feel comfortable trying to persuade people to buy their pots. I think it helps if you don't think of selling as the art of persuading people to buy something they don't want for more money than they should spend. Selling is helping people to make decisions. Most people don't know much about ceramics and they need help to make a good decision, especially when they're confronted by multiple examples and they have to choose one. Here's an example. I was at a sale for the Hawaii Potters Guild a few years ago and I noticed that a woman was looking at a few Japanese lanterns that one of my friends had made. He was so shy that he wouldn't approach her so I decided to step in when it looked like she was ready to walk away. I asked her where she planned on putting the lantern and she said she had a place in her yard that was perfect for one of these. They all looked so nice, however, that she couldn't make up her mind so she was ready to leave without buying any of them. I asked her which ones she liked best and she pointed out two. They were all on the ground and a little hard to see, so I took both of them and put them on a table so she could see them better. Then I asked her to think about what each would look like in her yard and it became clear to her that one was a better choice than the other. She was excited to take the lantern home and my friend made a sale. No high pressure tactics. When I'm at a group sale like the Windward Potters, I like to talk with people about my pieces if I see them looking at them, but if I see them looking at someone else's stuff, I'm happy to sell their stuff as well. If someone asks me if I make teapots, I'll tell them "No, but let me show you some terrific teapots that some of these other potters have made." I've found that lots of people need some hand holding when they're trying to buy a pot, and the more expensive the pot, the more hand holding they need. They don't know much about pottery and would appreciate you telling them something about how you formed it and glazed it. Often people want to know why I made the pot in the way that I did and my description becomes part of their enjoyment of it. Sometimes the art of selling means solving a customer's problems. For instance, I've had many people from out of town wander into my sales. Their concern is how to mail a piece or how to transport it on the plane. I help them figure all of this stuff out which leads to a sale. Sixth, learn how to sell what you don't have (yet). In other words, learn how to generate commissions. At my last sale in December, I had two people who came and were interested in my pots in general but couldn't find the exact thing they were looking for. One liked my plates but wasn't crazy about the glazes I had used and he told me so. I told him that I could make more plates in the same style with different glazes. He saw some other pieces that had glazes he liked and he ended up ordering an eight setting dinnerware service. Another guy told me he was looking for sake cups but didn't see any. I told him I could make some and he ordered them in porcelain. At one sale a few years ago, a lady returned to buy one of my vases only to find that I had already sold it. I told her I could make another that would be almost exactly the same, so she ordered it. Finally, don't sell your very best pots. Keep them for yourself. I've met several world-class potters and all of them keep at least some of their very best pots. When I met John Glick at his studio in Michigan, he told me he had kept over 1,000 of his best pieces. So be the best collector of your own stuff. Selling pots can be fun and you can make some money doing it. So sign up for a sale, do the best you can, and then try to do it better the next time. Sometimes, oftentimes, we don't get the pot we want after it's been fired. Even if a piece has survived the fire without warping or cracking, its color or lack of color can be disappointing. That's as true with pit firing as with glaze firing. Until this year, I thought I was pretty much stuck with a piece after pit firing it once. Then I watched a YouTube video about pit firing in which the person stated in passing, "And if you don't like how a piece looks, you can always fire it again." I've fired many pieces more than once in a glost kiln, but I'd never considered refiring a pit fired piece. The major problem I've had with pit firing is that quite a few pieces turn out almost completely black, usually because I was using pieces of wood that were too large and hadn't dried out enough. Large pieces of wet wood produce long firings at relatively low temperatures. Now when I fire or refire pit fired pieces, I use wood that's cut into small pieces and that's been dried for at least 6 months, longer if possible. I also try to get the fire as hot as I can near the beginning. During the first hour, I use a box that's been folded flat to fan the flames which significantly increases the temperature inside the can. Rather than vague blushes of red or yellow or peach, the higher temperatures leave well-defined splotches of color, and the color is driven deeper into the pot which makes it look more three dimensional. I'm also experimenting with spreading coarse steel wool around the pot. What I'm finding is that the steel wool catches the ash and helps create patches of color with distinct edges. After the first hour I stop fanning the flames. Why? Because if the temperature is too hot for too long, it will burn color off the pot instead of putting it on the pot.
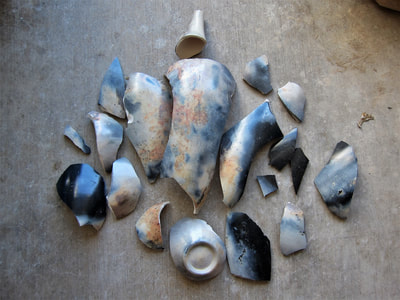
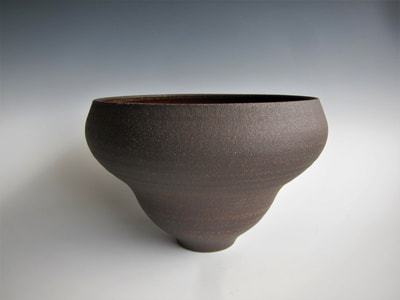
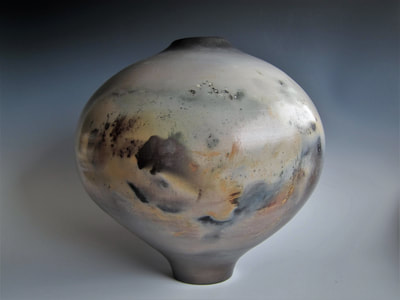
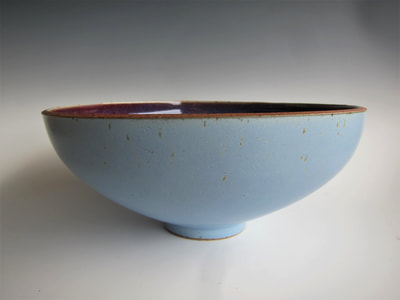
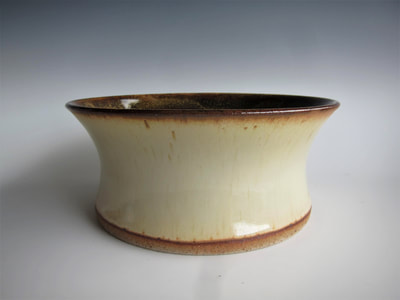
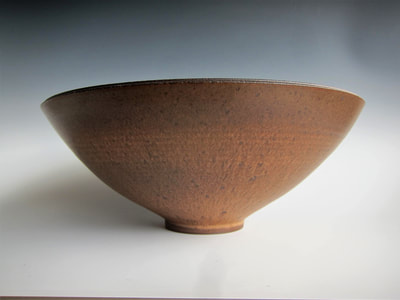
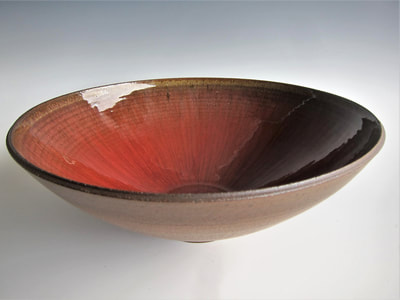
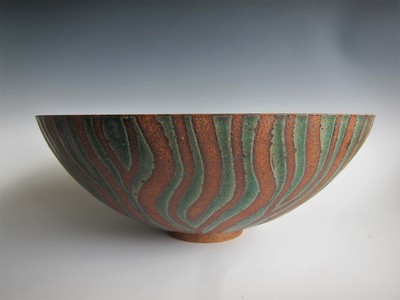
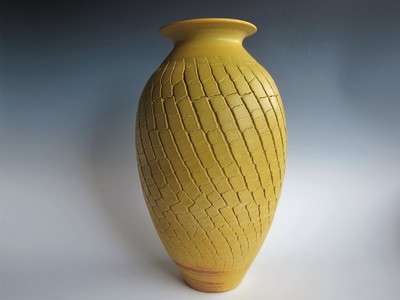
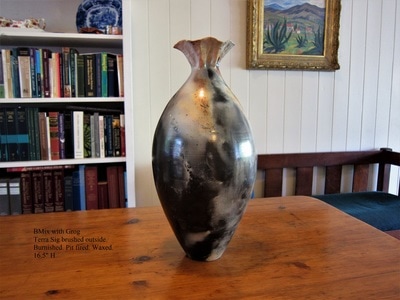
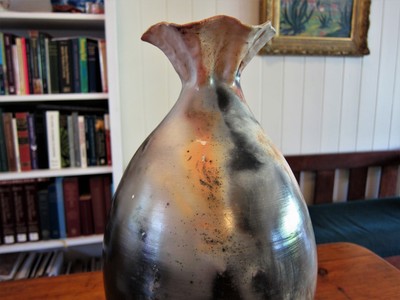
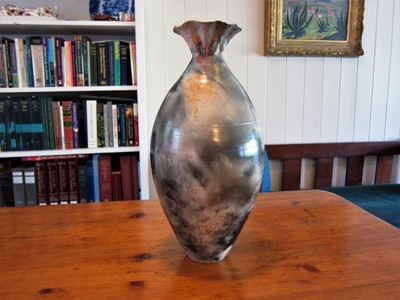
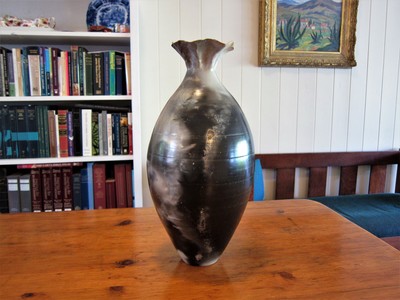
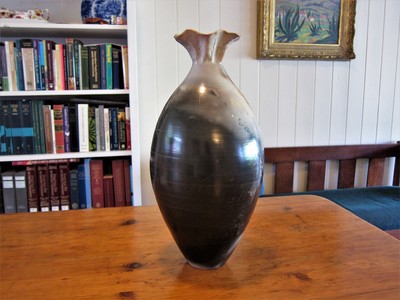
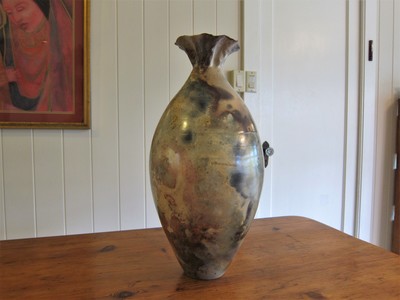
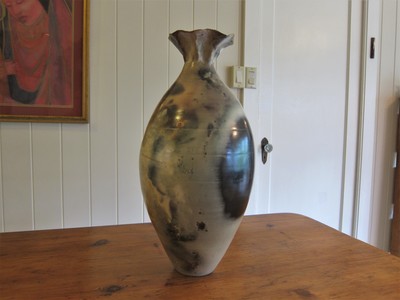
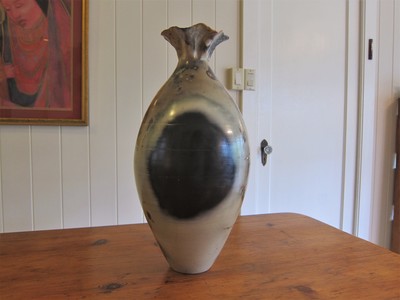
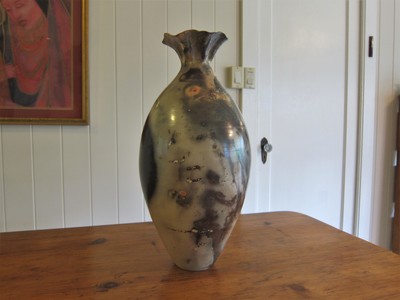
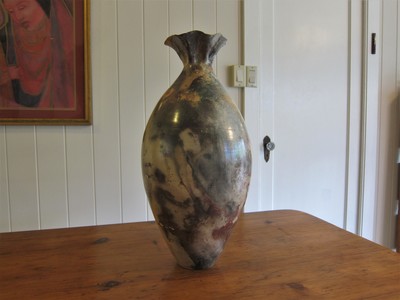
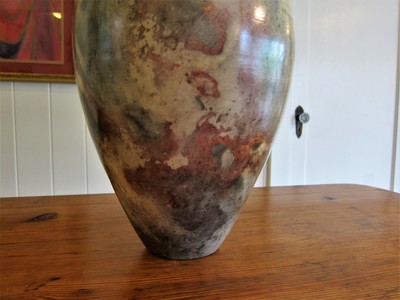
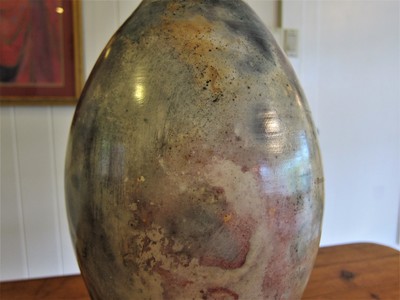
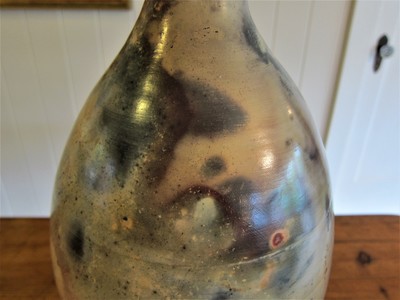
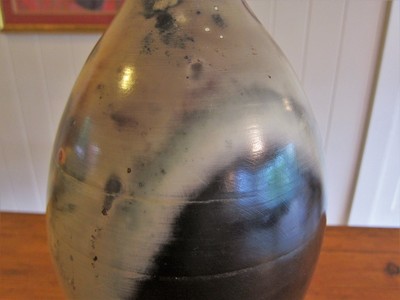
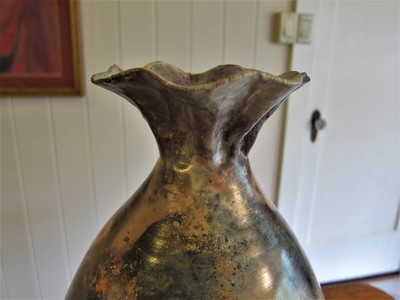
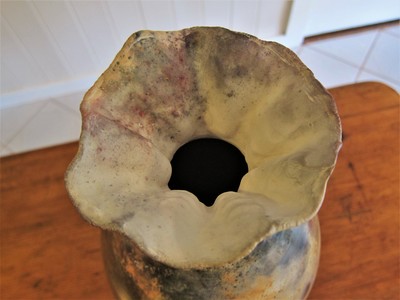
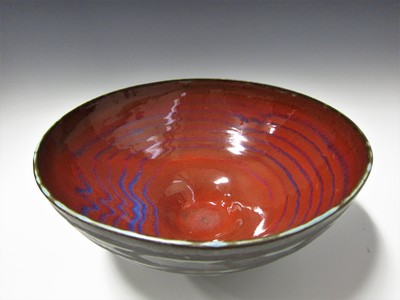
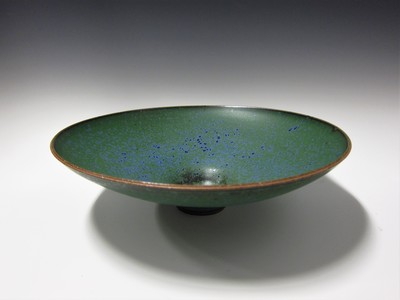
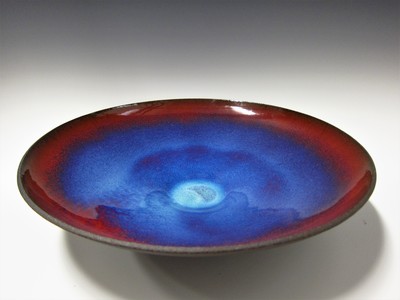
This past Monday, I refired a piece that I'd fired in the spring. I'd thought about refiring it but decided to wax it and try to sell it. It didn't sell at any of the sales I had in the last 5 weeks so I decided to refire it. I wasn't sure what would happen since I'd already put Johnson's floor wax on it and polished it. I thought it would probably just burn off, and I was right. In fact, it became one of the most successful pit fired pieces that I've ever made. I also fired three other pieces, all for the first time, and none of them turned out well. The four pieces were fired in two different containers. One cracked and had to be thrown away, and two had very little color at all and will need to be refired. There was one, however, the one I was refiring, that turned out well. One other thing that was different about this firing was the Miracle Gro that I used. I always put Miracle Gro around my pots because it has lots of stuff that creates good color on pots. In this case, I'd left the bag in a spot outside where water got inside and had melted almost all of it. I almost threw it out but decided to add it and see what happened. Since I didn't have that much, I put it around only the pot I was refiring. I noticed something unusual when the fire had burned down but the coals were still very hot: strong green flames were coming up on both sides of the pot for at least 20 minutes which was quite unusual for this time in the firing. I'd also used copper carbonate in powder form around all of the pots, but none of them showed any green flames at this time except around the one around which I'd poured the liquid Miracle Gro. In my next firing I'm going to purposely mix Miracle Gro with water and maybe copper carbonate as well and adding it using a squirt bottle. It would certainly be easier to apply and would be easier to keep off the surface of the pot which can cause problems. Below are photos of the pot after the first pit firing and then after the refiring. Let me know if you have any comments or questions about any of this. On Saturday, December 9th, I'll be having a holiday sale at my studio from 9am to 2pm. It's always my best sale of the year both in terms of what I'm offering and how many pots I sell. It's hard to transport some of these pots from place to place without them breaking, so I only offer them for sale in my studio. I also enjoy hosting people and showing them where I make most of my pots. If you're in the neighborhood next Saturday, I hope you'll stop by and see what I have available. You can park in the driveway if there's room. If not, there's on-street parking as you head for Manoa Falls just after the five-way stop. If you can't walk that far, I'll have my helper drive your car to a parking spot. I'm also giving a small bowl or cup to anyone who spends more than $100. Below is a sample of the sorts of things I'll be offering for sale. Hope to see you on the 9th!
|
AuthorI hope this blog will be encouraging to potters, especially beginning potters, and a source of helpful information and comment. Archives
August 2023
Categories
All
|





























 RSS Feed